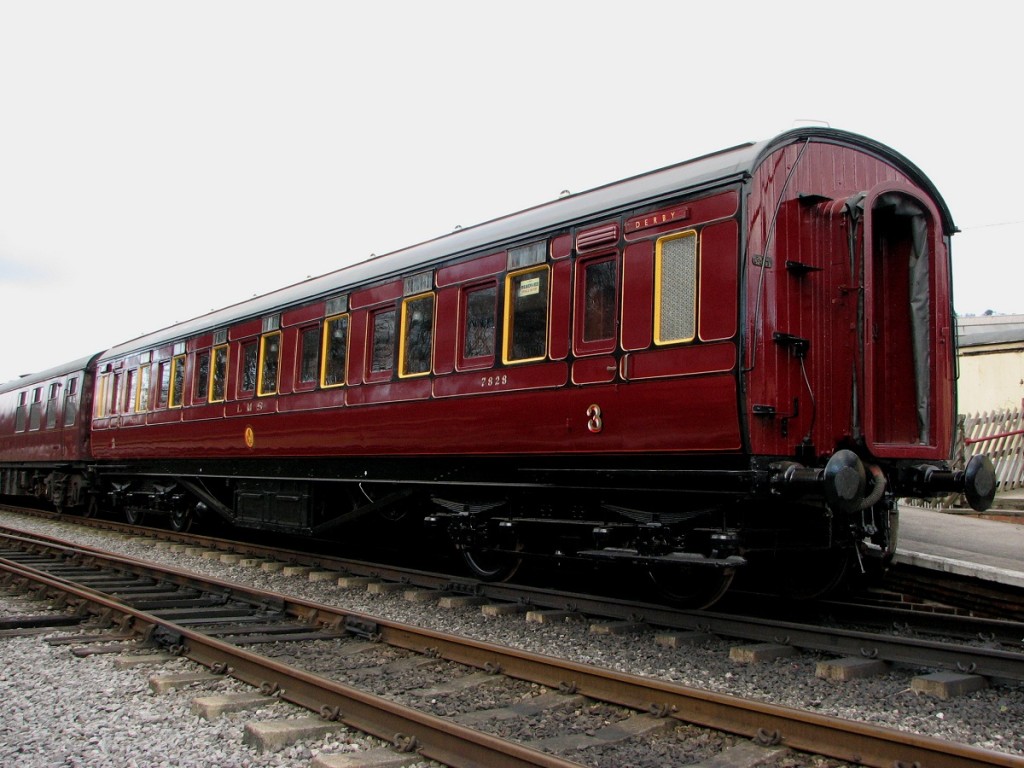
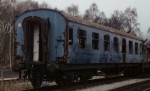
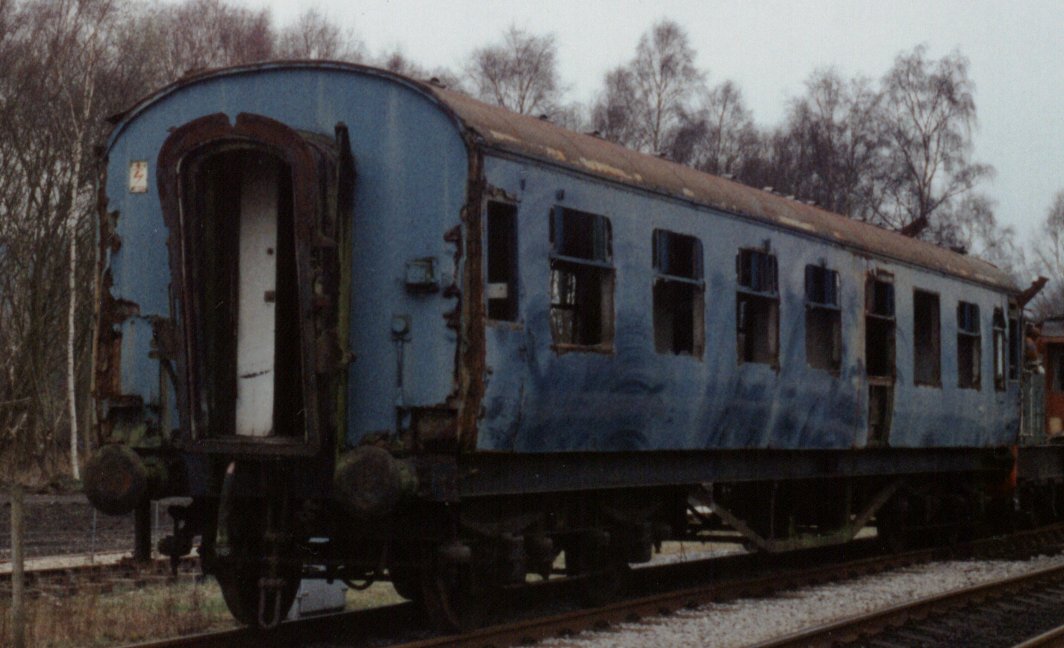
On loan from the National Railway Museum since 2003, this LMS carriage, 7828, has been restored by a dedicated group of LMSCA volunteers. The carriage was built in 1925 at Derby’s Carriage and Wagon Works on Litchurch Lane. With restoration completed in its 91st year the transformation has been remarkable. Check out our teaser trailer for a sneaky peak at the restored carriage.
Blog
7828 Let Loose
The week commencing Monday 15th February saw a long held ambition of mine realised – to ride in an LMS coach on part of the old Midland main line.
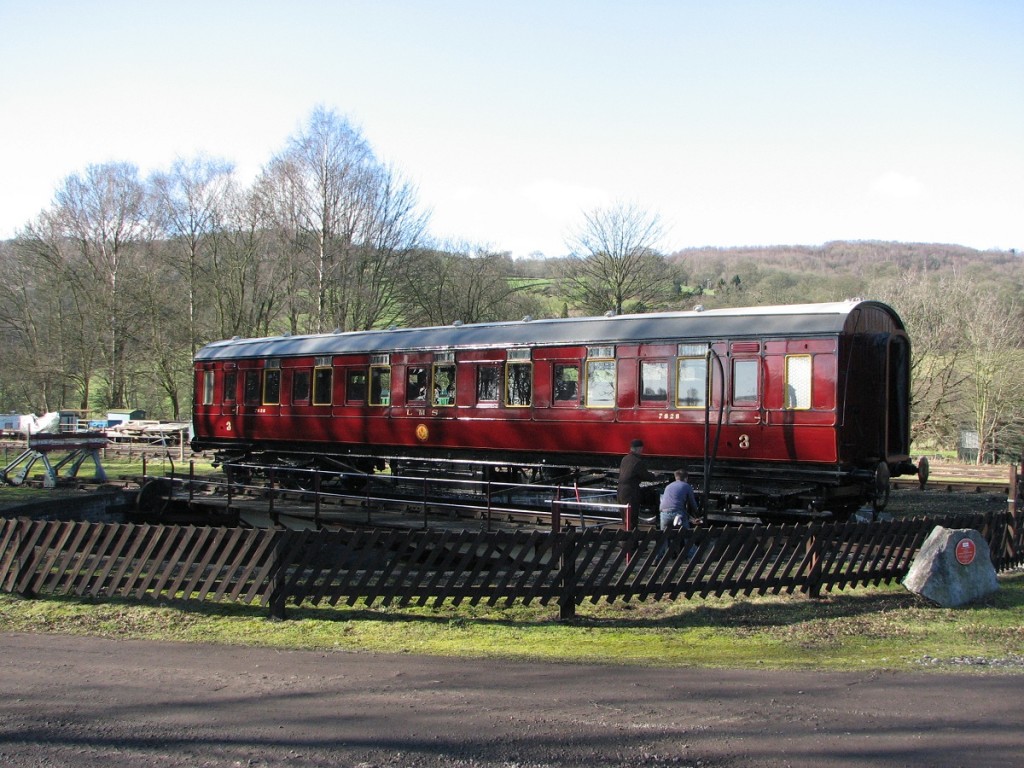
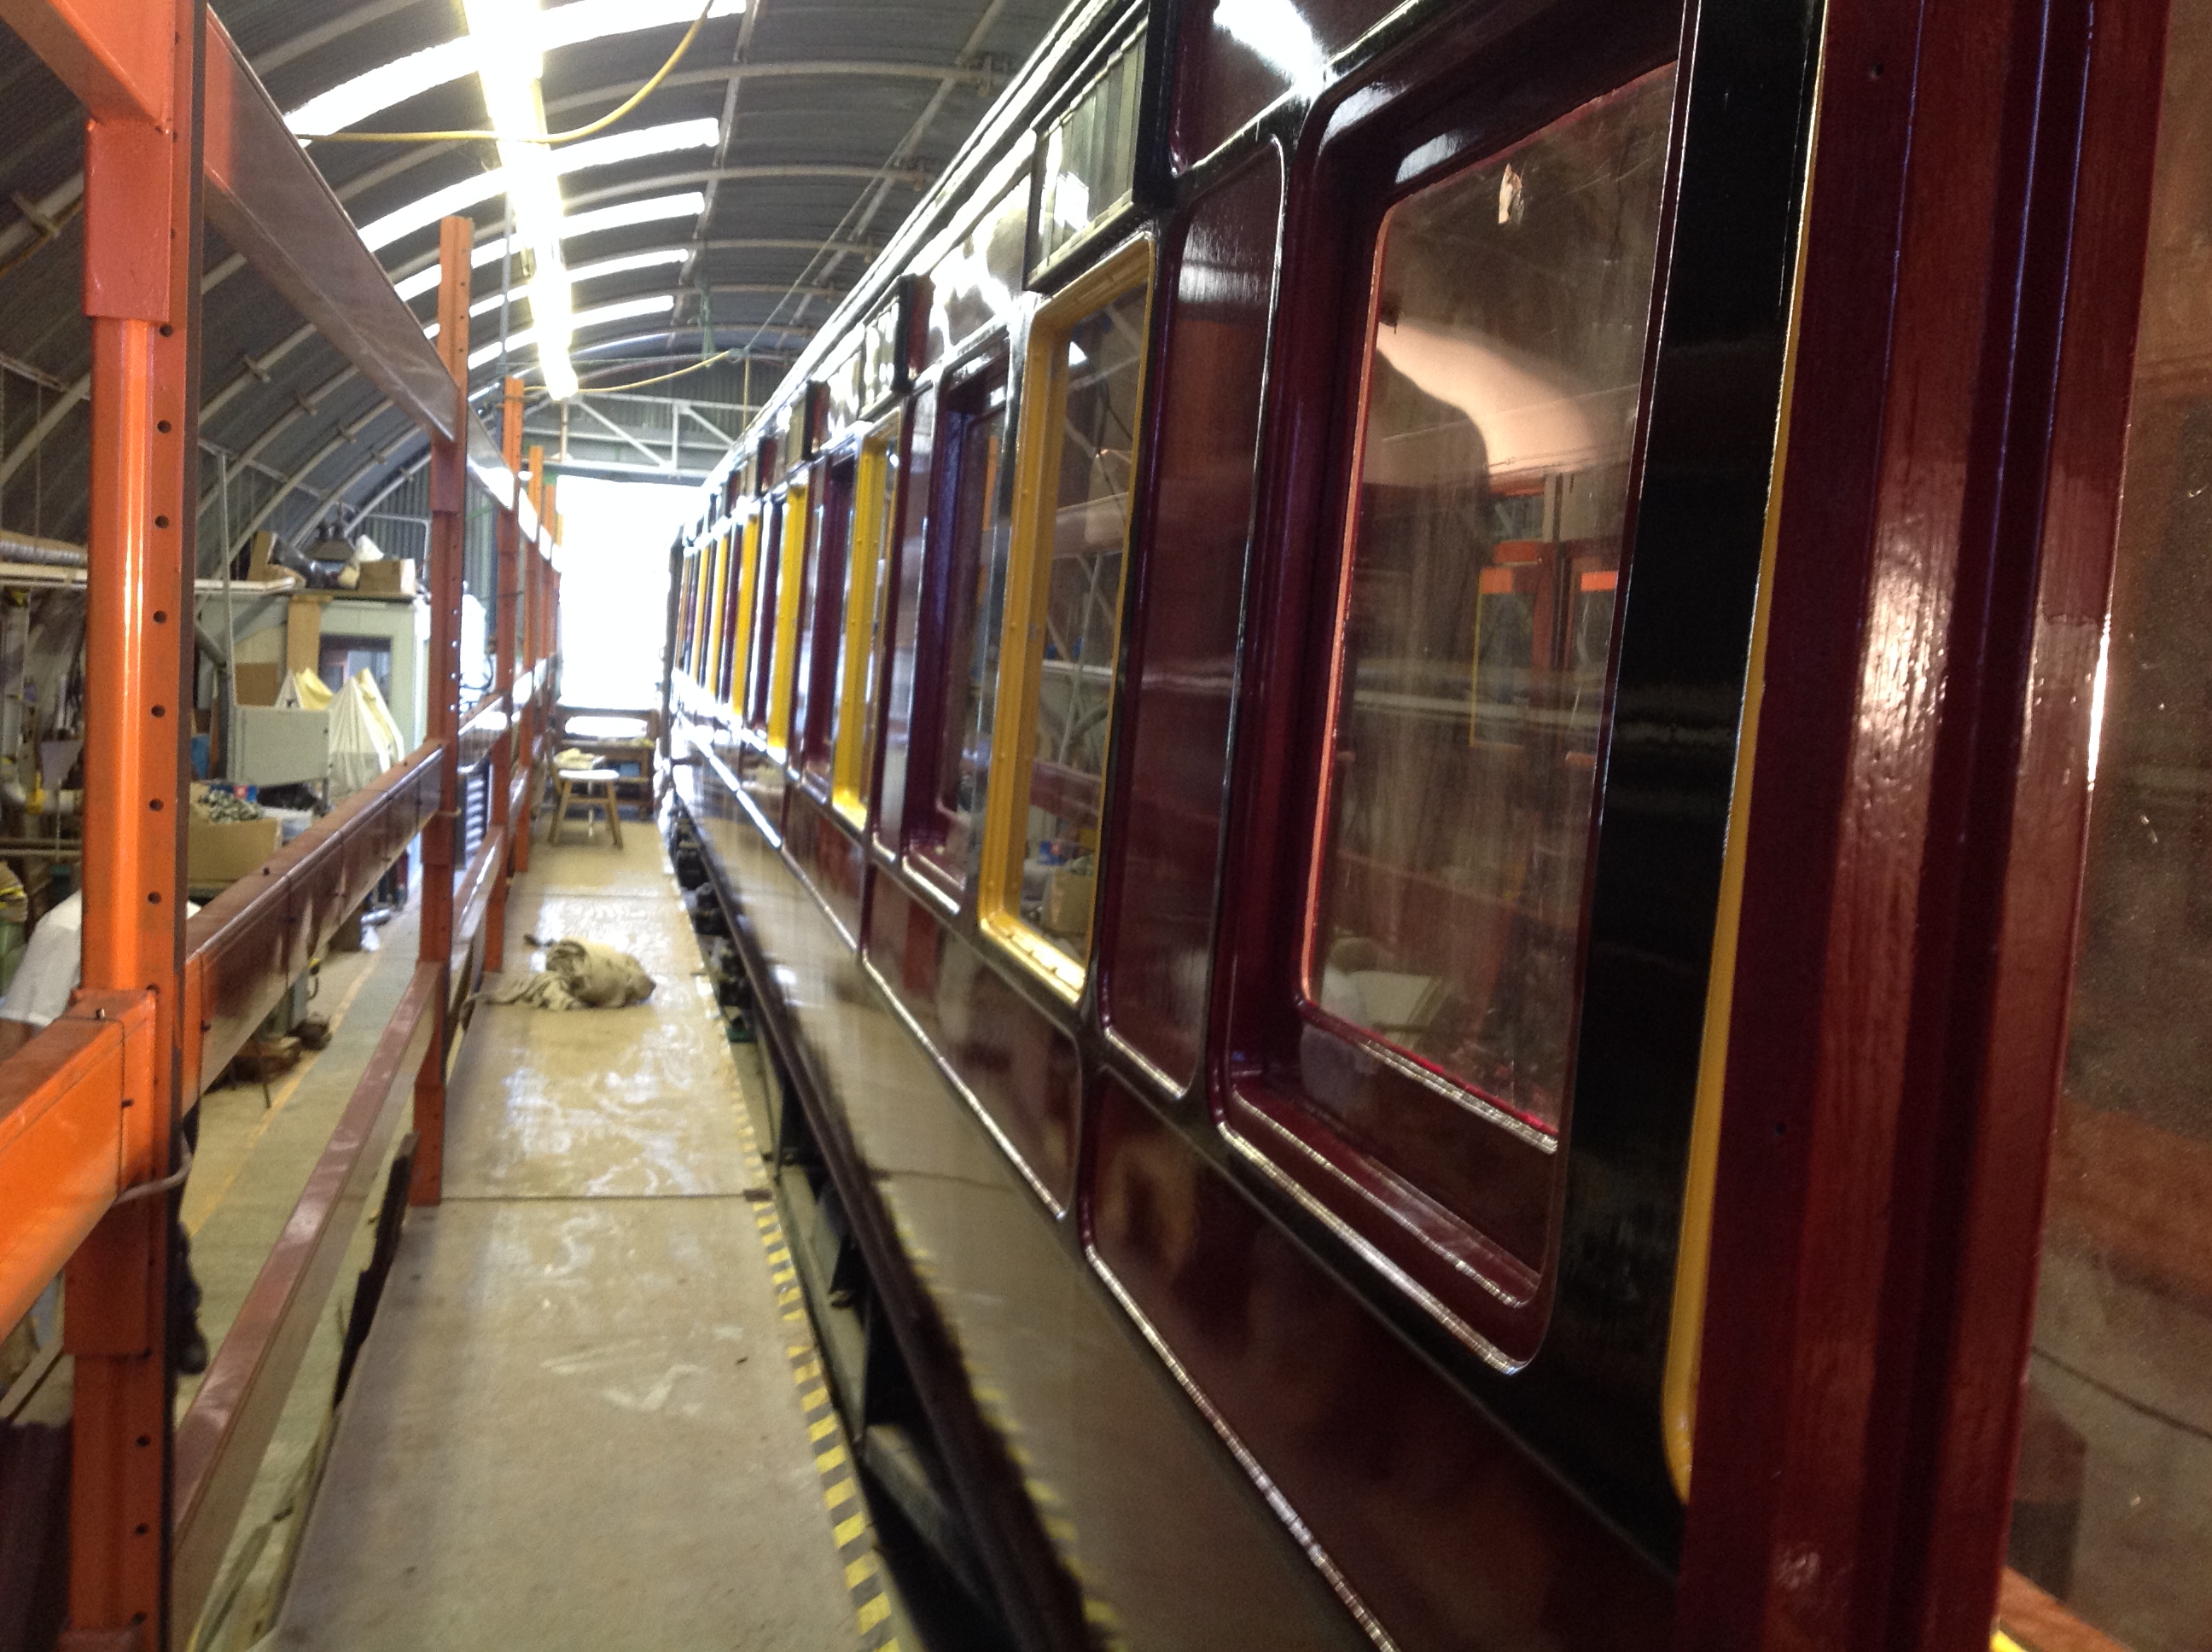
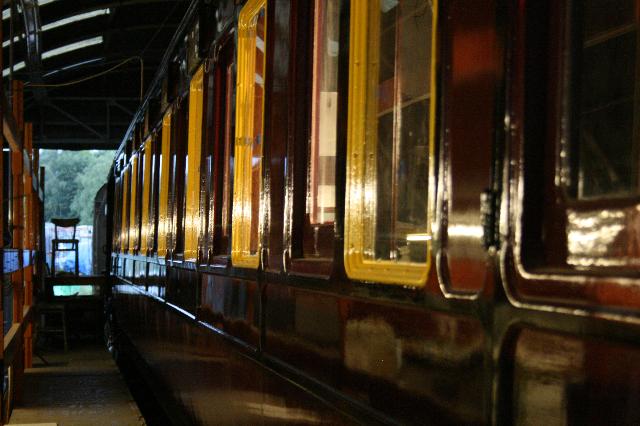
After many years of restoration by LMSCA members, the National Railway Museum’s 1925 Derby built LMS Third Open 7828 was shunted out of our shed, turned on Peak Rail’s turntable, and added to the rake in the platform at Rowsley South. After a few checks a short steam hauled run to Church Lane crossing took place, followed after return to Rowsley South by running over two sets of crossovers including the tightest one on Peak Rail to check the action of the adaptor gangway with the Mk1 RBR that 7828 was coupled to. All seemed to be OK although the amount of sideways movement is a bit alarming to watch close up!
7828 remained on the running set during Peak Rail’s half-term midweek running with further checks carried out by carriage manager Harvey Coppock, then on Saturday 20th a group of working members boarded to carry out some snagging jobs – nothing major mainly missing or loose screws – and importantly to enjoy a longer ride, this time to Matlock Riverside. Everyone was of the same opinion – a smooth ride, perhaps slightly more bouncy than a Mk1, but LMS coaches are softly sprung; the steam heat worked and after some initial warm paint odours settled down; the brakes work – essential; the seating is very comfortable; and perhaps most important 7828 seems to make a big impression on all who see her, including the owner of a well known railway modelling company at Darley Dale who saw 7828 going past, had to come and have a look inside, and was most impressed.
Further work to ease some of the droplights is needed, and the dynamo needs attention but otherwise 7828 should be fit for its first revenue earning run as a dining coach on Mother’s Day 6th March.
Our next project at Rowsley is a 1935 Third Open No.9125, just ten years younger than 7828 but with large windows and art deco interior very different stylistically which fits well with the aims of the LMSCA to show the development of the LMS coach.
Dave Winter
Society Spotlight: The Railway Correspondence and Travel Society (RCTS)
It was while browsing for photos of LMS carriages that I recently rediscovered to the RCTS website, and came upon some gems that are of particular interest to the LMS carriage restorer, within their carriage conundrums section.
Perhaps most relevant to the LMSCA is an article featuring our very own 27109, asking Where was LMSR TO 27109 hiding in the 1970’s & 1980’s? The article goes on further to query the possible uses of the other number known to be applied to this carriage, 65830. Answers on a postcard please.
Other LMS carriage conundrums include: Rannoch’s mystery carriage seeking the number of a carriage of LNWR origin, and Fisons Weedkilling Trains Carriages trying to establish the identity of several LMS carriages used in these trains in the 1970s.
Finally, we sadly visit the coaches that are with us no more, but nevertheless, it is important to record the history of their passing. LMSR/BR Non-Passenger Carrying Coaching Stock Disposals contains listings of disposals with some interesting snippets of information for LMS Traveling Post Office Vans, Gangwayed Passenger Brakes, General Utility Vans, Exhibition Vans, Gangwayed Insulated Cream Vans, and Steam Heating Generator Vans.
I extend a warm thank you to the RCTS, for sharing this valuable information with a wider audience.
7828 Round Up

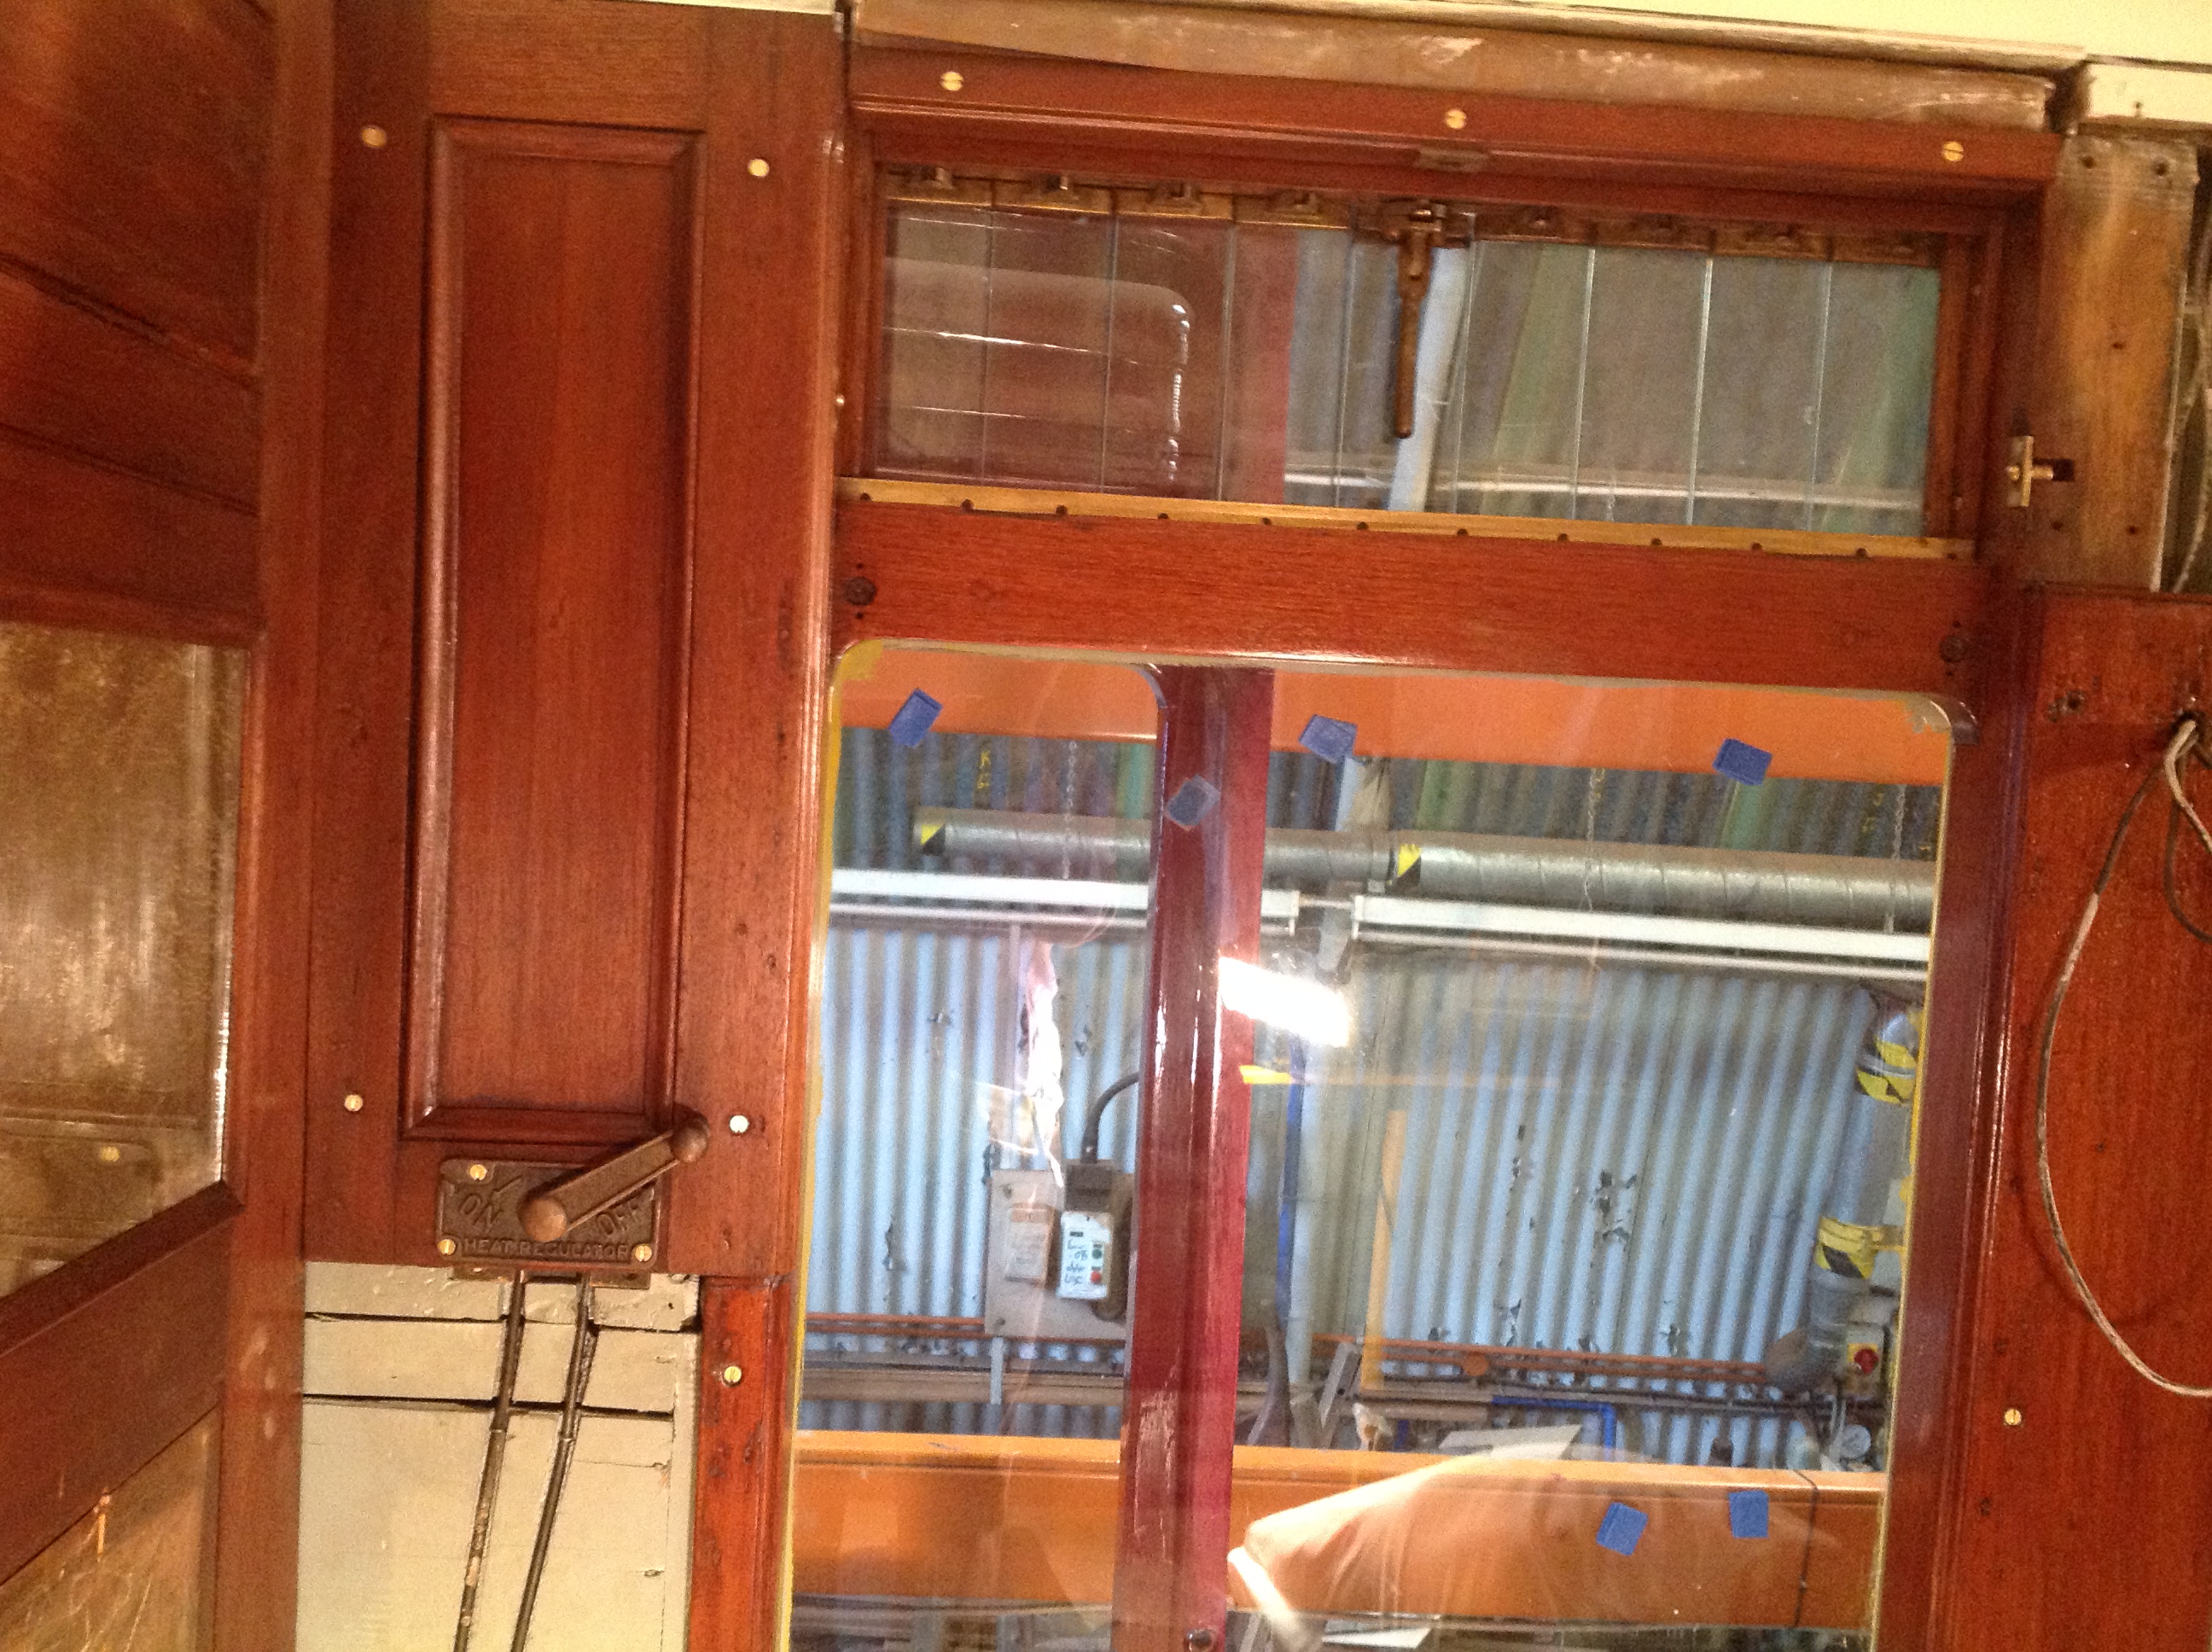
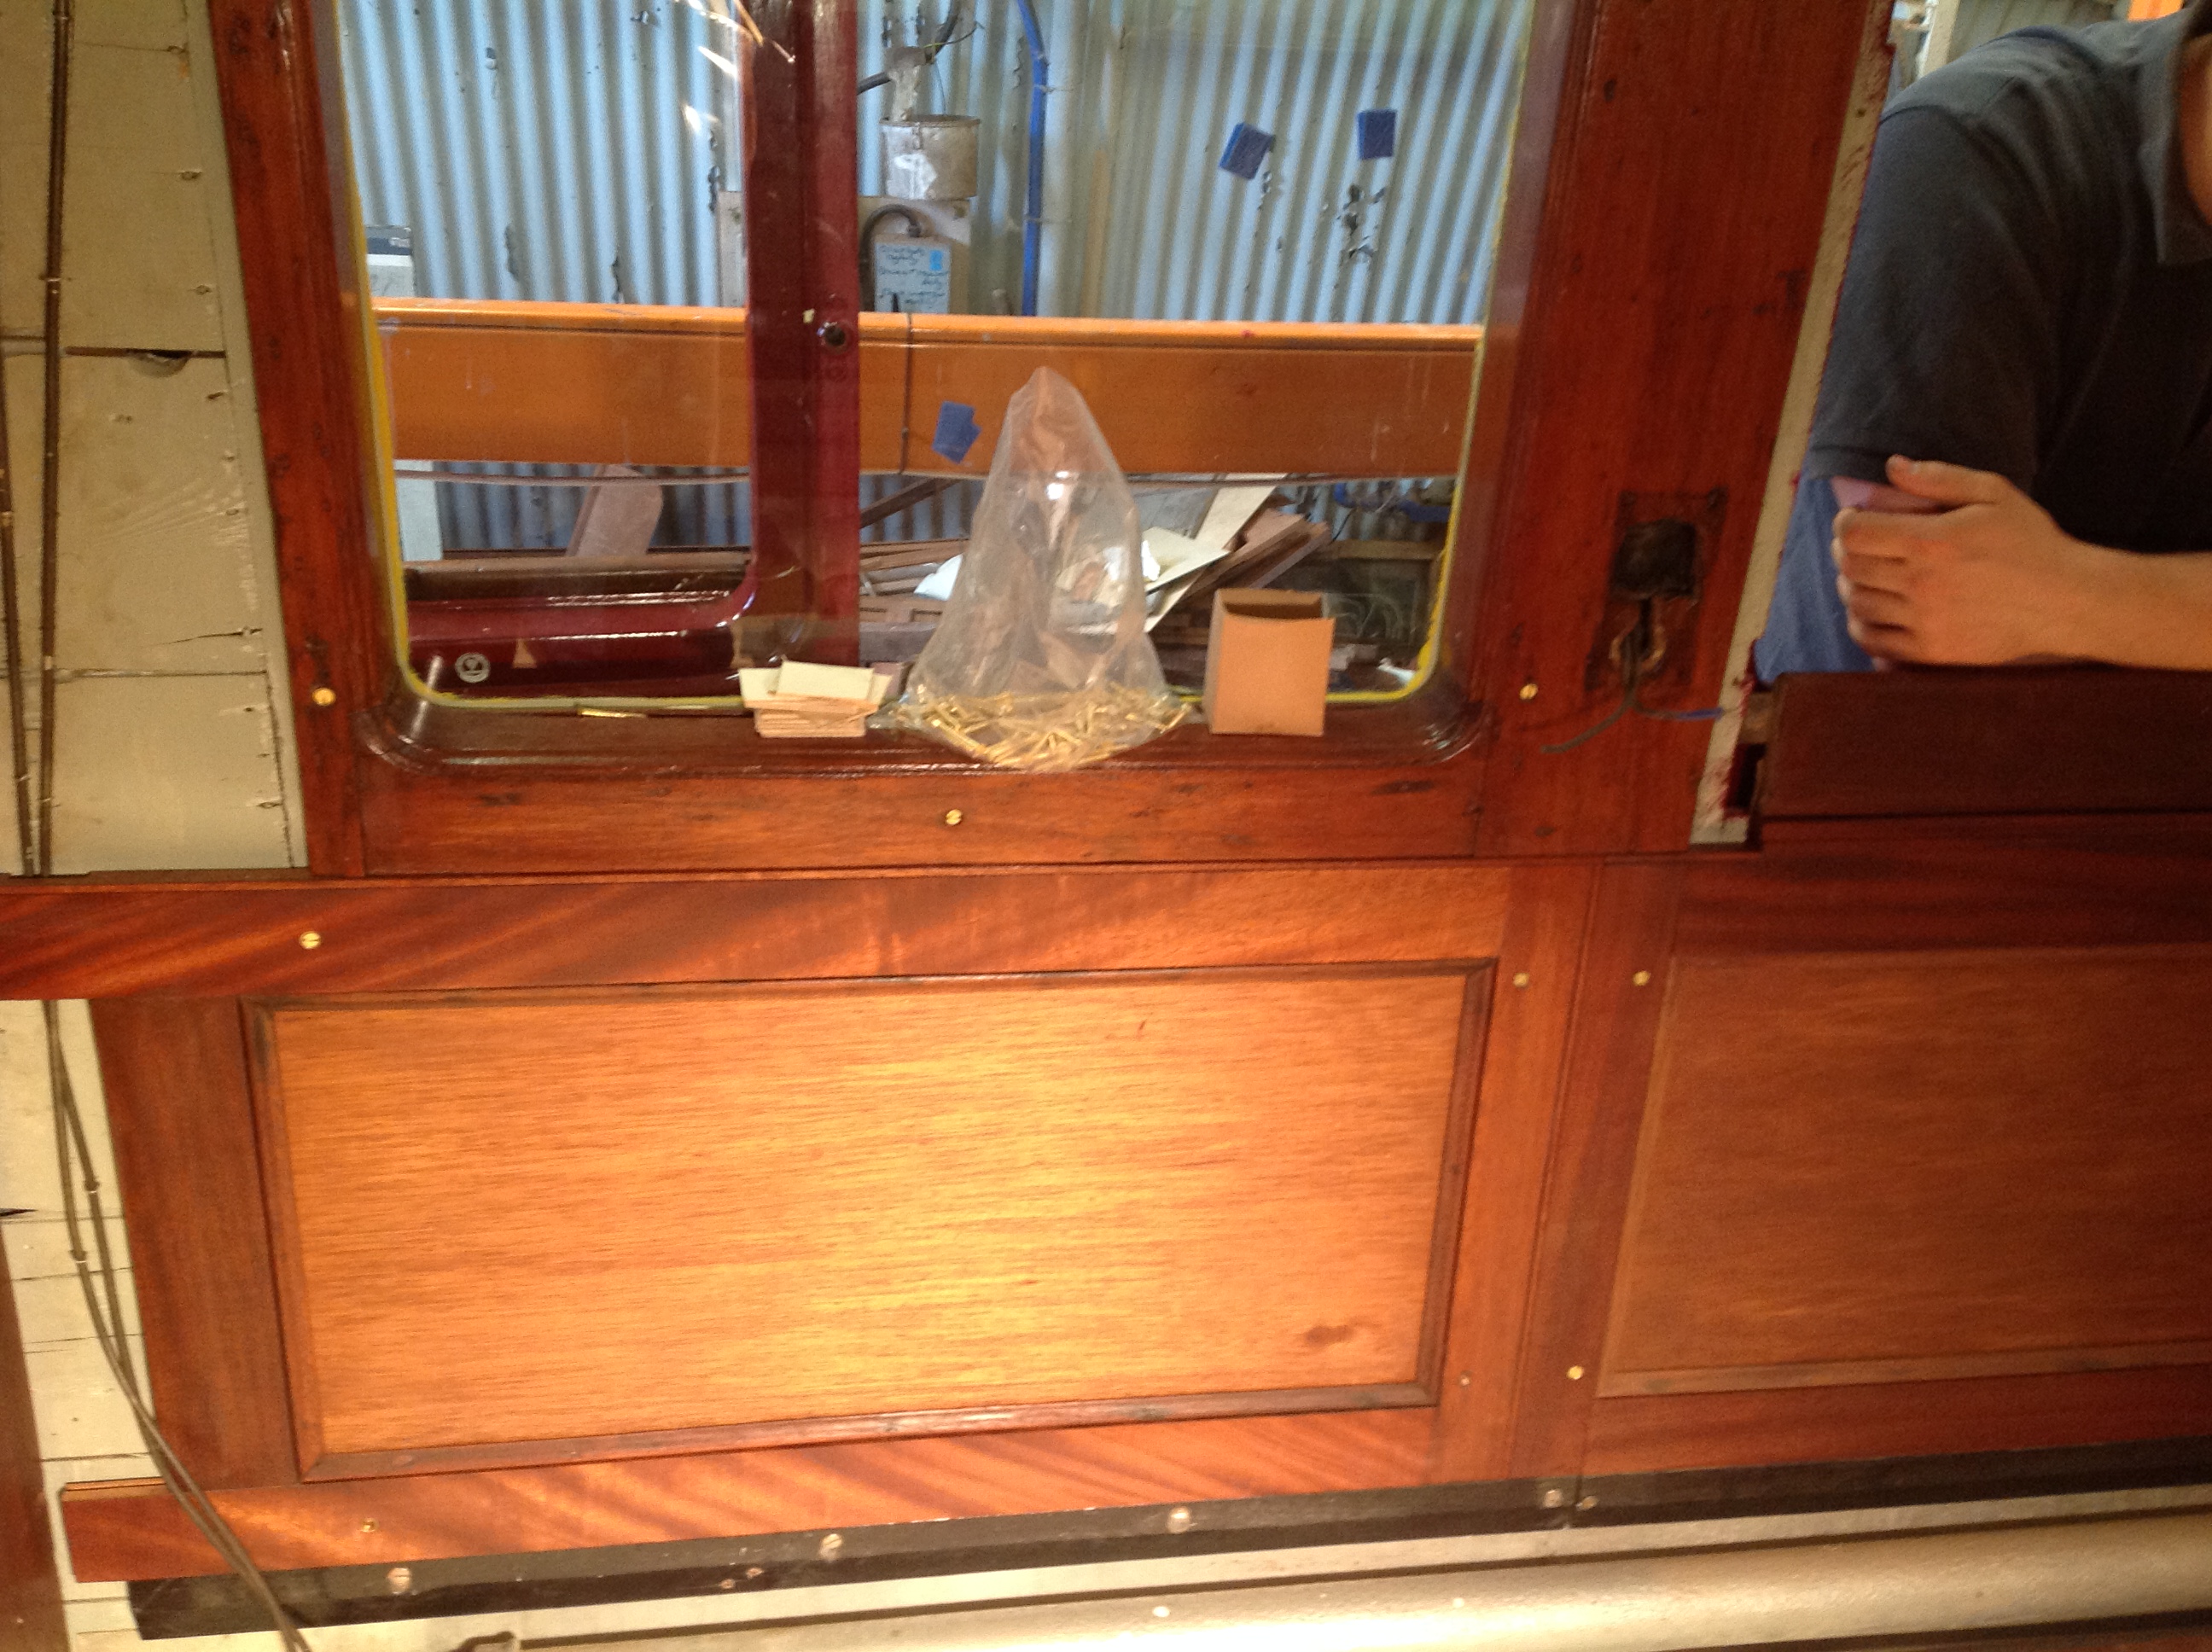
A summary of work completed on 7828 in the last few months. It has become difficult to update at times when the coach is changing so quickly, but for several months most volunteers were engaged in preparing large quantities of components- either trimming seat parts, machining timber mouldings, varnishing, glazing, painting underframe or searching for brass work.
So, state of play as of today-
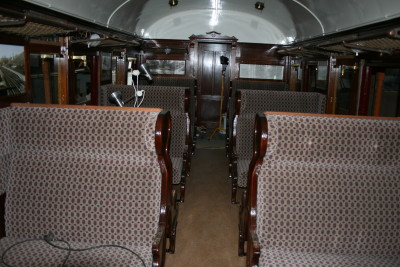
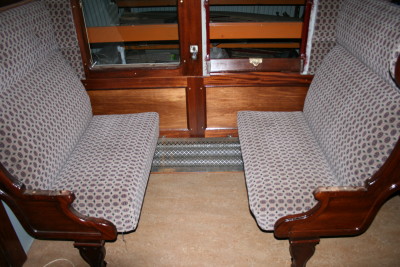
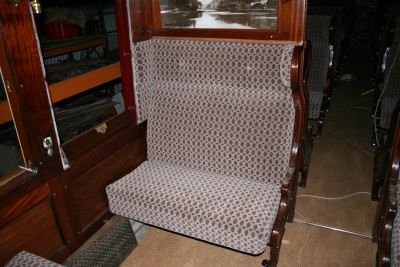
All seat back and end units are fitted, lined up and bolted down. We need some more screws to finish putting the full quota into each anchoring bracket, but as soon as they land we can install them, leaving the way clear to bolting in the seat bases.
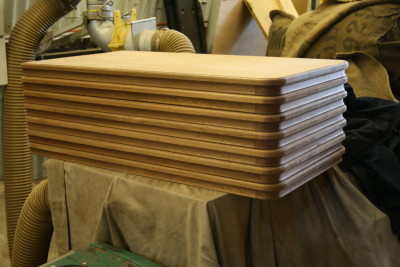
Bases all trimmed, some are awaiting their piping. 8 armests are finished, the other 20 are having piping applied.
The luggage racks are up in the 3-bay saloon, and stacked up ready for the 4-bay. I would think they’ll be up by the end of, say, Tuesday. Table lamps are up in the 3-bay, ready for installation in the 4-bay, and the lights are up and working in the loos and vestibules. Ceiling lamps not delivered yet.
The droplights have been rebuilt, glazed with toughened glass, assembled and sealed, painted to gloss on the outside and varnished inside. Specially made felt sections (20mm x 10mm and 10mm x 10mm) have arrived to allow us to fit new seals to each side, which help with vibration and sound proofing as well as facilitating a smooth slide. These are ready to pin on, and then it’s just the leather straps to apply with the cleaned and painted fittings prior to installing in the coach. Each droplight, for saloon or door, has already been tested in it’s own numbered aperture.
Tables- all parts now made to reproduce the original early Period 1 LMS TO table. We borrowed a genuine example from the team at Swanwick, and have produced a set of 14 in solid utile. The previously mentioned leg base castings are machined ready to go, and the fixing brackets and tabs are sorted into boxes. 7 table tops have been assembled to date, it’s a fill in job when we get an hour at the end of another task.
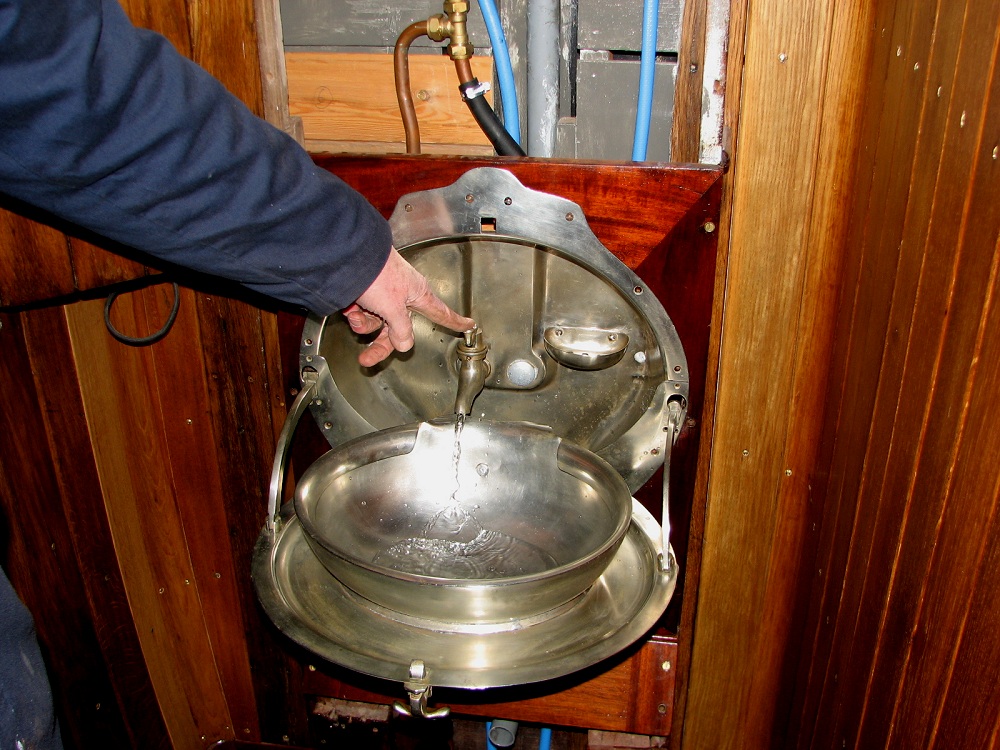
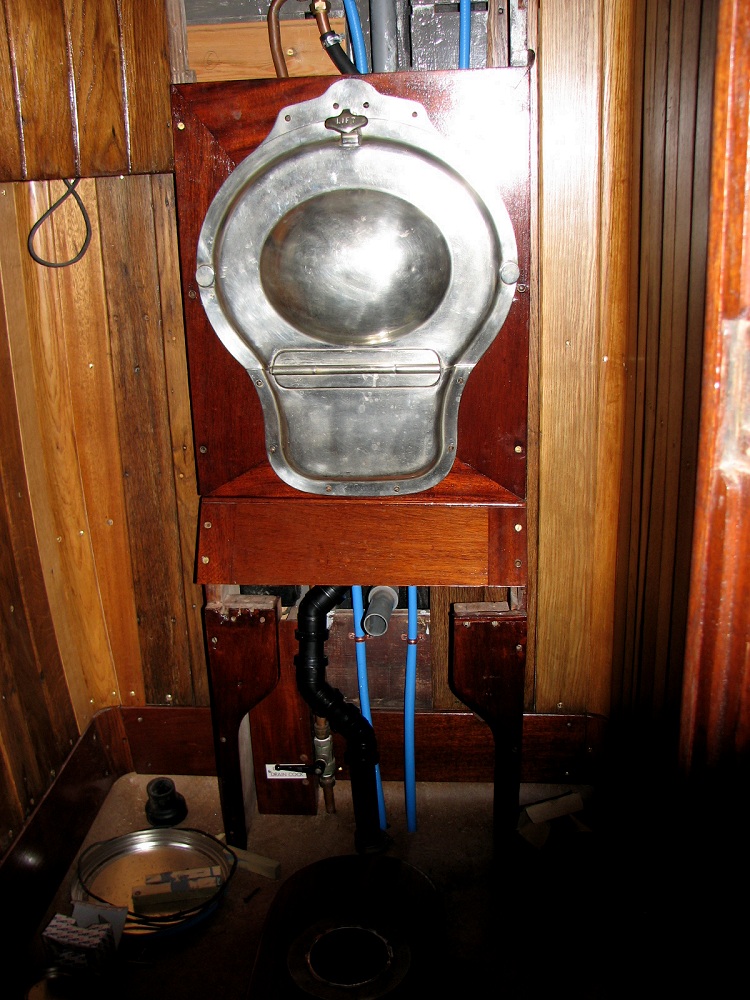
Toilets- sink and loo fitted in No.1 loo, all works. Loo seats and lids to varnish. Parts ready for No.2. New toilet roll holder cast and fitted. Paper towel holders sourced and mounted, bins procured. Vacant/engaged locks have arrived thanks for team based on ELR, modified to suit 7828 and now ready to fit. New left handed keeper plates have been cast and drilled. Some jiggery-pokery to convert the door locking system back to as-built is underway. The main door handles are now fitted and working.
Vestibules- not much gone on here, apart from draught excluders fitted around the side door apertures, as these areas have been virtually finished for some time. The clips to hold open the partition sliding doors were discovered and fitted.
Underframe- fusebox in process of being put back where it was meant to be, and some painting undertaken at the ends. Still gloss black to go on some bogies parts and the trusses, when we shunt it out again.
Lining- continues… Livery- LMS transfers due in 2 weeks time.
A list of final jobs exists in the carriage shed, ranging from window cleaning to spotting odd missing panel screws, gluing in bell pushes to hanging lampshades. Come see.
The Hand of Bob
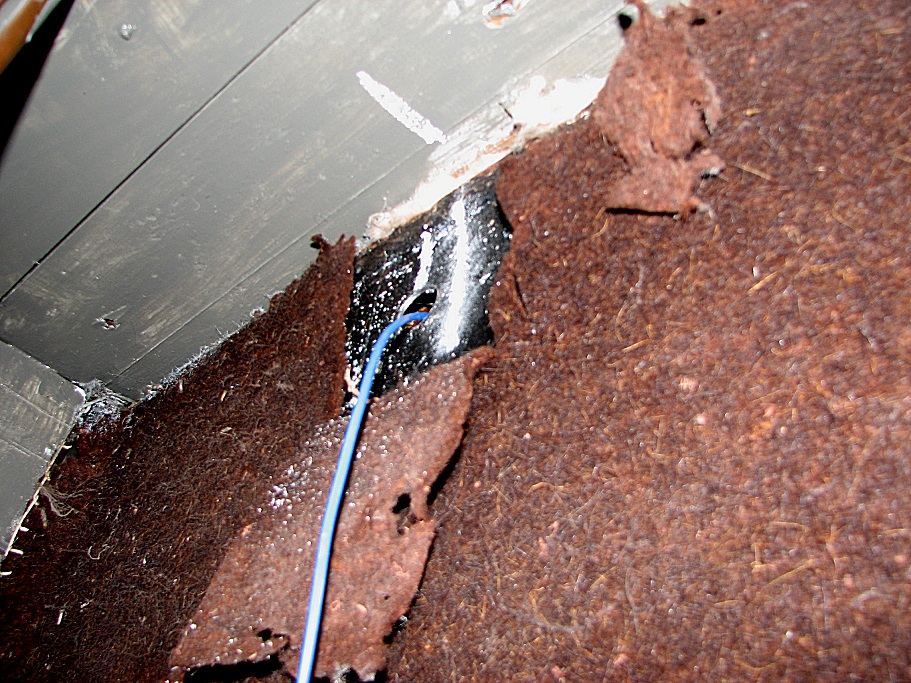
Well more like the finger of Bob really, Bob Matkin that is, who with yours truly finally managed to plumb in one of the drop-down sinks into the NRM’s LMS Third Open 7828. Much adjustment of feed and waste pipes was required but I think the work was worth it with Ken Paige’s cleaning efforts on the sink showing to good effect. Just need to connect up the toilet pan now and we’re all ready to go – err but not in the shed or the station please!
Dave Winter
Who Ya Gonna Call? Tankbusters!
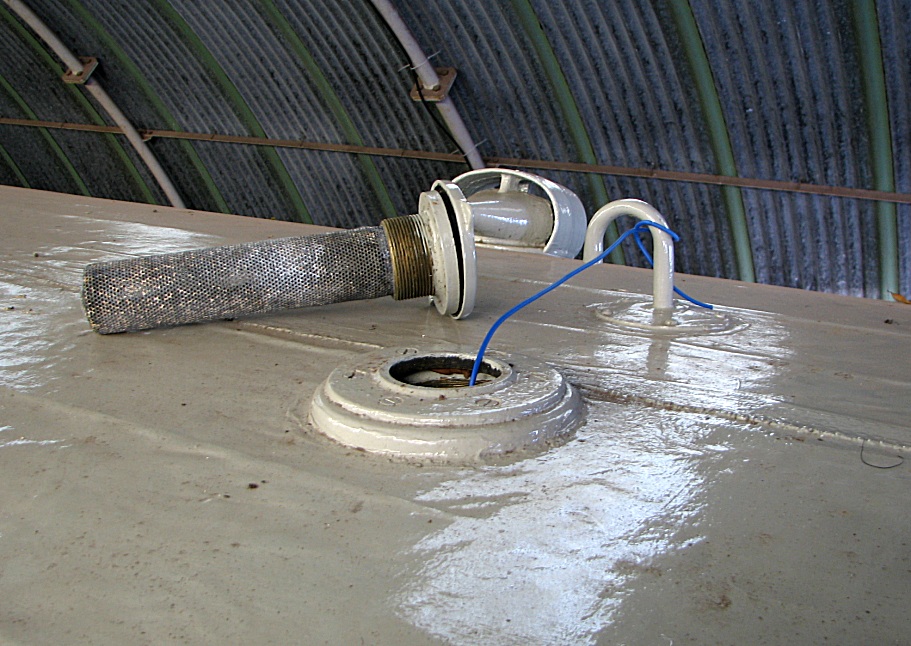
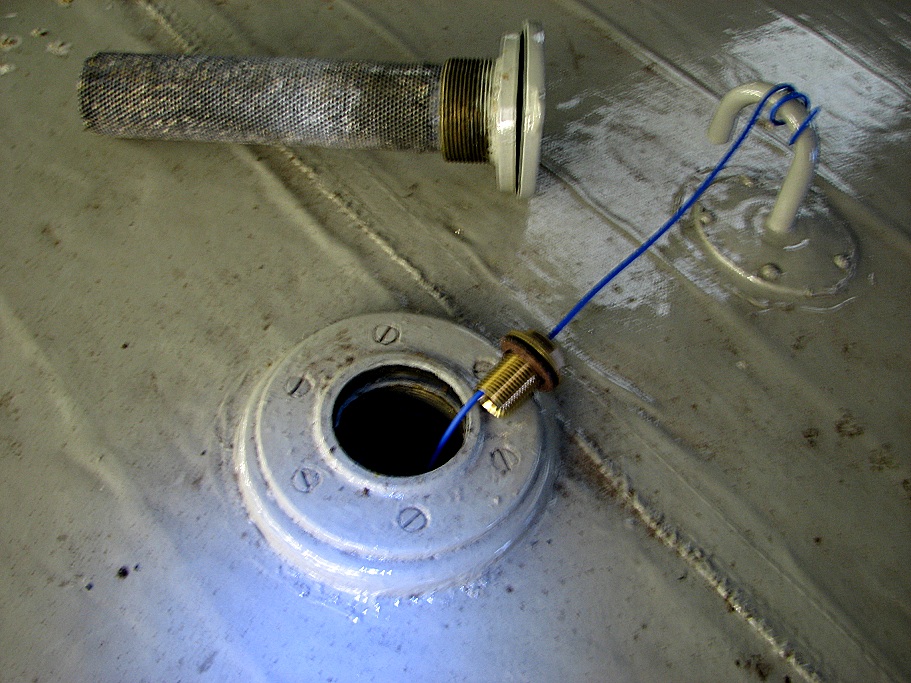
Here’s the thing, we want the lovely LMS Period 1 Third Open 7828 we’re working on to have working toilets, but with Period 1 and 2 coaches you have to scramble up on the roof with a hose to fill the tanks, not a good idea. So we brainstormed a low level filling system – the first version attempted to fill via the drain but we found the internal pipework gave a ‘virtual head’ of water causing the fill to take the easy way out of the breather pipe – it worked if someone went on the roof and blocked the breather with their finger but you’re back to square one. OK so version two was to cut a hole fairly high up in the tank and fit a bog standard 15mm compression brass tank fitting (£2.17 from Toolstation). But, how are we to get it through the hole we’ve drilled given that the roof filler is too small to get a hand through into the inside of the tank – unless you can borrow a small child? This is where a piece of wire comes in and the good Dr Ben Riley says this is like a medical procedure.
So it went like this, first a 22mm hole was cut in the tank, as far as possible in line with the roof filler and avoiding the baffle in the tank. Then while I was up the ladder Bob Matkin pushed a length of electrical wire through the hole and I hooked it out from above and tied it off. Then the tank fitting was given some sealant and threaded onto the wire, and Bob below told to standby. The fitting was released and by some miracle shot down the wire and straight out of the hole! By the time I had come down the ladder Bob had already screwed the retaining nut on and there we have it! We had a backup plan to use a couple of ‘L’ shaped hooks to pull the fitting through the hole but didn’t need them in the end.
A ‘T’ piece and two non-return valves will be used with concealed hoses down to solebar level to enable the filling. It doesn’t happen very often but now and again things do work out nicely!
Dave Winter
Link: Carriage Preservation — further articles on carriage preservation techniques.

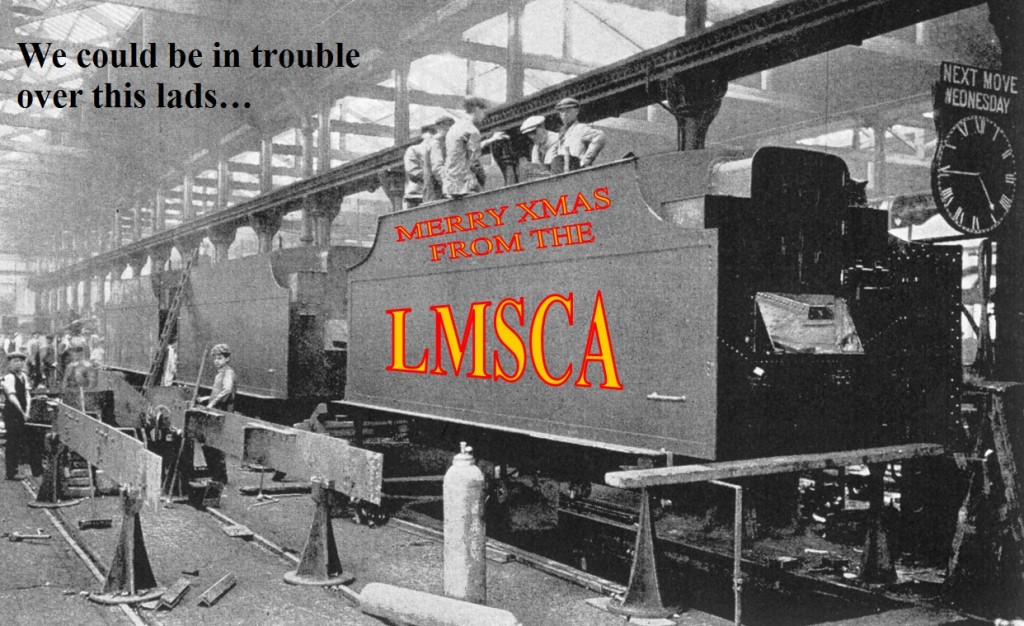
Merry Christmas from the LMSCA
Wishing one and all a Merry christmas, and a peaceful and prosperous 2015.
Dave Winter
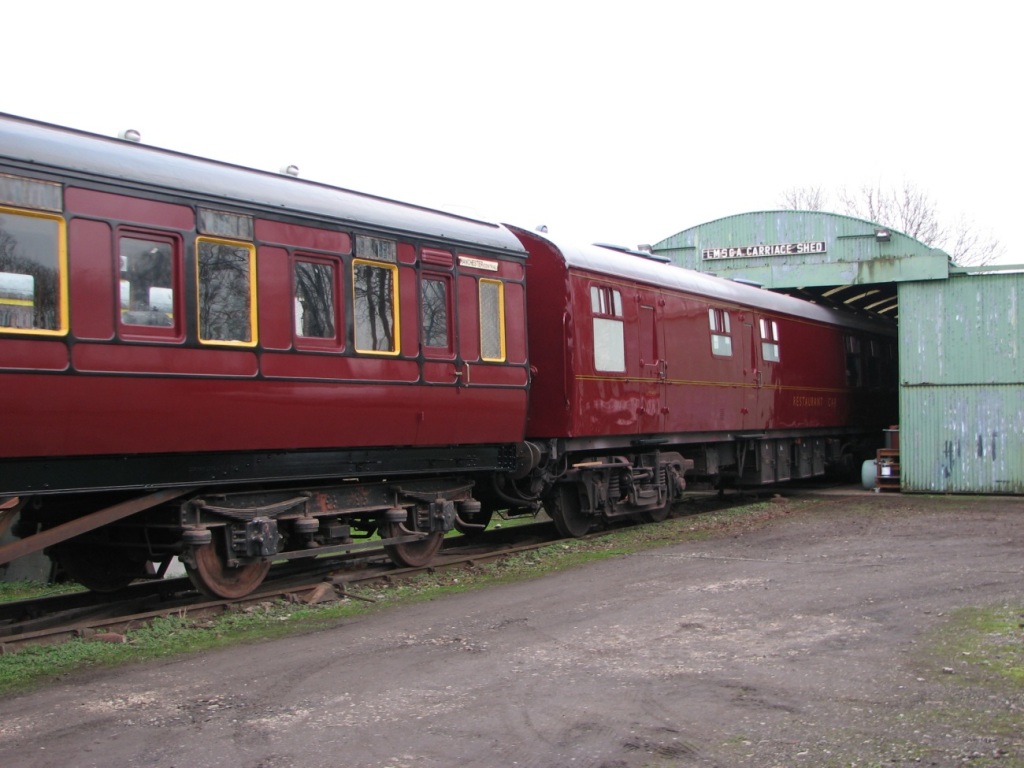
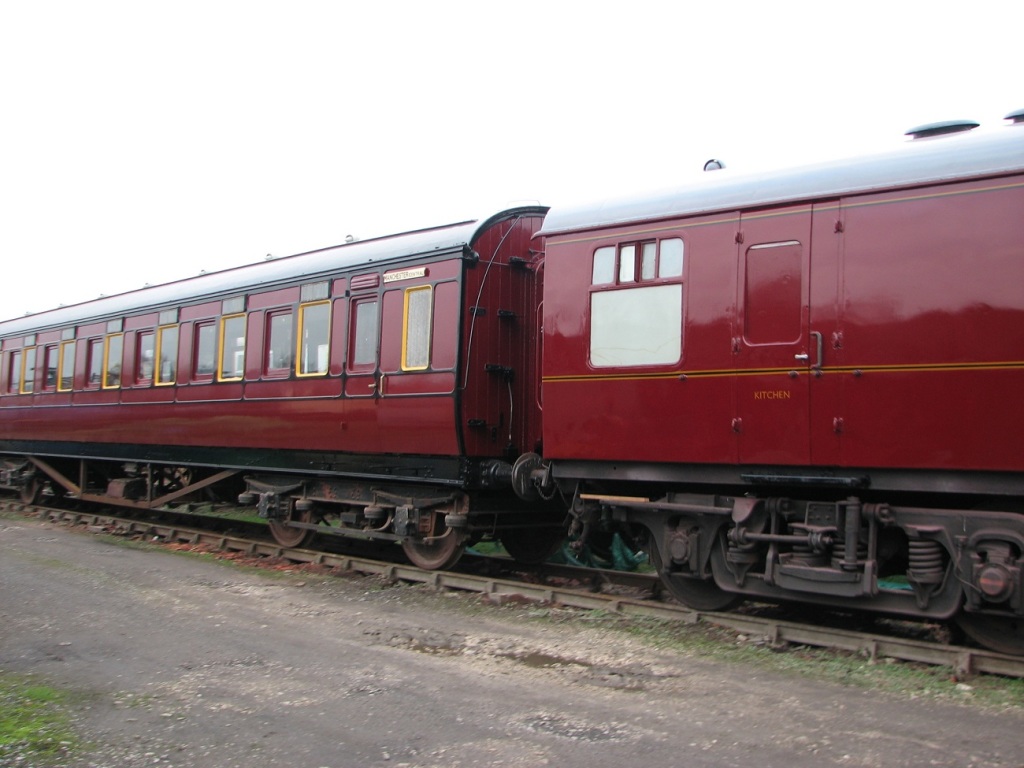
P1 meets Mk1
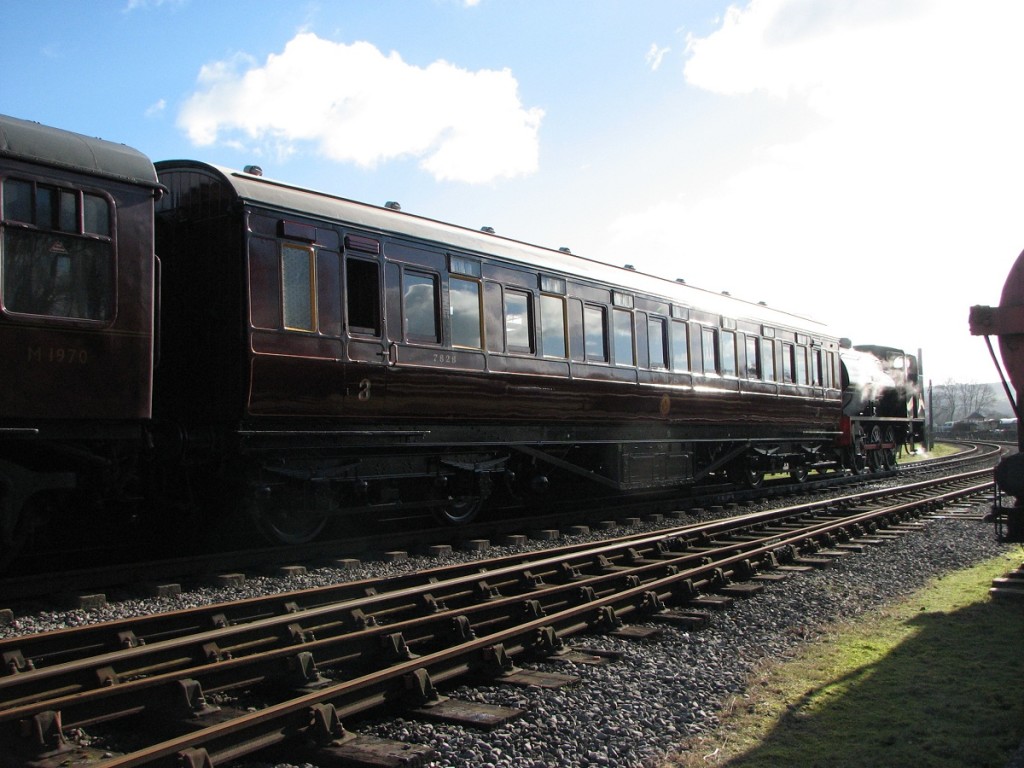
LMS Period 1 Third Open 7828 has been residing outside the LMSCA shed at Rowsley for a few weeks to enable the chassis to be cleaned and painted. This has also been a good test of its waterproof qualities, and despite some heavy downpours no leaks have been detected – apart from self-made ones when testing the toilet water system. Its being outside has enabled BR Mk1 Restaurant Car (RBR) E1970 to have a repaint and emerge as M1970. Today the M1970 was coupled up to 7828 to do the shunt required to get it back in the running set, and I must say they looked well together!
Dave Winter
7828 – Sept 2014

The exterior beading has been painted black ready for lining, and the end and gangways have finally received Midland Maroon gloss. The fixed light windows have been fitted with the reproduced bolections and sealed in. The best of the old bolections have been put aside as spares for 7828- when refitting windows we needed the best seal we could, to help extend the interval until the next overhaul.
Whilst the exterior looks very different after a few pieces of glass and some paint have been thrown at it, it’s inside that the real work has been taking place.
The whole original floor was mechanically sanded and has been covered with a layer of 3mm ply, ready for the new marmoleum (‘marbled- linoleum’, if the term is alien), which will either be fitted now or about to be, depending on when I remember to send this update to Mike. Working upwards, the rest of the partition covers and panels are in and varnished, sliding doors glazed and working, and the sliding mechanism covers are on and painted in. The rebuilt lower panels, which incorporate around 25% original framing components have been stained to match the other woodwork, varnished and fitted with the old garnish rails. Middle panels are on and varnished with the window framing, and the brass blind hooks that Dave spent days finding, cleaning and sorting are on. The upper panels have eventually made their way back from Sheffield where the old varnish was being stripped, and are now hung, varnished, and most satisfyingly, have had new pictures fitted and glazed to replace the old, water damaged set. These include some elegant replica labels produced by a firm call Soabar in Whetstone, Leics. The LMS seemed to have embossed some images with a black panels and stamped letters into them and others have a little black fabric label with foil blocked letters in gold, and it’s this version we have had produced. After months of head scratching and some truly massive quotes for dissimilar products, following a chance email this firm rapidly came up with just what we wanted, at just the right price, so I’m plugging them for anyone having the same problem. Thanks Jon! Some of the pictures off the partitions survived, so have been skilfully refurbished with a duster and refitted.
There are acres of cornice rail, which has now been collected, stripped, varnished and refitted. The saloon door architraves are back in place, and work has started on the fiddly bits of moulding over the doorway tops.
In the vestibules the luggage rack area, toilets and partitions have been stripped and varnished. The removable ceiling panels which act as inspection covers for the water tank have been glossed and fitted. The luggage rack window bars need repainting before fitting. The lavatory cabinets can’t be rebuilt until the floor is down, but we’re getting ahead by stripping them ready to reassemble when that is done. Bit of plumbing to do as well.
The seat trimming is going well, having reached the last few bases which were so damaged after years of storage before they came here that the spring mesh has to be replaced. The final batch of materials has arrived to allow the piping to be prepared, along with the vinyl for the armrests. Looking at improving the accommodation for seat trimming, Ian is finding the open bench doesn’t give the best environment and protection from dust, and we have been given an industrial sewing machine, which needs to be set up somewhere.
So what next? Seat ends to repair and varnish, and need to make a set of tables to the original pattern, though we have had all the necessary brass castings done already. We’re stuck with the lights until some components have arrived for the existing 12, and then until we have some more cash available for the other 6 sidelights, and the 5 ceiling electroliers. We’re reaching the point where the cavernous interior is about to get filled with stuff. Luggage racks could go up now, but we feel that fitting them after the seat backs go in will help reduce head injuries when fiddling with seats. The stones vent internal covers are made and glazed, but there hasn’t been a time when we’ve gotten around to refitting them yet. Need to get it shunted out to start the underframe tidying.
eBay for Charity

The LMSCA is now registered with the PayPal Giving Fund and the connected programme eBay for Charity. This enables you to donate a percentage of proceeds from your eBay sales to the LMSCA, or if you are a buyer to make a donation to us when you purchase an item or at any other time. Please pop along to http://www.ebay.co.uk/egw/ebay-for-charity/charity-profile/?NP_ID=66082 and add us as your favourite charity.