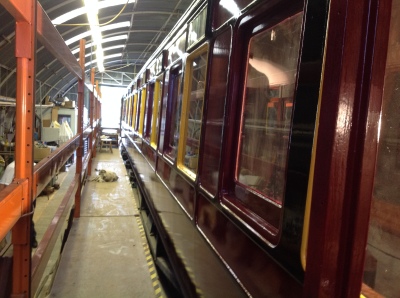
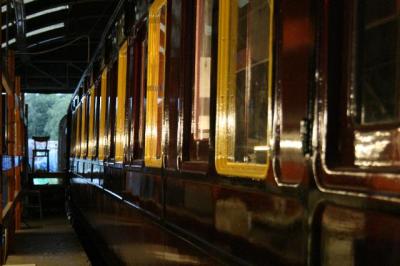
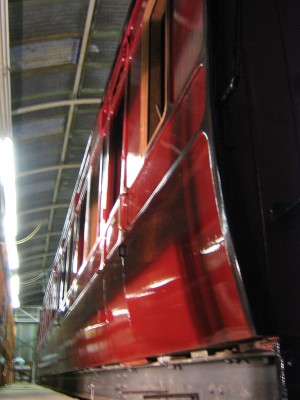
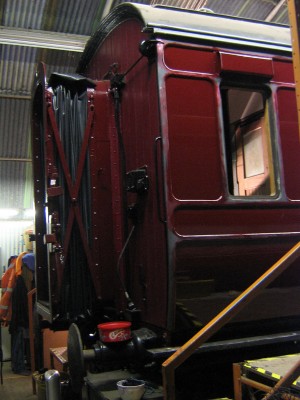
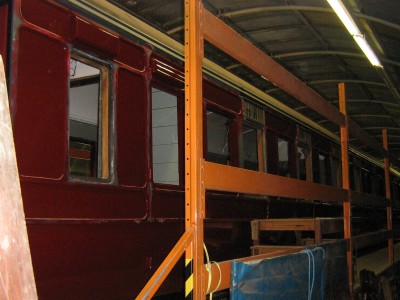
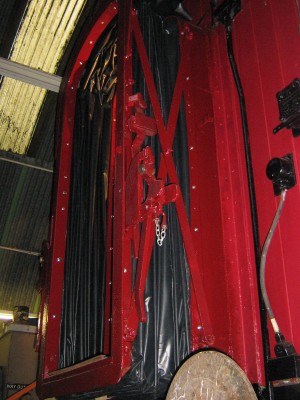
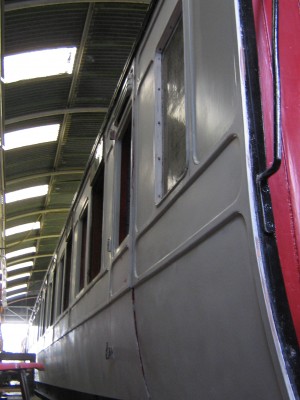
The exterior beading has been painted black ready for lining, and the end and gangways have finally received Midland Maroon gloss. The fixed light windows have been fitted with the reproduced bolections and sealed in. The best of the old bolections have been put aside as spares for 7828- when refitting windows we needed the best seal we could, to help extend the interval until the next overhaul.
Whilst the exterior looks very different after a few pieces of glass and some paint have been thrown at it, it’s inside that the real work has been taking place.
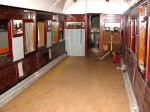
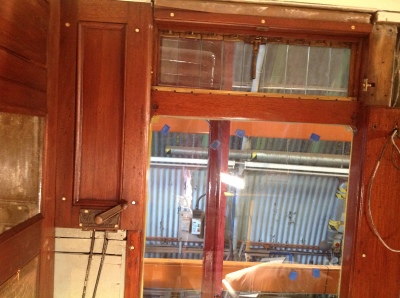
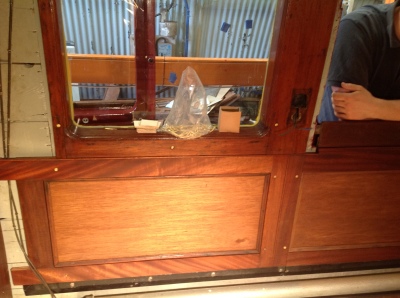
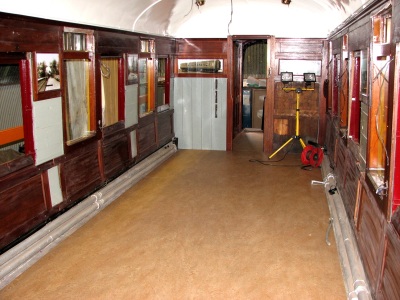
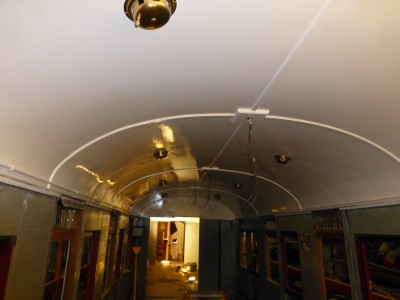
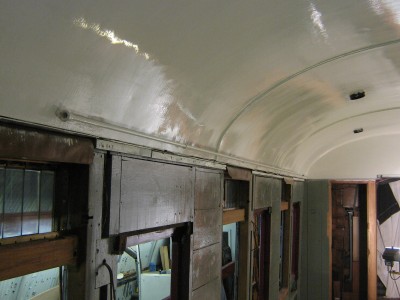
The whole original floor was mechanically sanded and has been covered with a layer of 3mm ply, ready for the new marmoleum (‘marbled- linoleum’, if the term is alien), which will either be fitted now or about to be, depending on when I remember to send this update to Mike. Working upwards, the rest of the partition covers and panels are in and varnished, sliding doors glazed and working, and the sliding mechanism covers are on and painted in. The rebuilt lower panels, which incorporate around 25% original framing components have been stained to match the other woodwork, varnished and fitted with the old garnish rails. Middle panels are on and varnished with the window framing, and the brass blind hooks that Dave spent days finding, cleaning and sorting are on. The upper panels have eventually made their way back from Sheffield where the old varnish was being stripped, and are now hung, varnished, and most satisfyingly, have had new pictures fitted and glazed to replace the old, water damaged set. These include some elegant replica labels produced by a firm call Soabar in Whetstone, Leics. The LMS seemed to have embossed some images with a black panels and stamped letters into them and others have a little black fabric label with foil blocked letters in gold, and it’s this version we have had produced. After months of head scratching and some truly massive quotes for dissimilar products, following a chance email this firm rapidly came up with just what we wanted, at just the right price, so I’m plugging them for anyone having the same problem. Thanks Jon! Some of the pictures off the partitions survived, so have been skilfully refurbished with a duster and refitted.
There are acres of cornice rail, which has now been collected, stripped, varnished and refitted. The saloon door architraves are back in place, and work has started on the fiddly bits of moulding over the doorway tops.
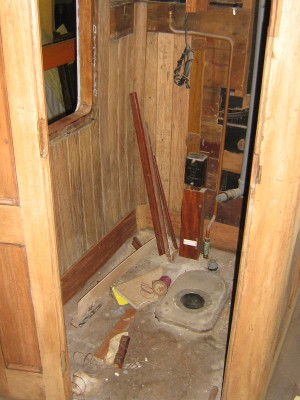
In the vestibules the luggage rack area, toilets and partitions have been stripped and varnished. The removable ceiling panels which act as inspection covers for the water tank have been glossed and fitted. The luggage rack window bars need repainting before fitting. The lavatory cabinets can’t be rebuilt until the floor is down, but we’re getting ahead by stripping them ready to reassemble when that is done. Bit of plumbing to do as well.
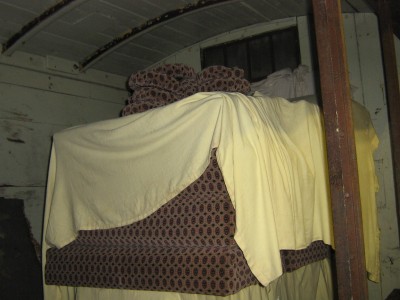
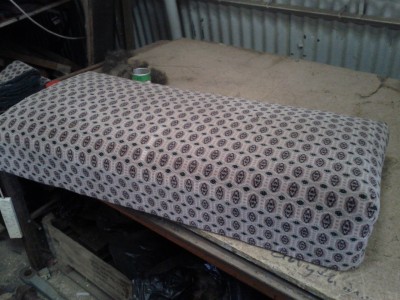
The seat trimming is going well, having reached the last few bases which were so damaged after years of storage before they came here that the spring mesh has to be replaced. The final batch of materials has arrived to allow the piping to be prepared, along with the vinyl for the armrests. Looking at improving the accommodation for seat trimming, Ian is finding the open bench doesn’t give the best environment and protection from dust, and we have been given an industrial sewing machine, which needs to be set up somewhere.
So what next? Seat ends to repair and varnish, and need to make a set of tables to the original pattern, though we have had all the necessary brass castings done already. We’re stuck with the lights until some components have arrived for the existing 12, and then until we have some more cash available for the other 6 sidelights, and the 5 ceiling electroliers. We’re reaching the point where the cavernous interior is about to get filled with stuff. Luggage racks could go up now, but we feel that fitting them after the seat backs go in will help reduce head injuries when fiddling with seats. The stones vent internal covers are made and glazed, but there hasn’t been a time when we’ve gotten around to refitting them yet. Need to get it shunted out to start the underframe tidying.
