We continue our series of 94630 updates with a guest post from Samuel, who is volunteering with the LMSCA to contribute to his achievements as part of the Duke of Edinburgh’s Award.
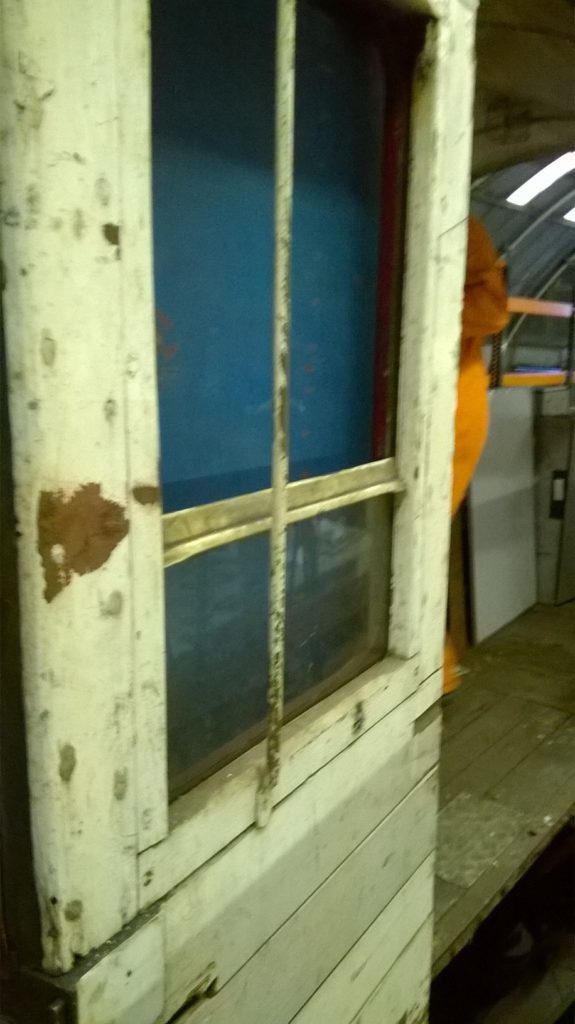
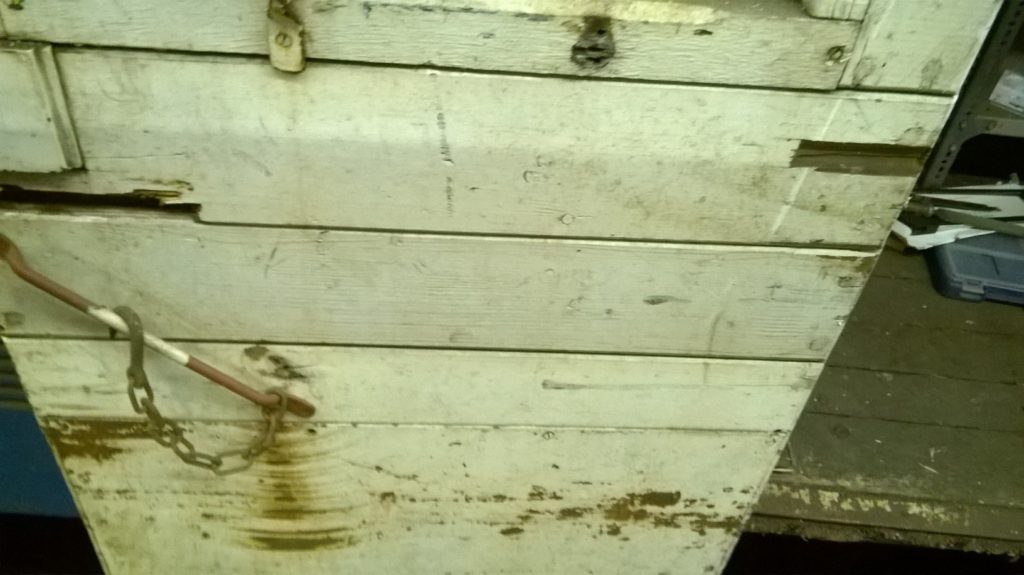
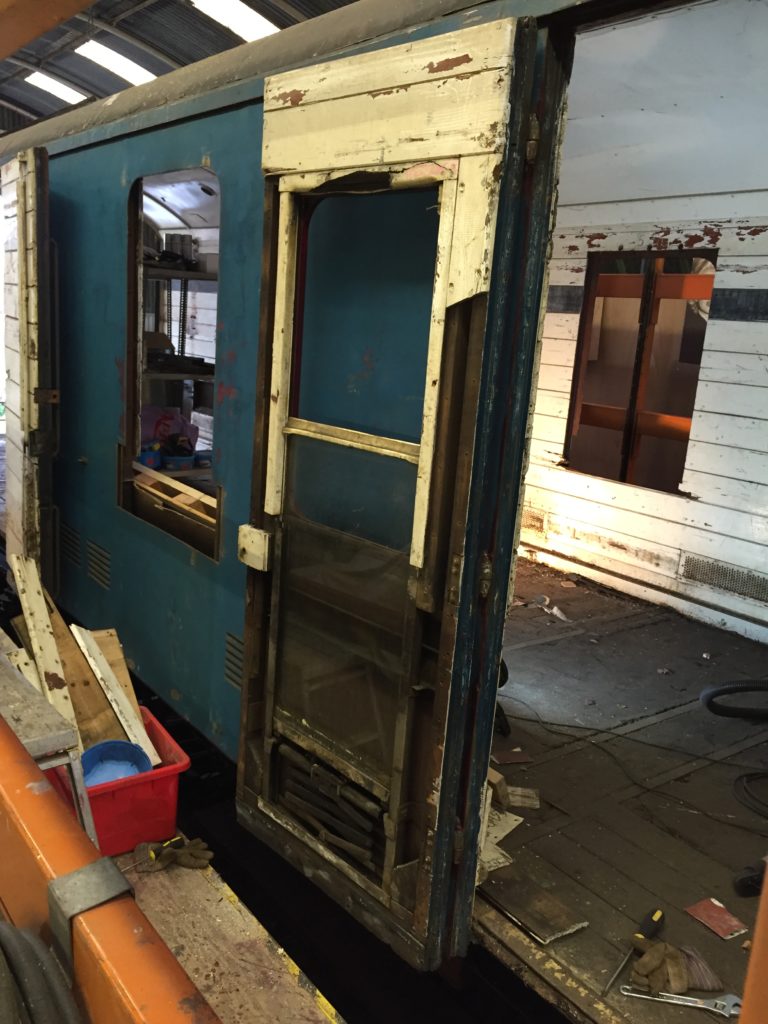
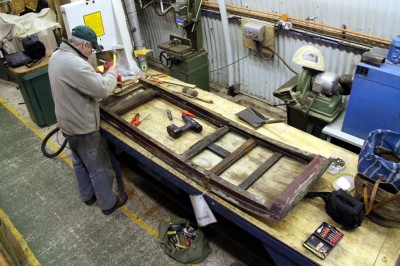
Hello. My name is Samuel, and I’m 15 years old. I am taking part in the Bronze Duke of Edinburgh’s award, the first level of the world’s leading youth achievement award, through the Peak District Shambles Explorer Scout group. As part of this award, you must spend three to six months volunteering. A lot of my friends decided to work at charity shops, or as young leaders for younger sections of our scout group. I decided I wanted to do something a little different, and the LMSCA seemed a great place to go. I am working on the eight doors of the covered carriage truck (CCT) †, as this will give me a chance to work on both my mechanical and woodwork skills, areas I would like to develop for the future. I hope to post regular updates on what I’ve been getting on with, as I get things done. So far, I have labelled all the doors, and have begun work on door B, removing all the wood panels from the inside of the door. By the end of my 6 months, I hope to have renovated all 8 doors to a usable condition for people getting in and out of the carriage.
94630 door before stripping down94630 door before stripping down94630’s door after removal of planking and other fittings
† Editor’s note: Although the CCT may be more commonly known as a covered carriage truck, the LMS often referred to this type of vehicle as a covered combination truck.
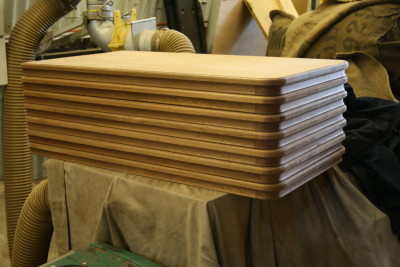
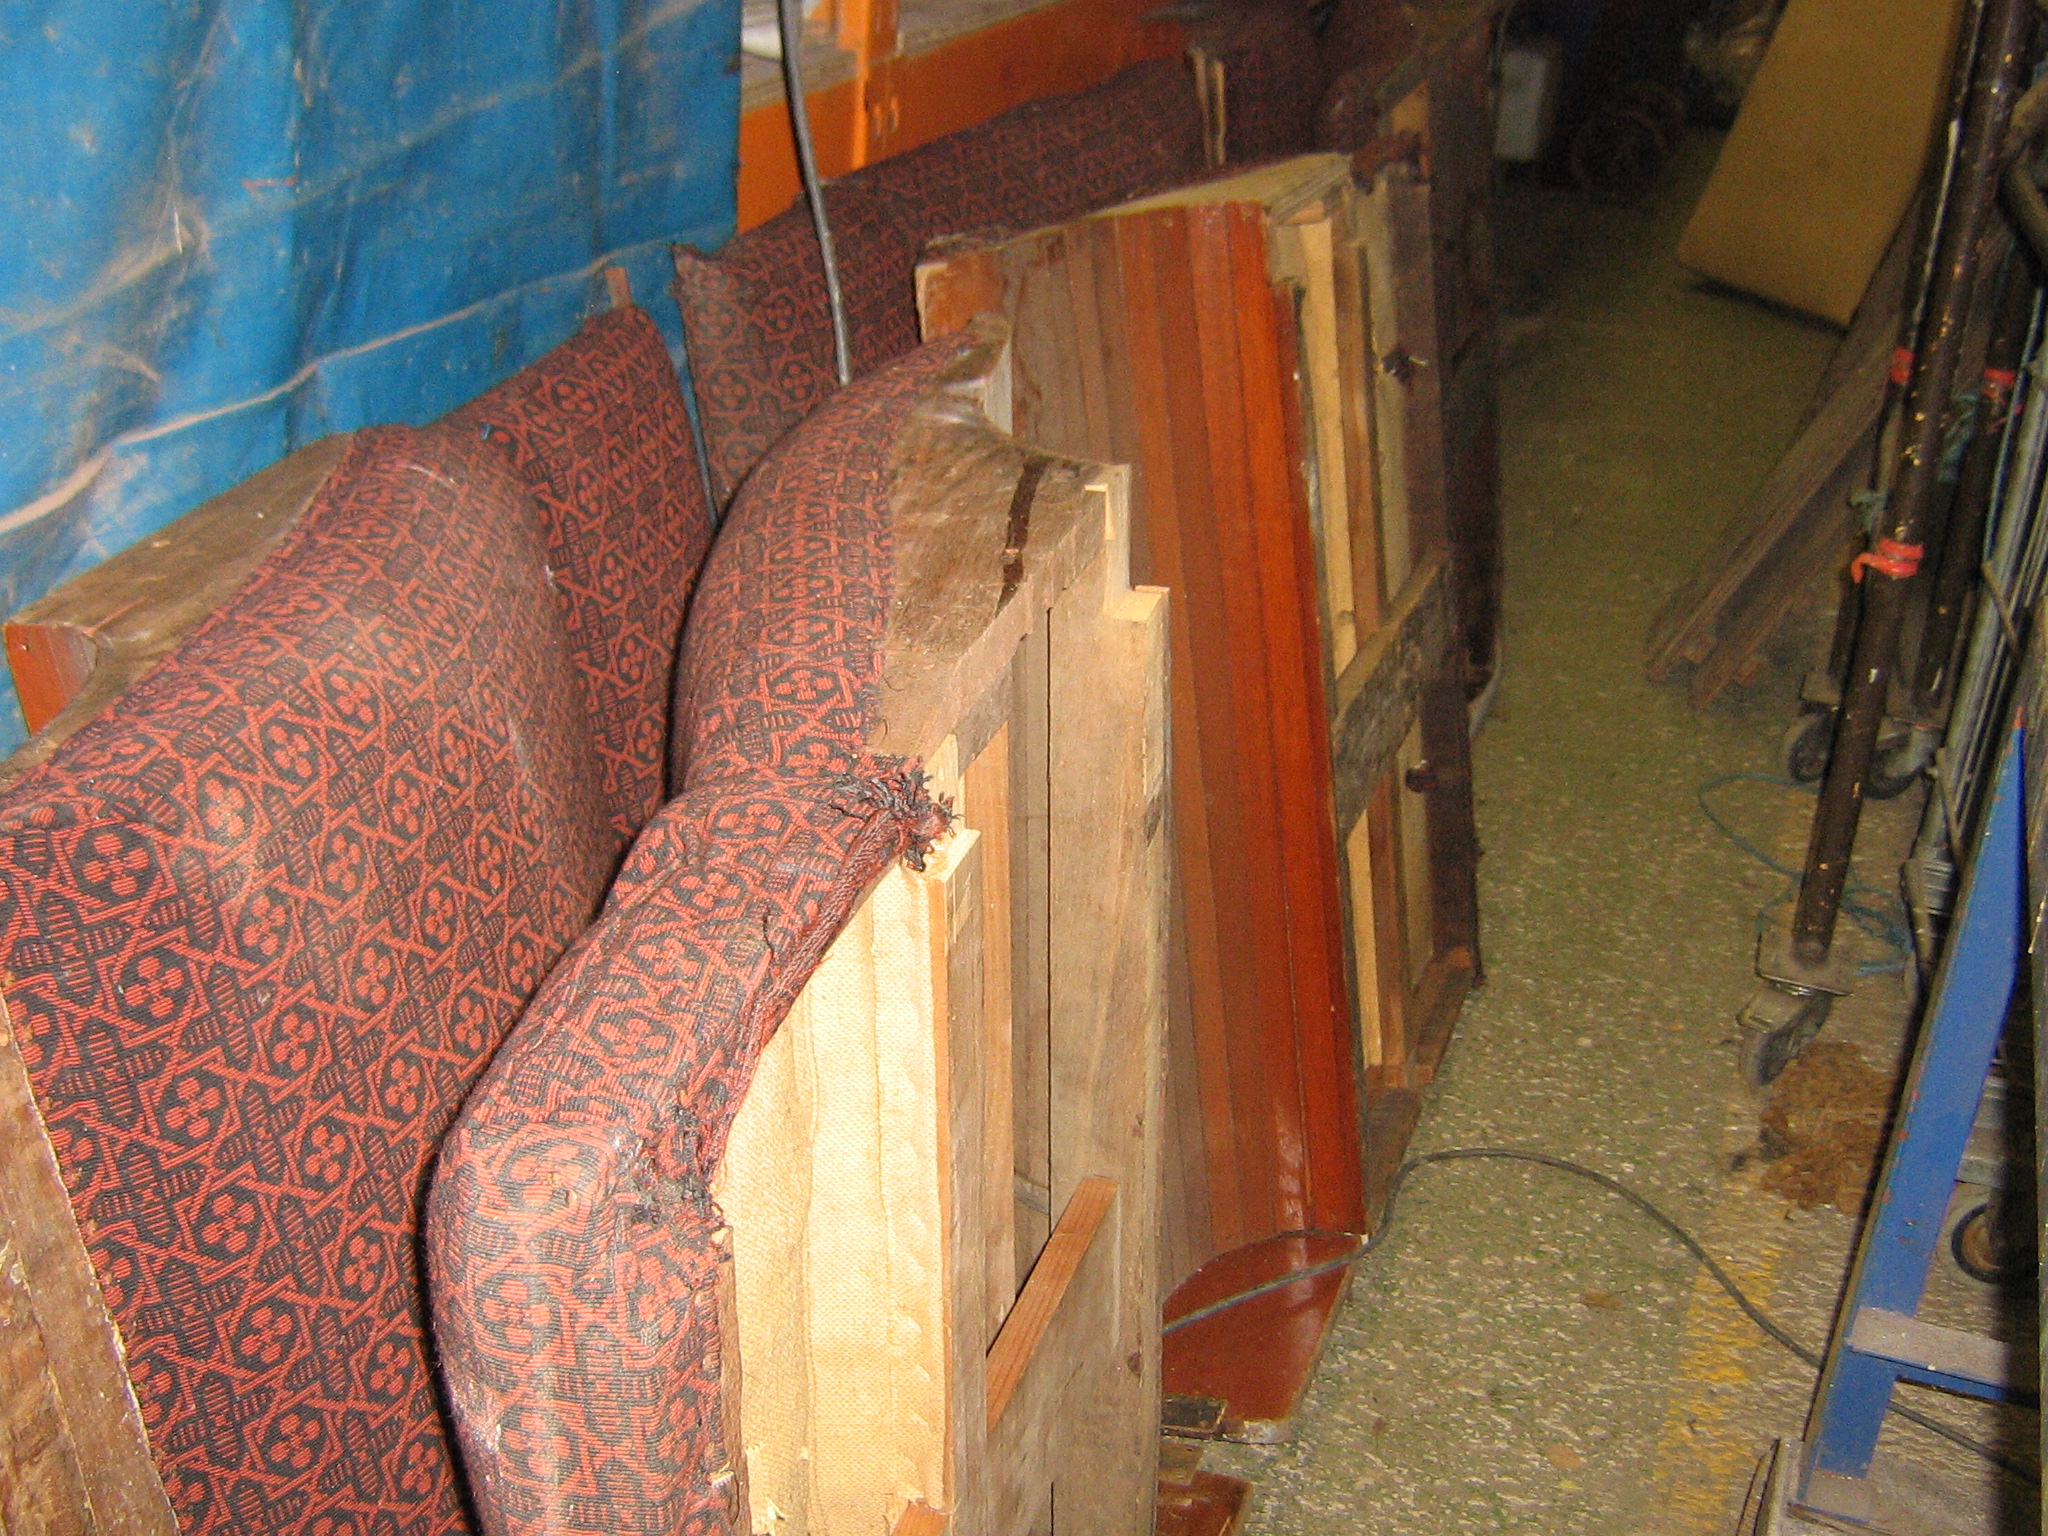
Seating bayAssembled table tops awaiting stain and varnish
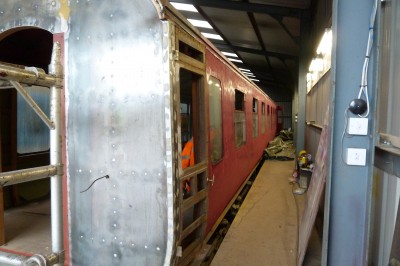
A summary of work completed on 7828 in the last few months. It has become difficult to update at times when the coach is changing so quickly, but for several months most volunteers were engaged in preparing large quantities of components- either trimming seat parts, machining timber mouldings, varnishing, glazing, painting underframe or searching for brass work.
So, state of play as of today-
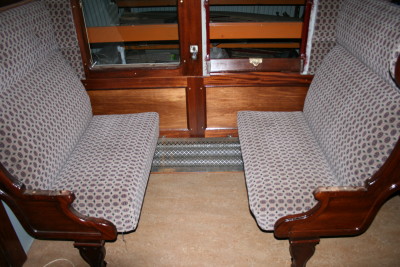
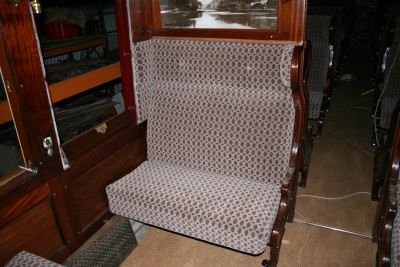
All seat back and end units are fitted, lined up and bolted down. We need some more screws to finish putting the full quota into each anchoring bracket, but as soon as they land we can install them, leaving the way clear to bolting in the seat bases.
Bases all trimmed, some are awaiting their piping. 8 armests are finished, the other 20 are having piping applied.
The luggage racks are up in the 3-bay saloon, and stacked up ready for the 4-bay. I would think they’ll be up by the end of, say, Tuesday. Table lamps are up in the 3-bay, ready for installation in the 4-bay, and the lights are up and working in the loos and vestibules. Ceiling lamps not delivered yet.
The droplights have been rebuilt, glazed with toughened glass, assembled and sealed, painted to gloss on the outside and varnished inside. Specially made felt sections (20mm x 10mm and 10mm x 10mm) have arrived to allow us to fit new seals to each side, which help with vibration and sound proofing as well as facilitating a smooth slide. These are ready to pin on, and then it’s just the leather straps to apply with the cleaned and painted fittings prior to installing in the coach. Each droplight, for saloon or door, has already been tested in it’s own numbered aperture.
Tables- all parts now made to reproduce the original early Period 1 LMS TO table. We borrowed a genuine example from the team at Swanwick, and have produced a set of 14 in solid utile. The previously mentioned leg base castings are machined ready to go, and the fixing brackets and tabs are sorted into boxes. 7 table tops have been assembled to date, it’s a fill in job when we get an hour at the end of another task.
Toilets- sink and loo fitted in No.1 loo, all works. Loo seats and lids to varnish. Parts ready for No.2. New toilet roll holder cast and fitted. Paper towel holders sourced and mounted, bins procured. Vacant/engaged locks have arrived thanks for team based on ELR, modified to suit 7828 and now ready to fit. New left handed keeper plates have been cast and drilled. Some jiggery-pokery to convert the door locking system back to as-built is underway. The main door handles are now fitted and working.
Vestibules- not much gone on here, apart from draught excluders fitted around the side door apertures, as these areas have been virtually finished for some time. The clips to hold open the partition sliding doors were discovered and fitted.
Underframe- fusebox in process of being put back where it was meant to be, and some painting undertaken at the ends. Still gloss black to go on some bogies parts and the trusses, when we shunt it out again.
Lining- continues… Livery- LMS transfers due in 2 weeks time.
A list of final jobs exists in the carriage shed, ranging from window cleaning to spotting odd missing panel screws, gluing in bell pushes to hanging lampshades. Come see.
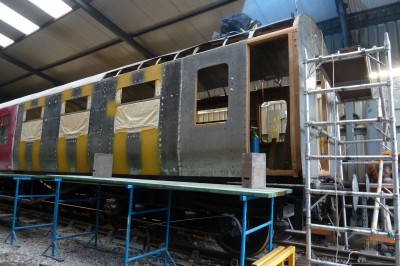
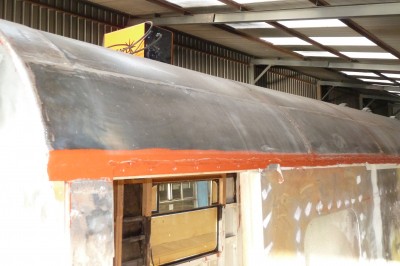
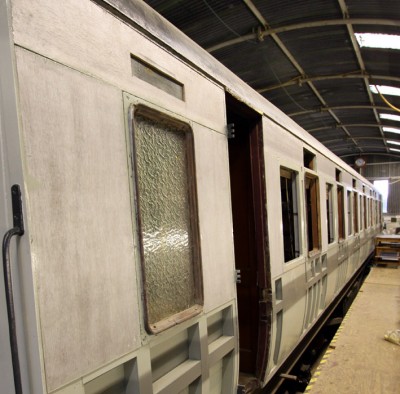
Since the last post in September the new steel panelling for the sides and roof at the south end has been completed. This includes the fixing of the panels to the wooden framework using stainless steel screws sealed in with an adhesive The whole of the west side has been painted with primer and a first undercoat.
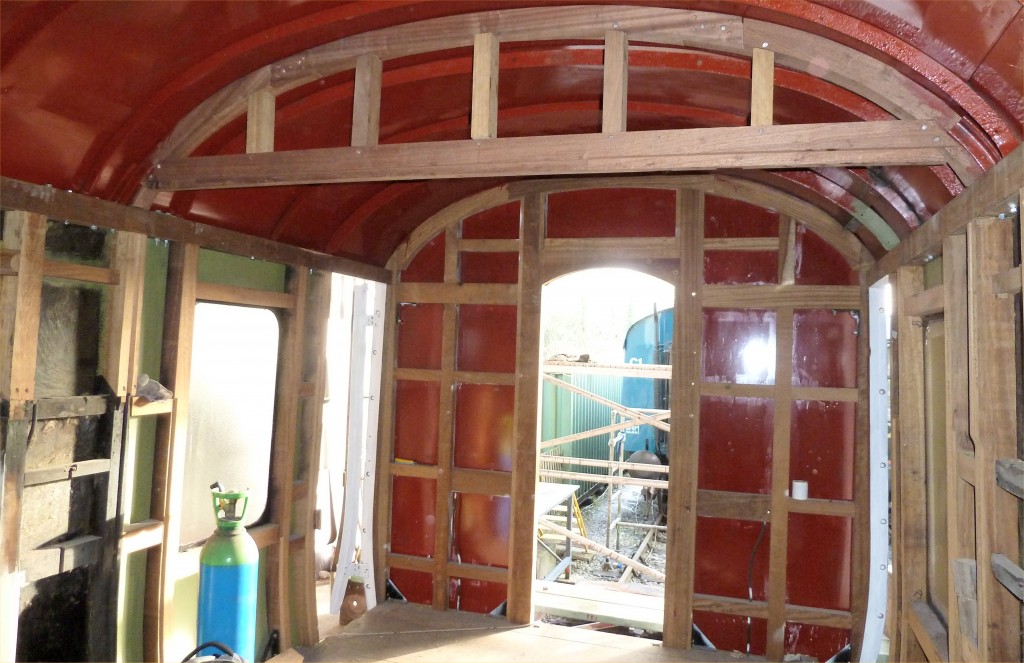
Internally the steel panelling has also been finished in primer and new wooden partition frames have been manufactured and installed.
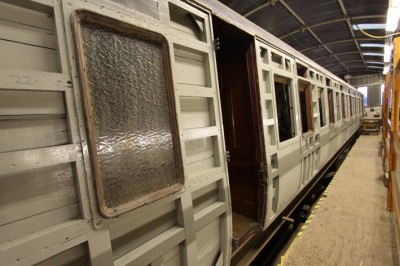
Two external doors have been replaced having been refurbished and most of the sliding windows are now installed.
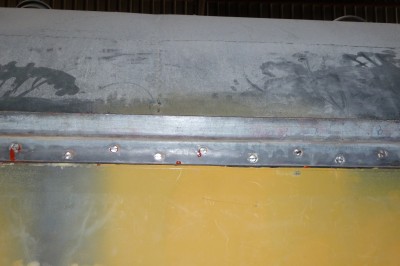
Much time and effort has been spent on refitting the guttering in order to be perfectly certain they do not leak and that there is no gap between the gutter and the body. This was a problem following the first restoration.
The carriage will remain in the shed until the gangway is fitted, the roof vents fitted and the outside is completely painted.
It has not been possible to obtain a full side view recently due to another vehicle alongside 27162.
Side panels fitted and the roof panels almost completeInternal view showing new wooden framework and steel panelling
New roof paneling and preparation for fitting guttersGuttering fitted showing stainless steel screws
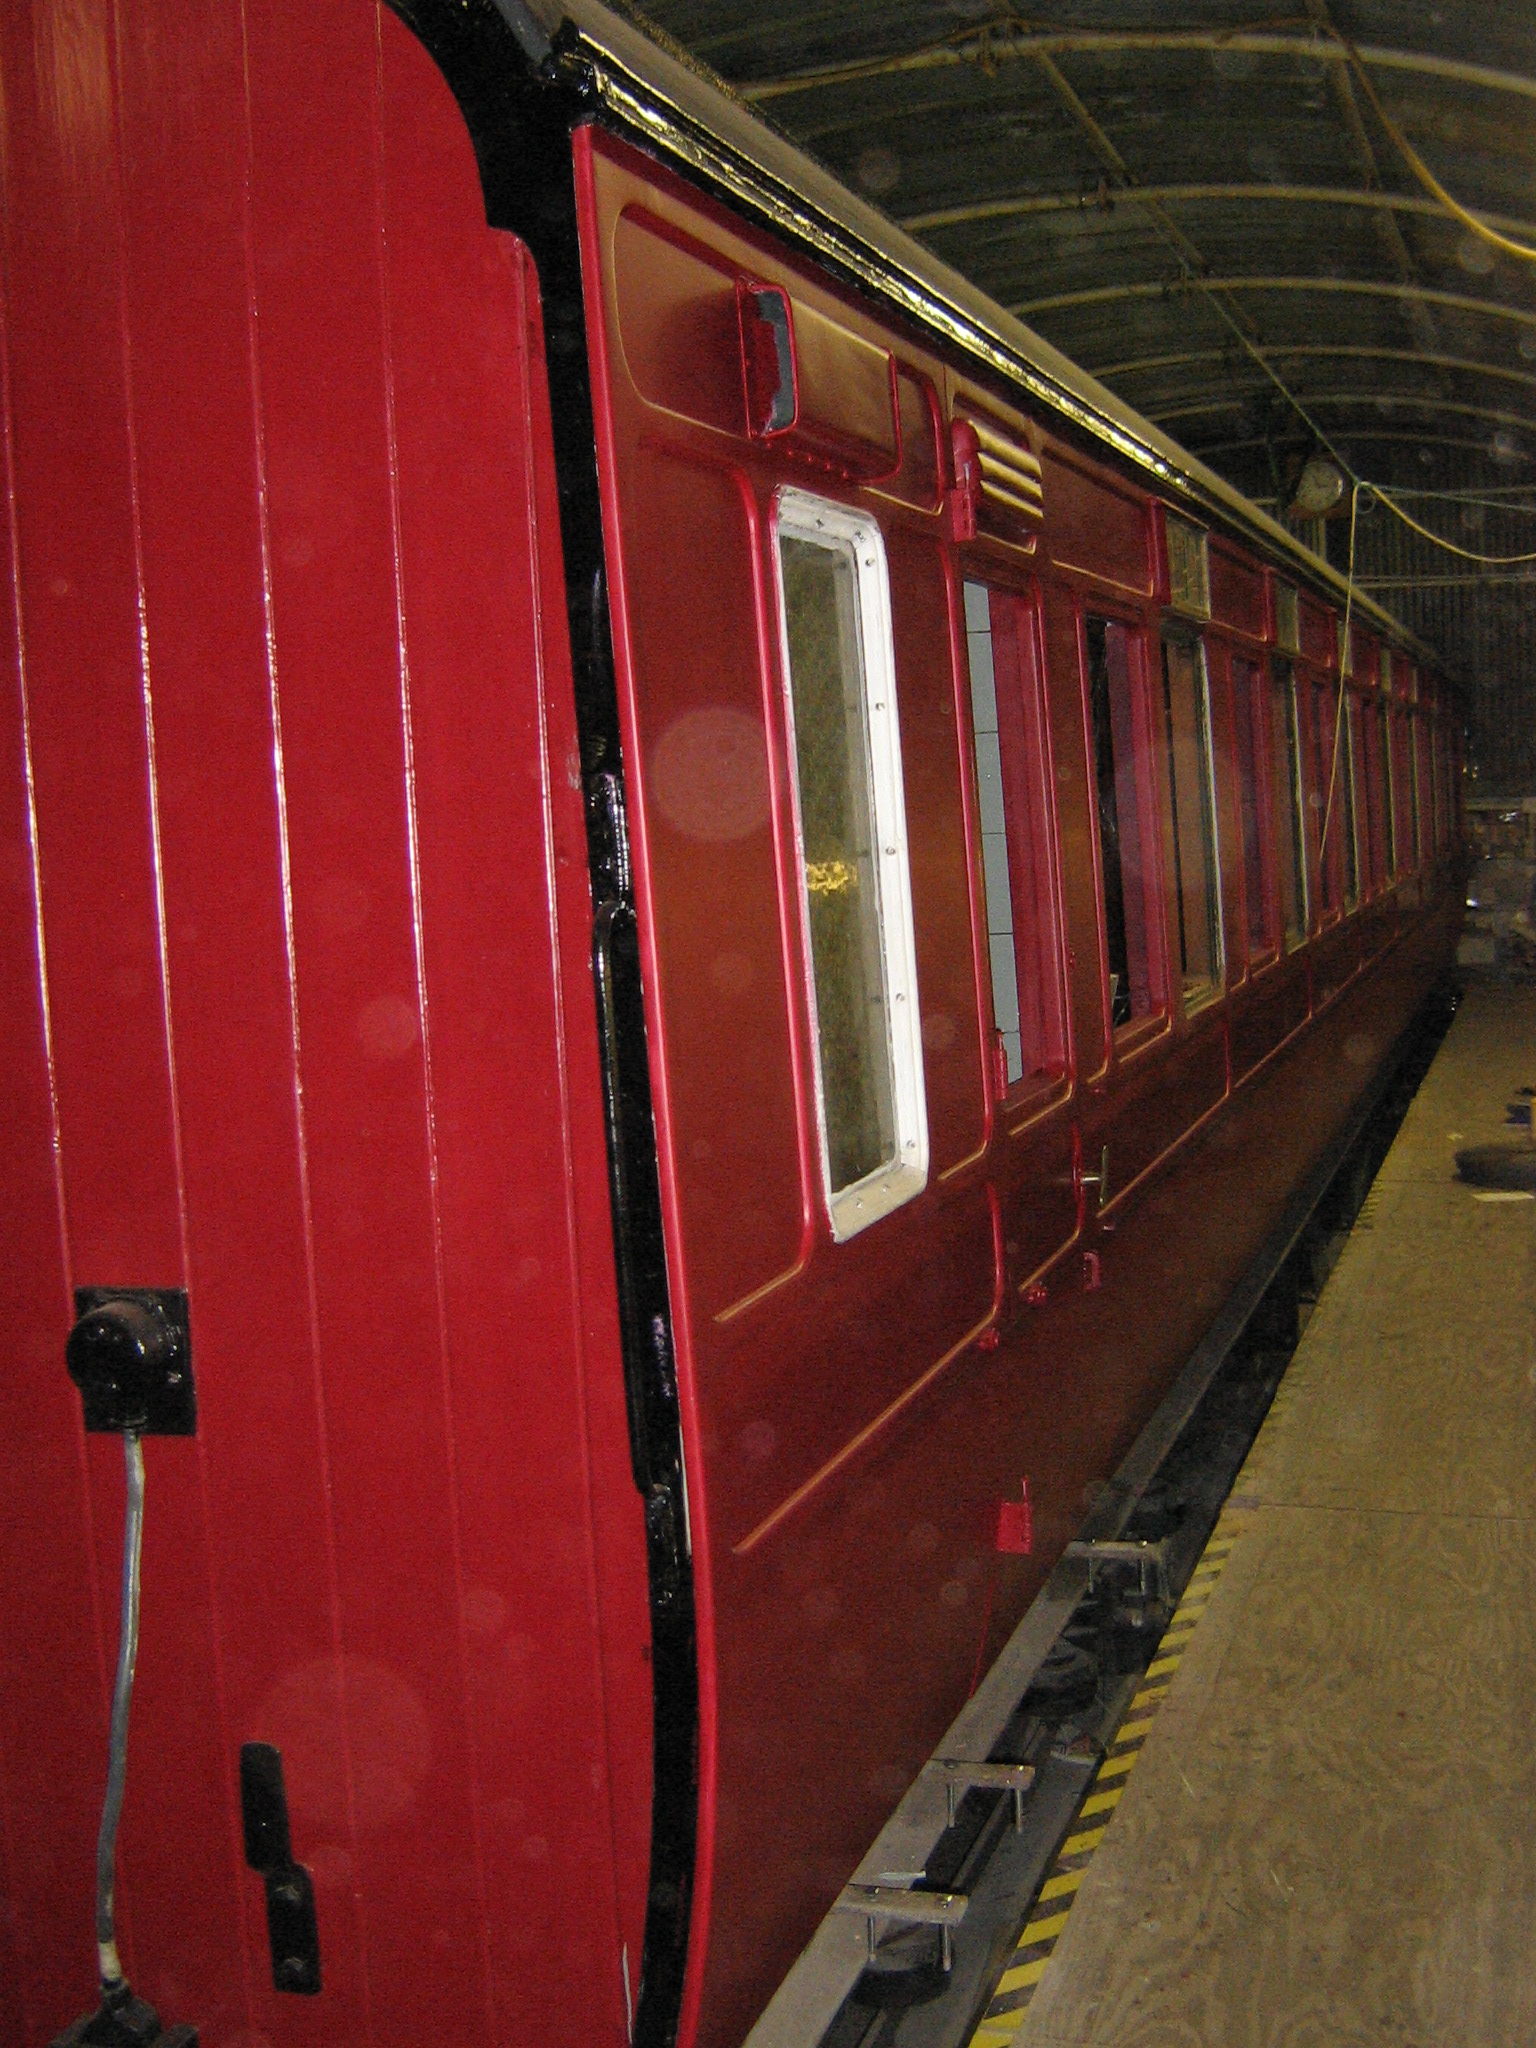
East side in undercoat showing replacement doorWest side painted in undercoat
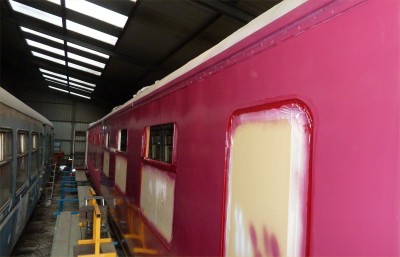
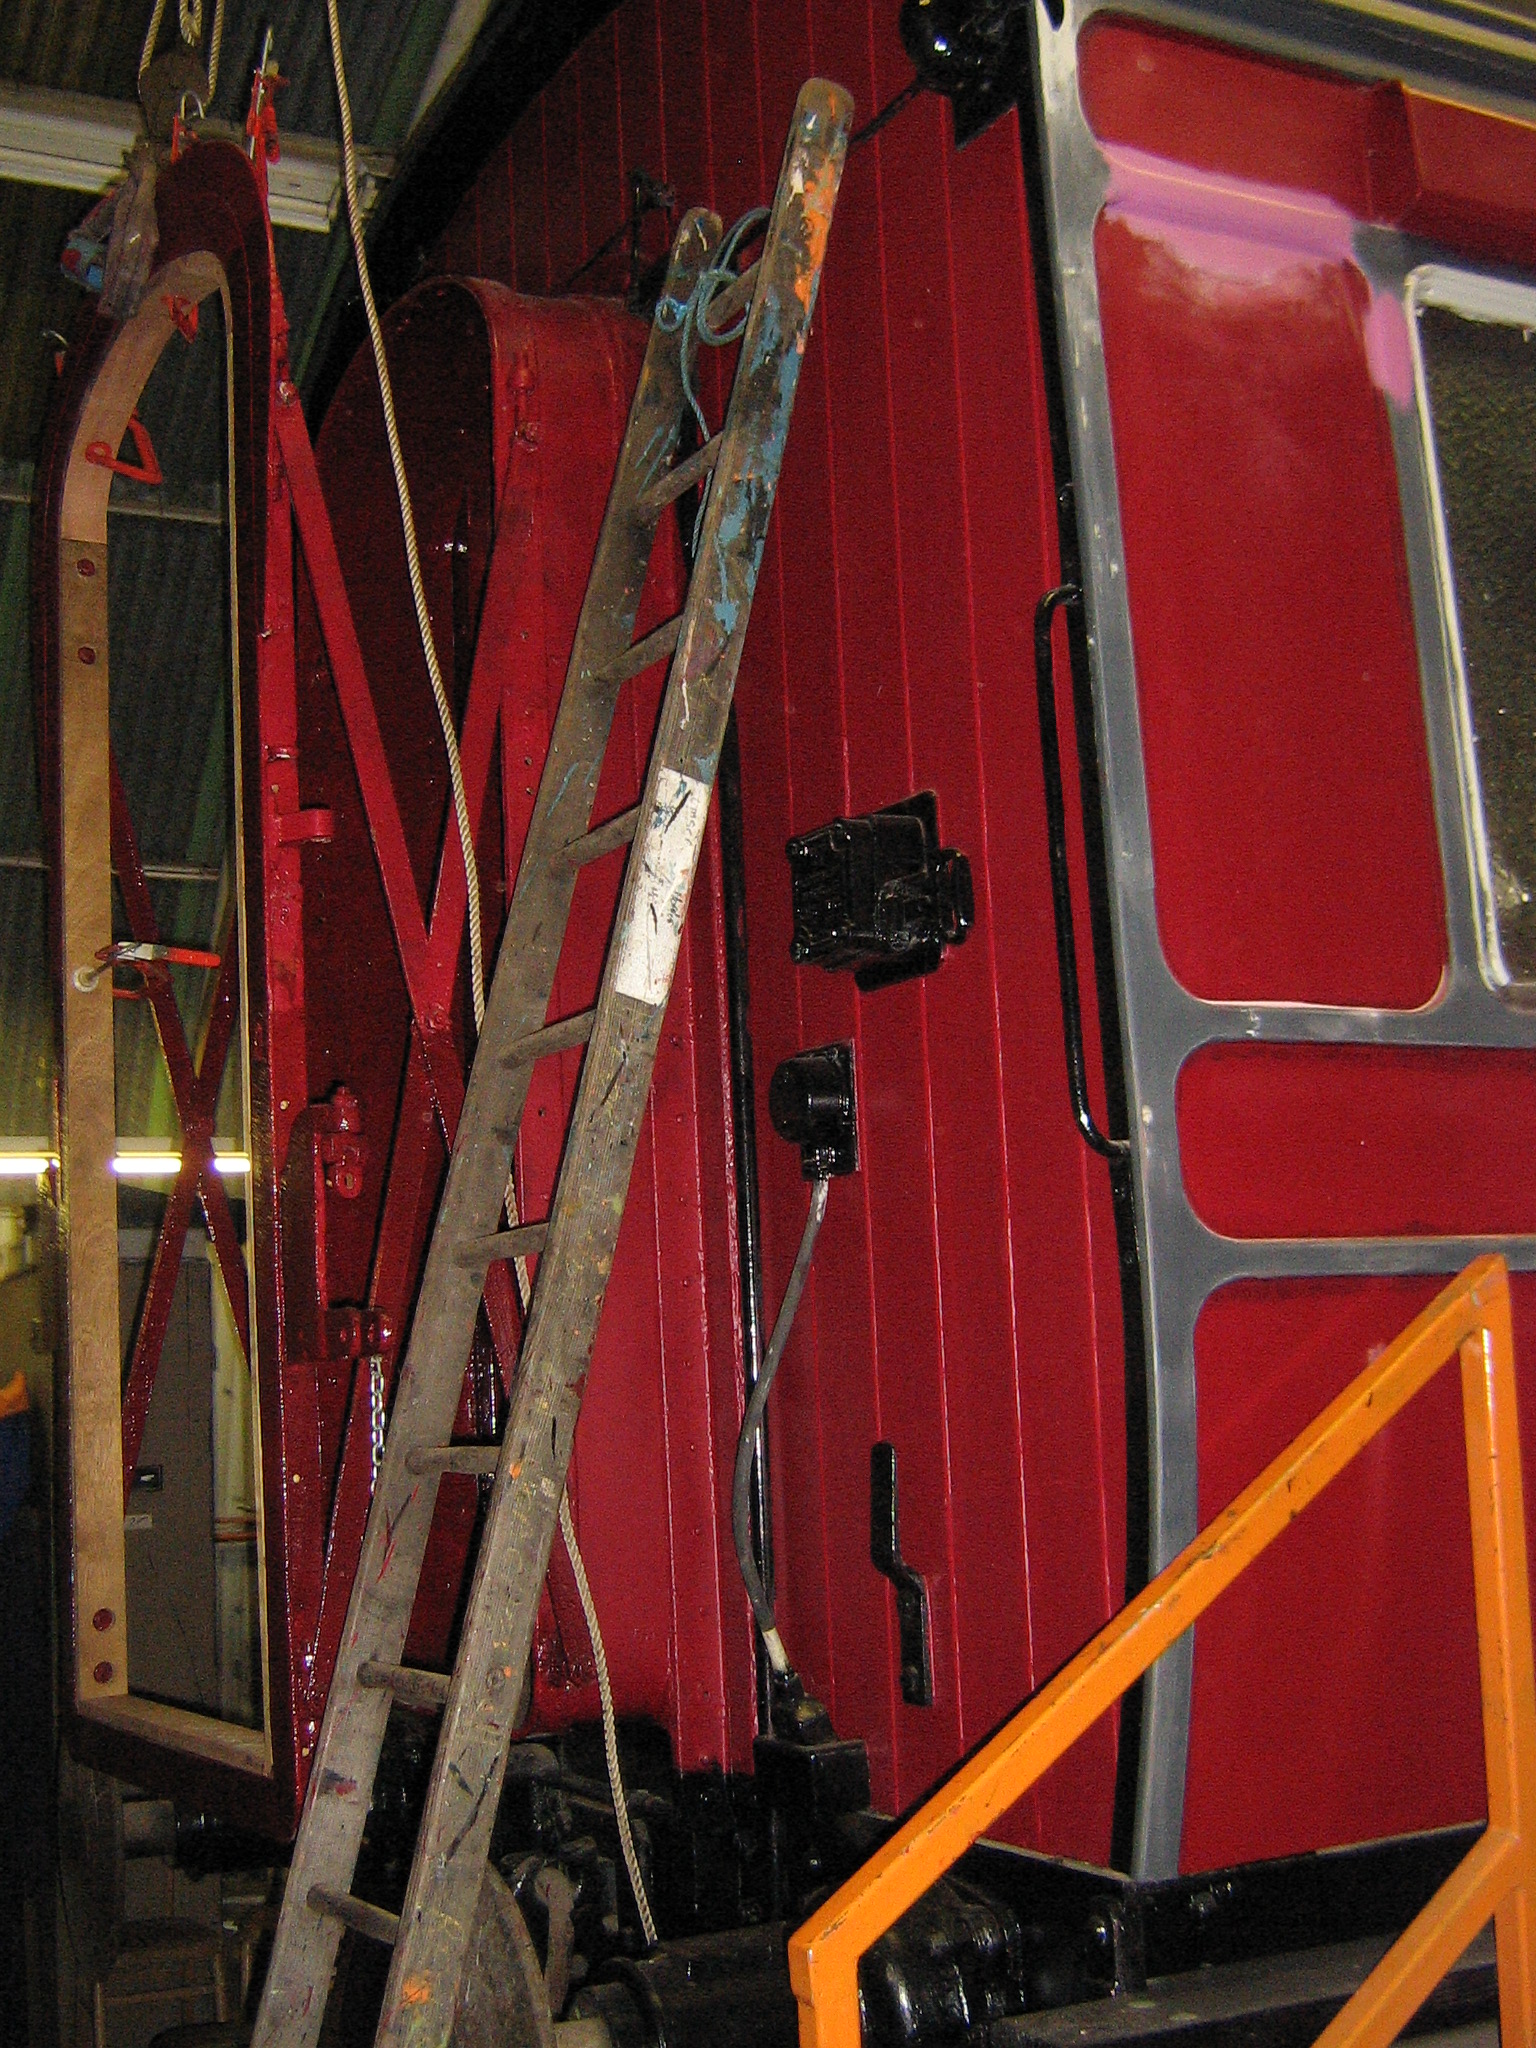
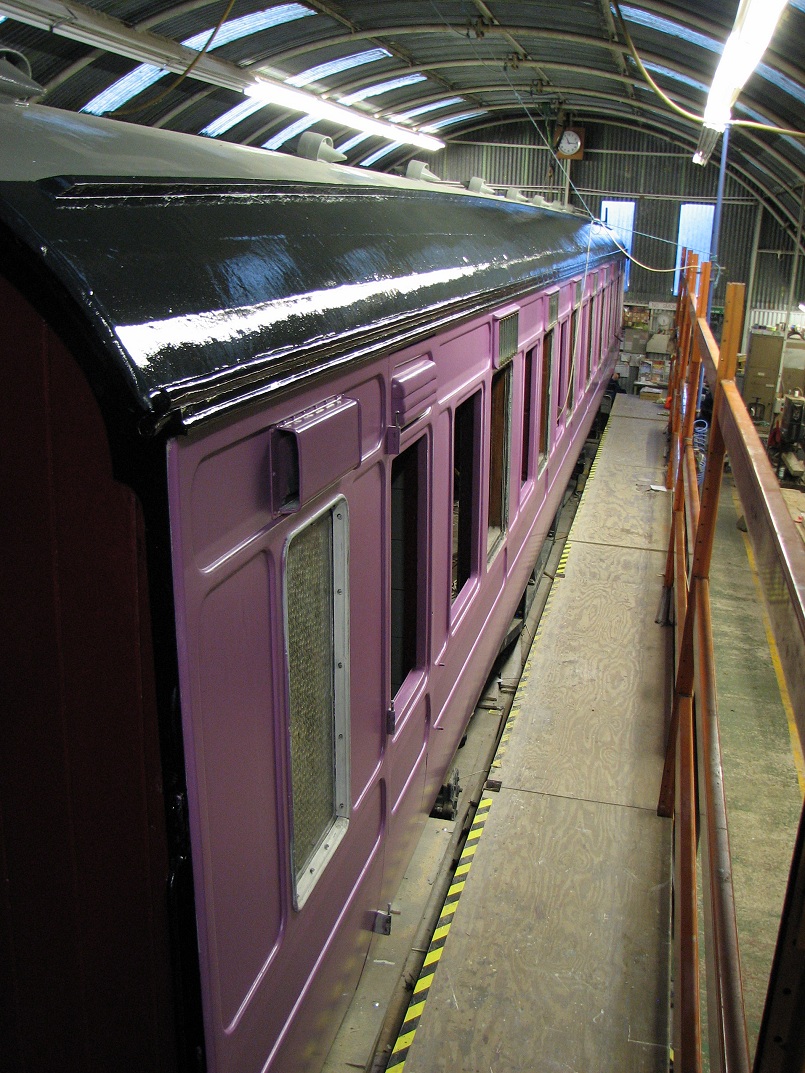
Steady progress over last month. Layers of undercoat- grey, pink and now red- on both sides of 7828. A final few coats on the roof with extra layers in strategic places has finished work above the cantrail. All four side doors have been adjusted and in the case of one, completely re-hung, to permit easy closing and improved fitting. The bump stops, locks, keeper plates, handles, budget locks, escutcheons and guide wedges have been painted and bedded on before being undercoated with the rest of the sides.
All of the frames for the fixed windows have been cleaned and old screws removed. The internal sections of window frame are being stripped prior to refinishing, taking advantage of the glass being out for the moment. All of which means, apart from window glass, the exterior is complete except for gloss painting and transfers now.
Work continues on the upgraded gangway. New clampwood has been made to support the bellows when they arrive, and the steelwork has been painted up to midland maroon gloss.
I’m informed the rewoven 1925 moquette – to replicate 7828’s original seat coverings – is ready for collection now, and to this end some of the seats have been tentatively removed from storage to allow assessment.
The first in a series of updates, to bring you up do date with progress made on 7828 in the past couple of years.
Before panelling (photo by Alan Taylor)
After upper panelling (photo by Alan Taylor)
Stones ventilator surrounding mouldings (photo by Alan Taylor)
Sanding of the moulding that surrounds the Stones window ventilators. (photo by Alan Taylor)
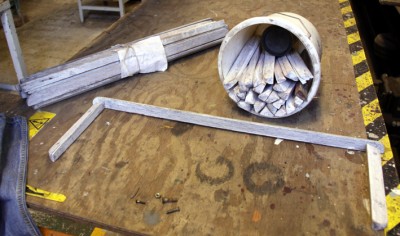
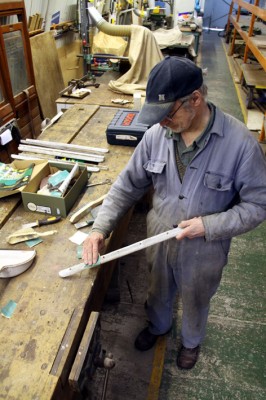
Measuring moulding on the 2nd side, in prepartion for fabrication of new moulding components (photo by Alan Taylor). These measurements were also used to estimate the quantity of wood required for the task, some 26,000 square inches.
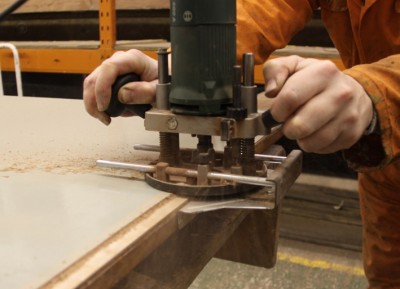
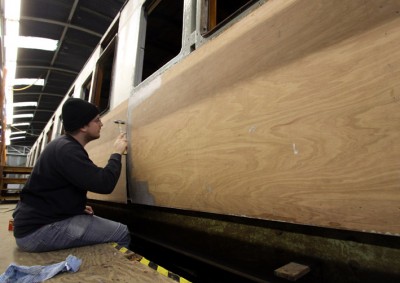
Using router on lower side panels to create a rebate so a lap joint can be made when fitting (photo by Michael Fearn)
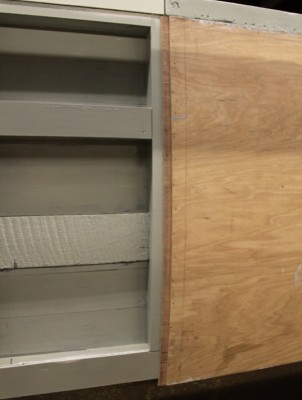
Panel fitted, with rebate ready for glueing and fitting of the next panel (photo by Alan Taylor)
Fitting the next panel along (photo by Alan Taylor)
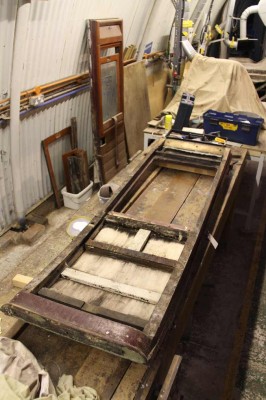
Door after removal of internal wood panelling and its droplight (photo by Alan Taylor)
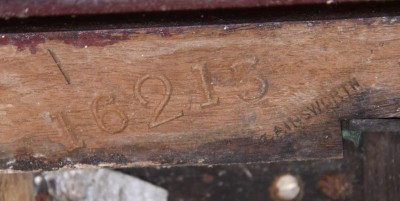
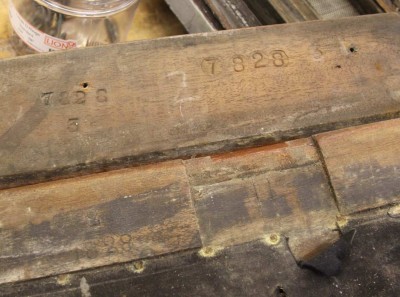
Detail showing this door once belonged to 16213. 7828’s original number was 16211. (photo by Alan Taylor)
Evidence that blinds were once fitted to the doors, believed to be for blackout conditions during WWII (photo by Alan Taylor)
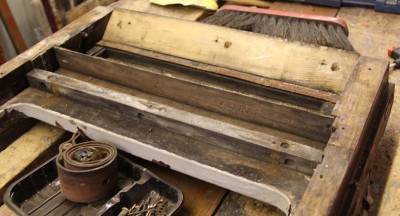
Work being undertake to strip a door of its fittings (photo by Alan Taylor)
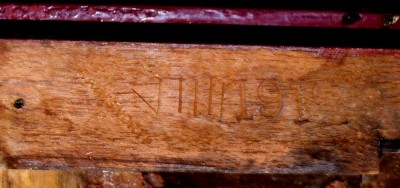
Markings on one of the doors, VIIII and 19129 (photo by Alan Taylor)
Markings on one of the doors, 7828 and 3 (photo by Alan Taylor)
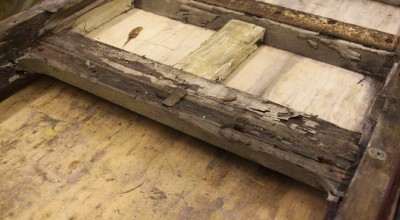
Rotten door timber to be removed and renewed. This shows the area where much of the water gets in around the droplight. (photo by Alan Taylor)
That concludes the catchup for that last part of 2009. Next to come, 2010.