7828 – Sept 2014

photo 2 photo 3 photo 4 S3_IMG_7020 lino01

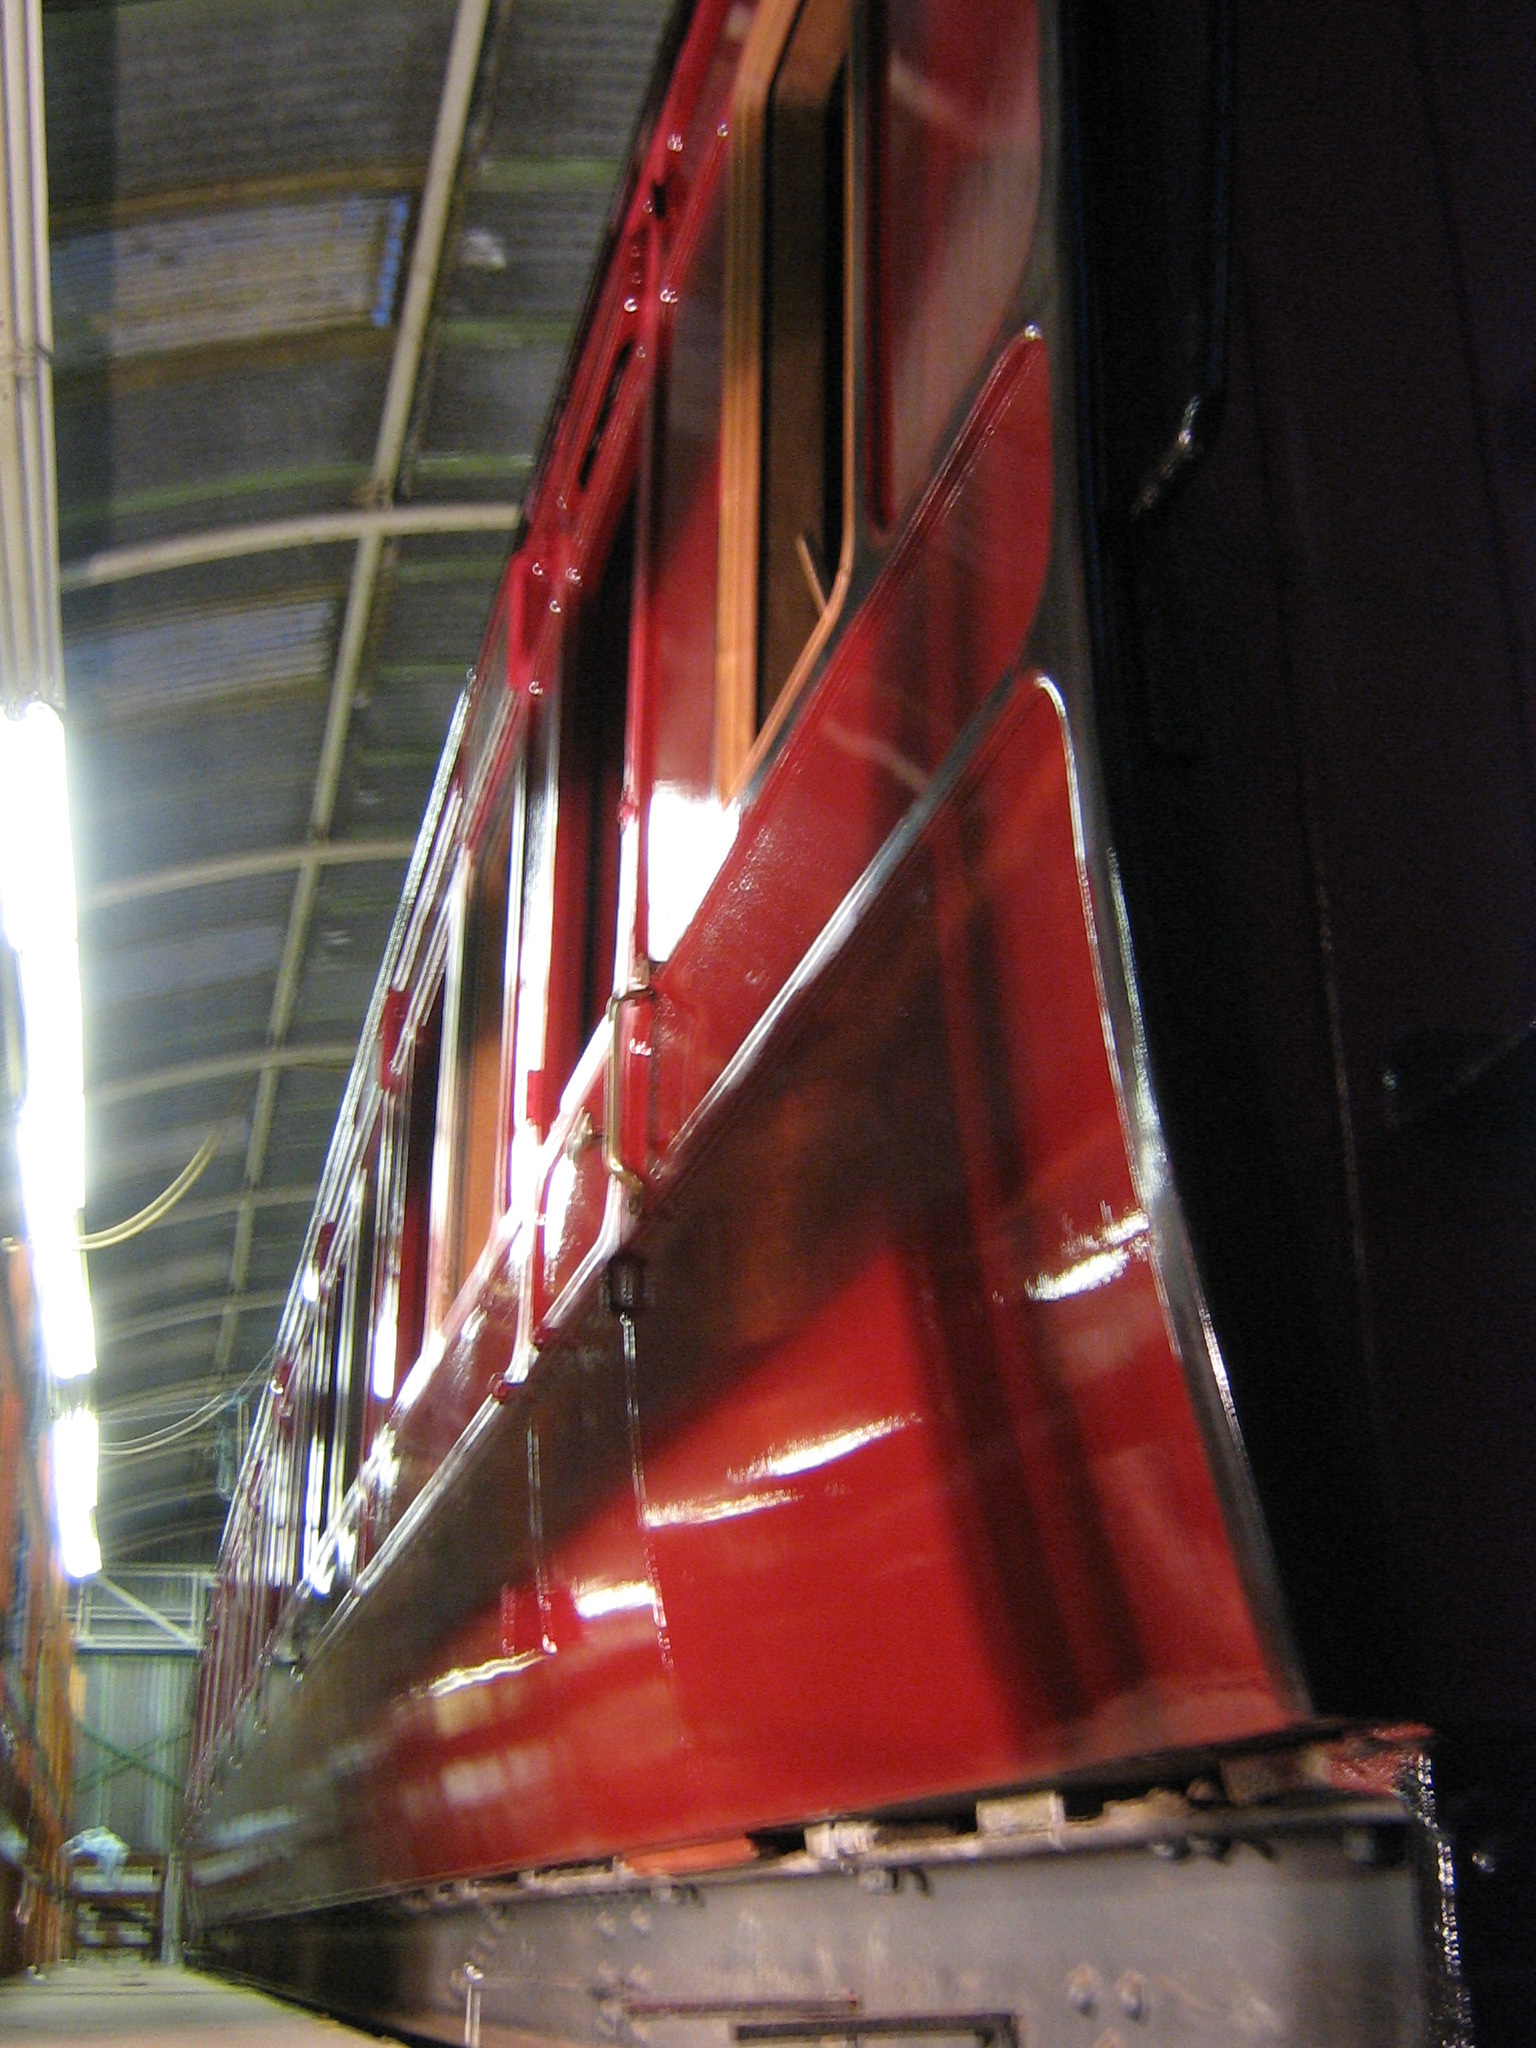
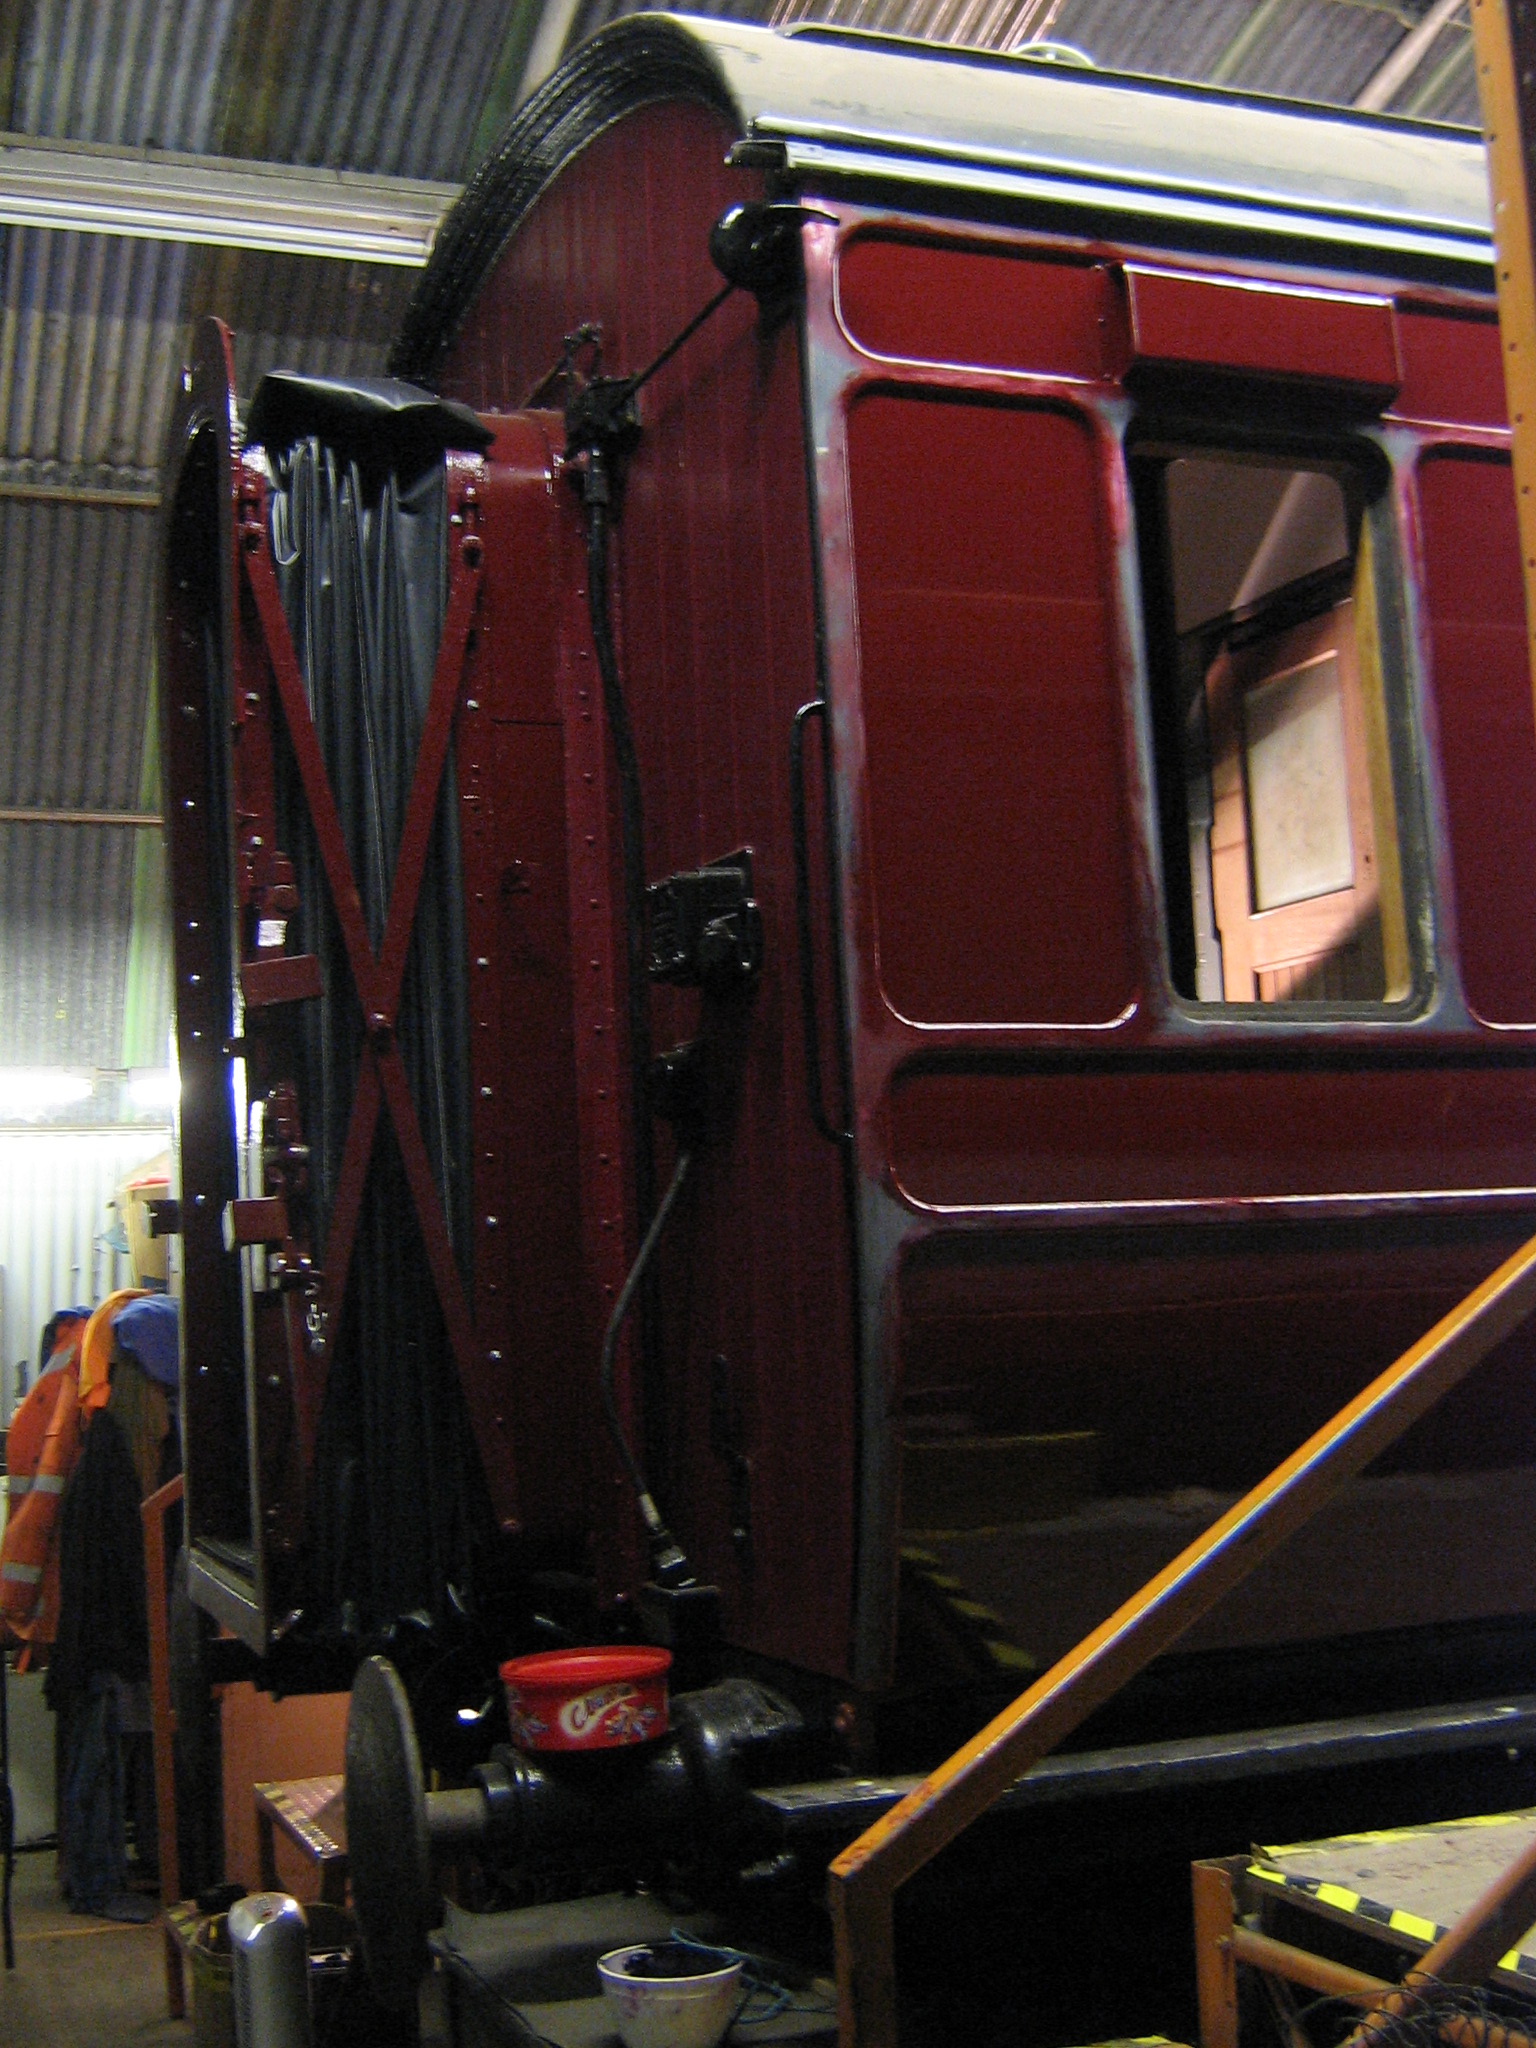
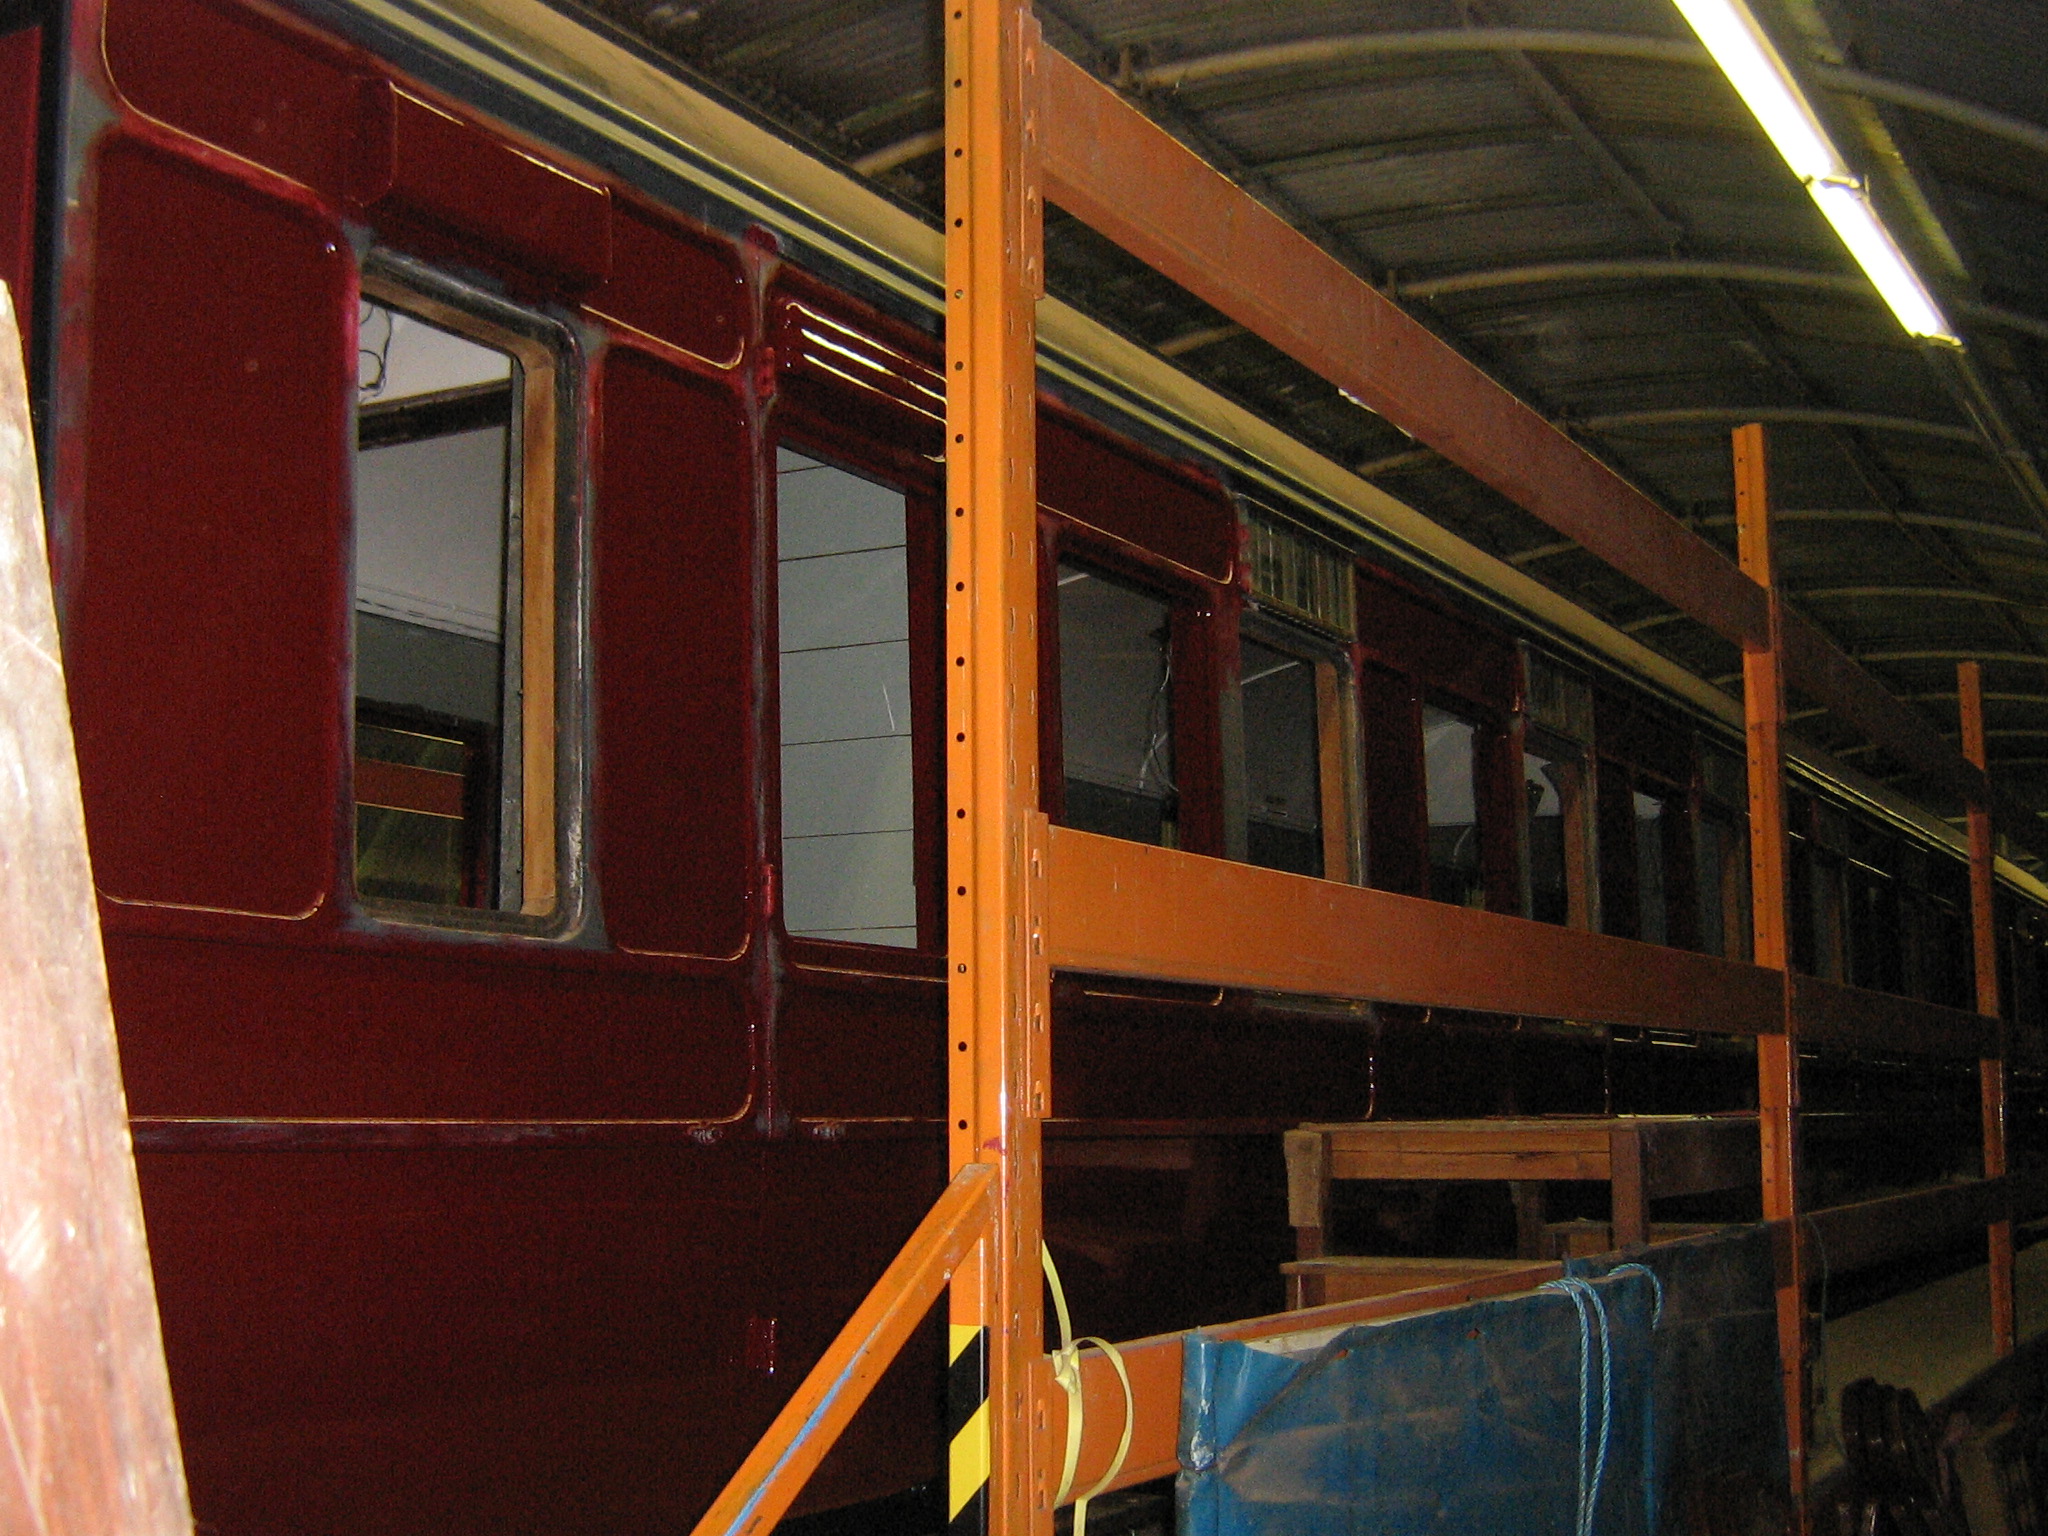
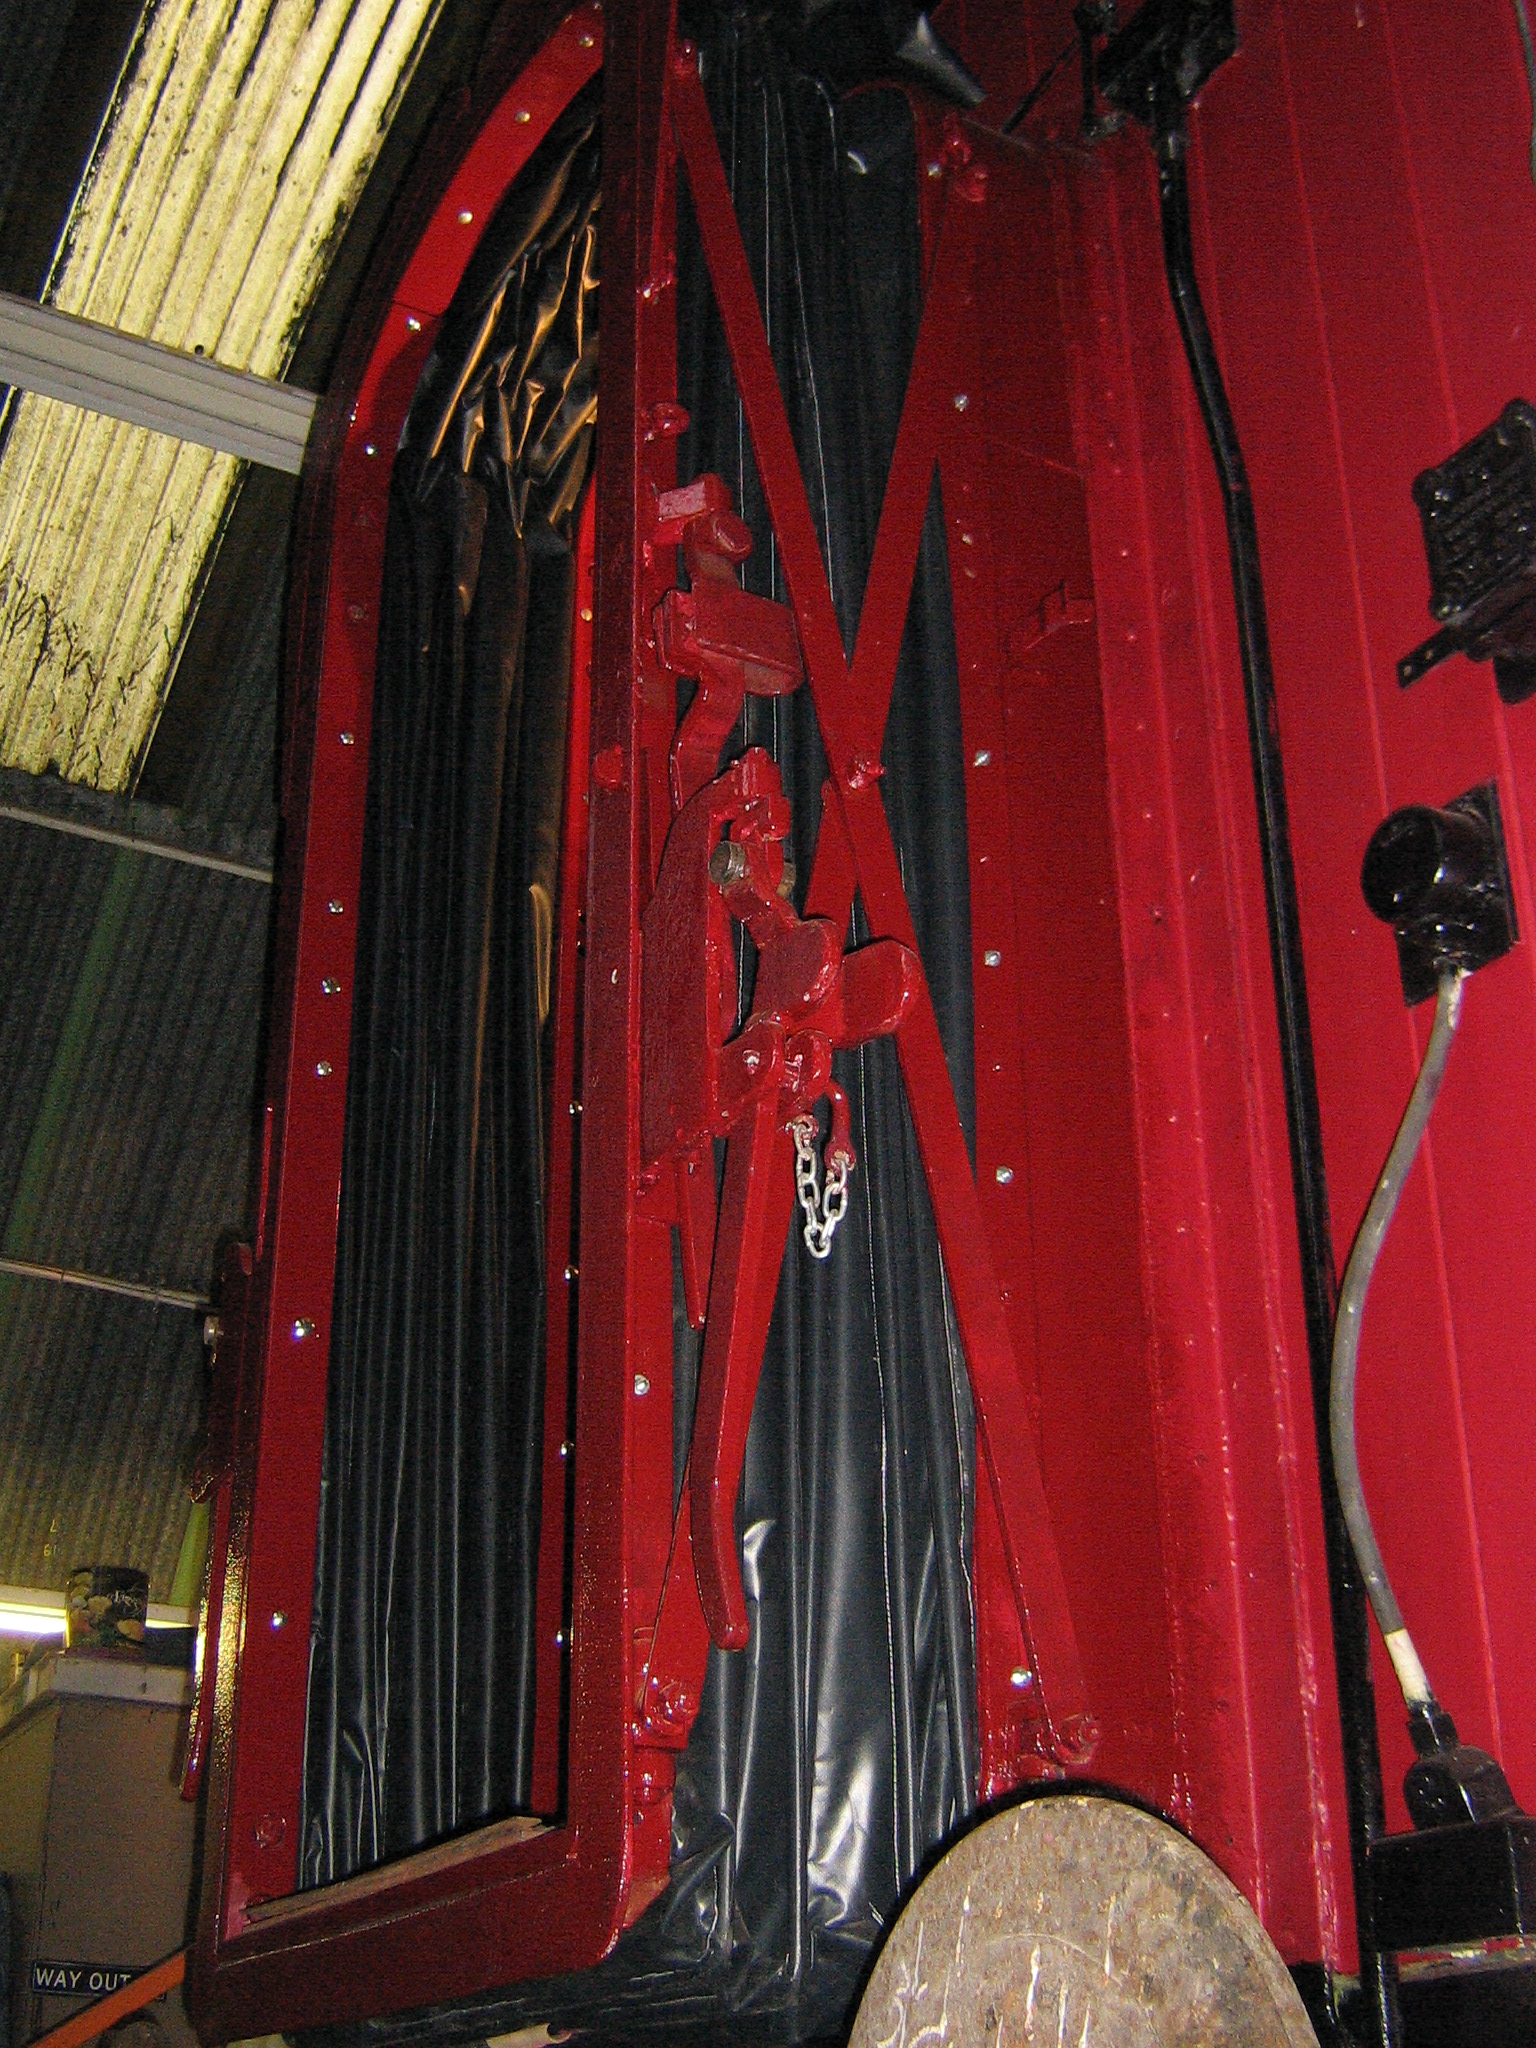
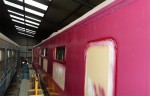
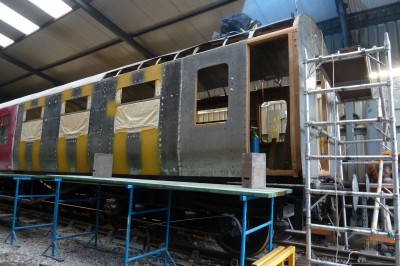
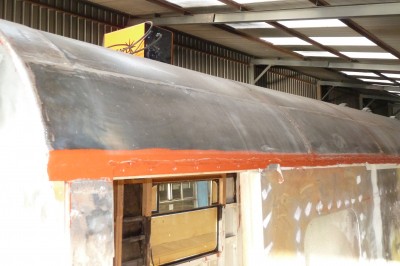
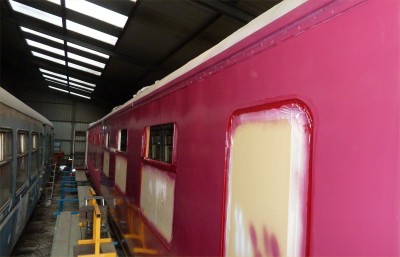
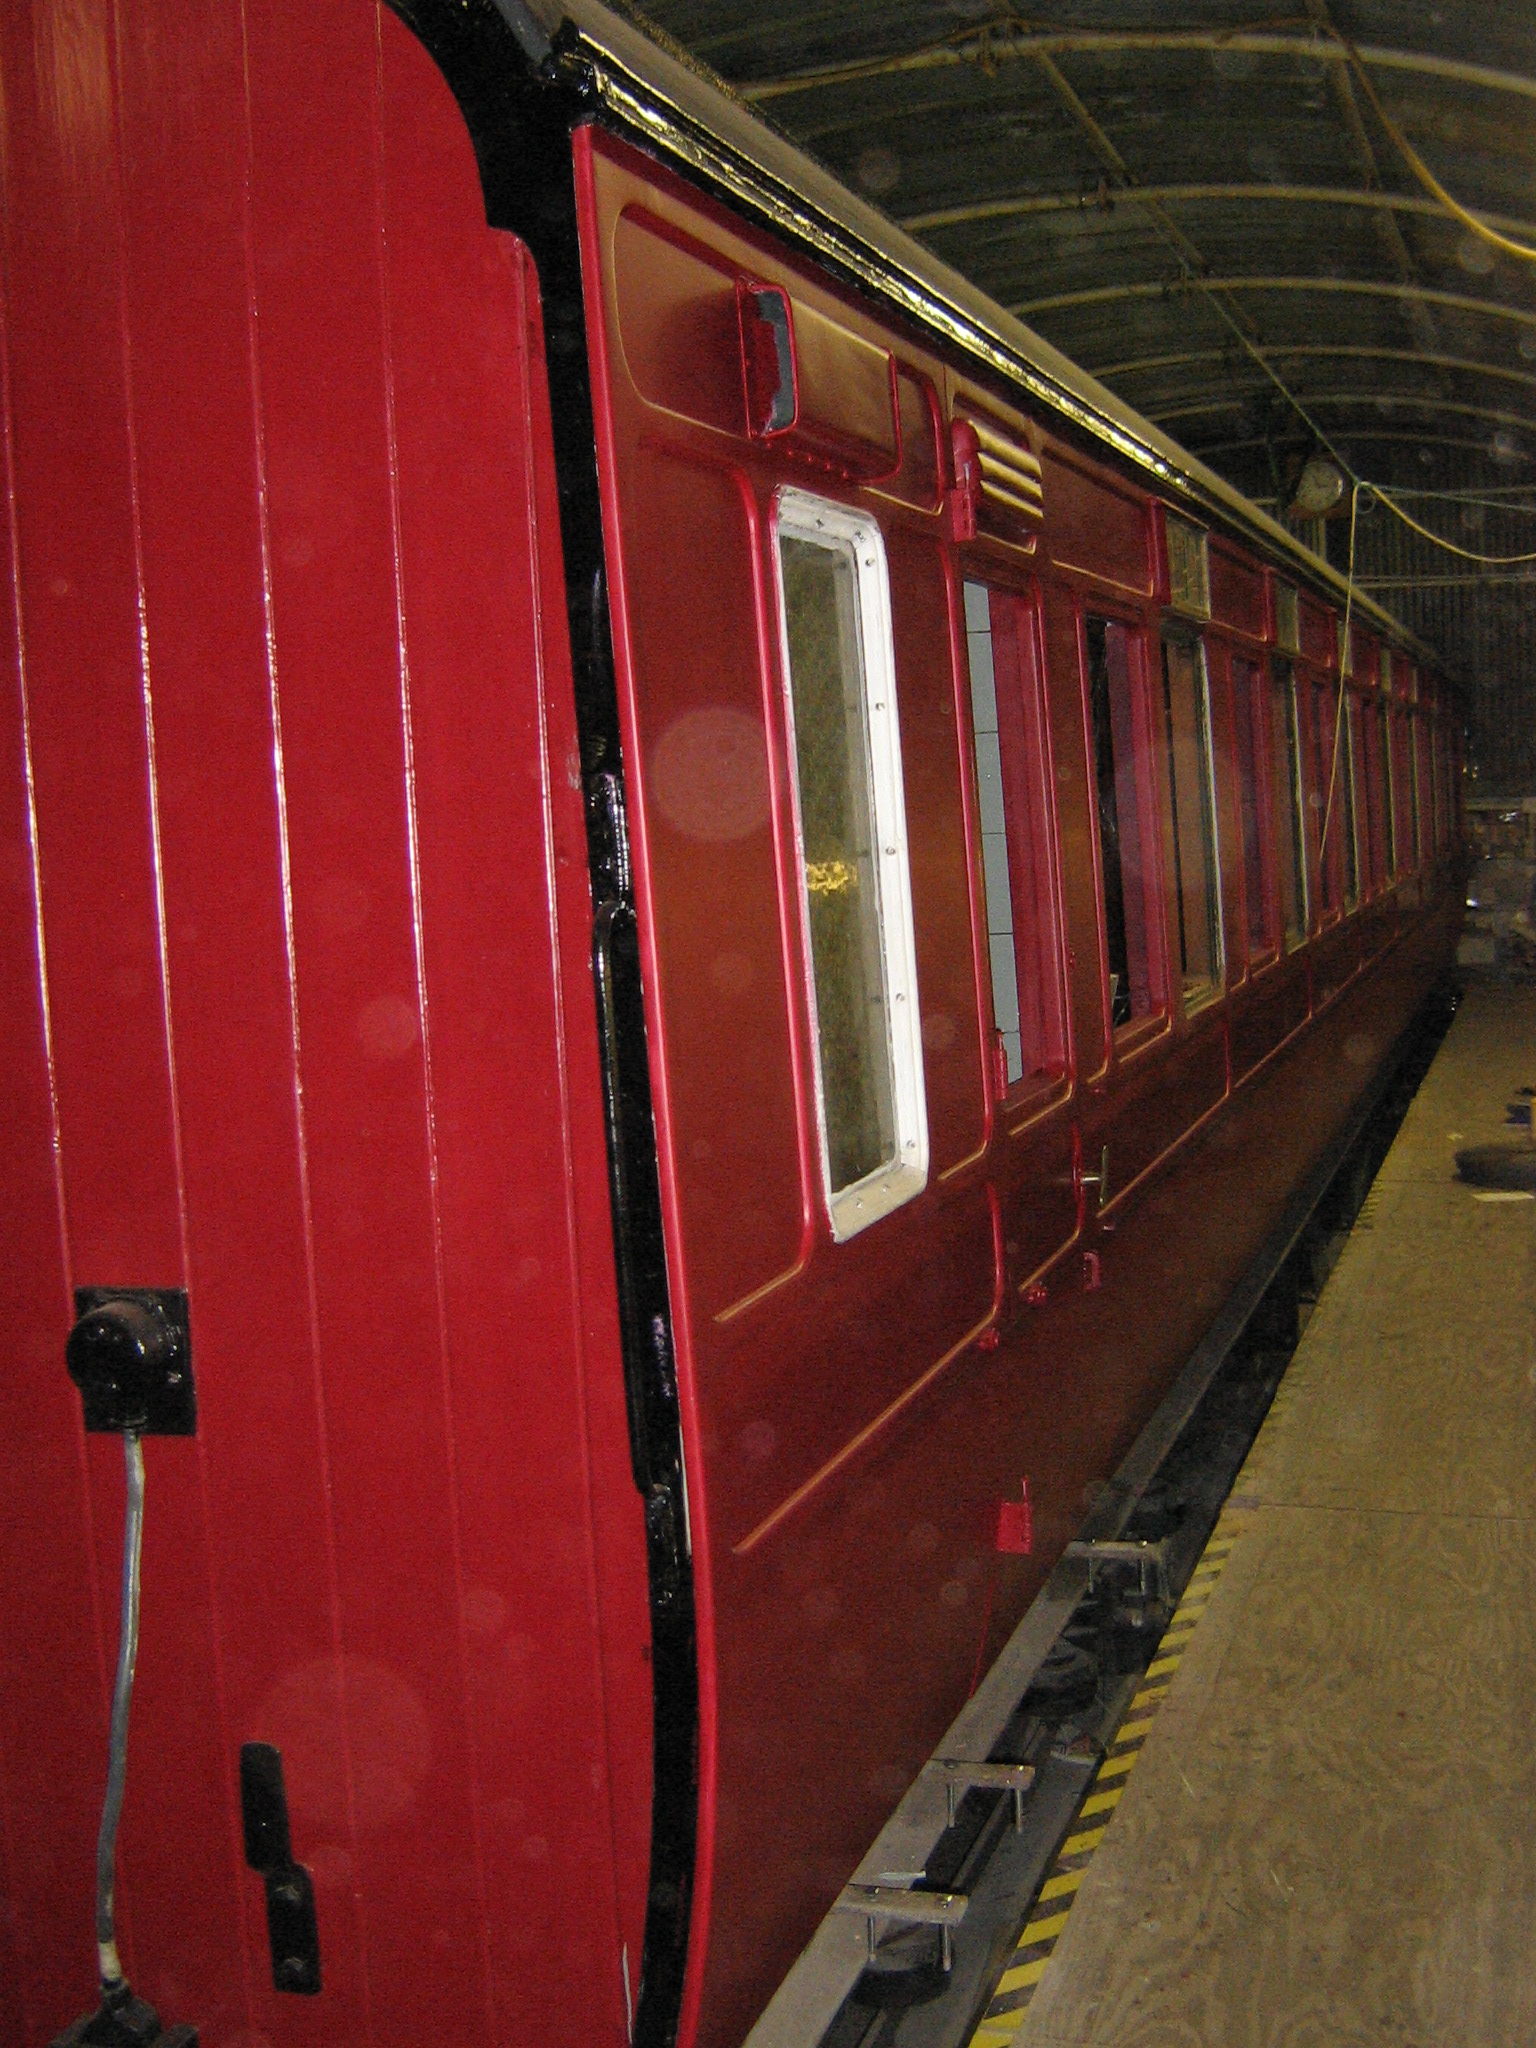
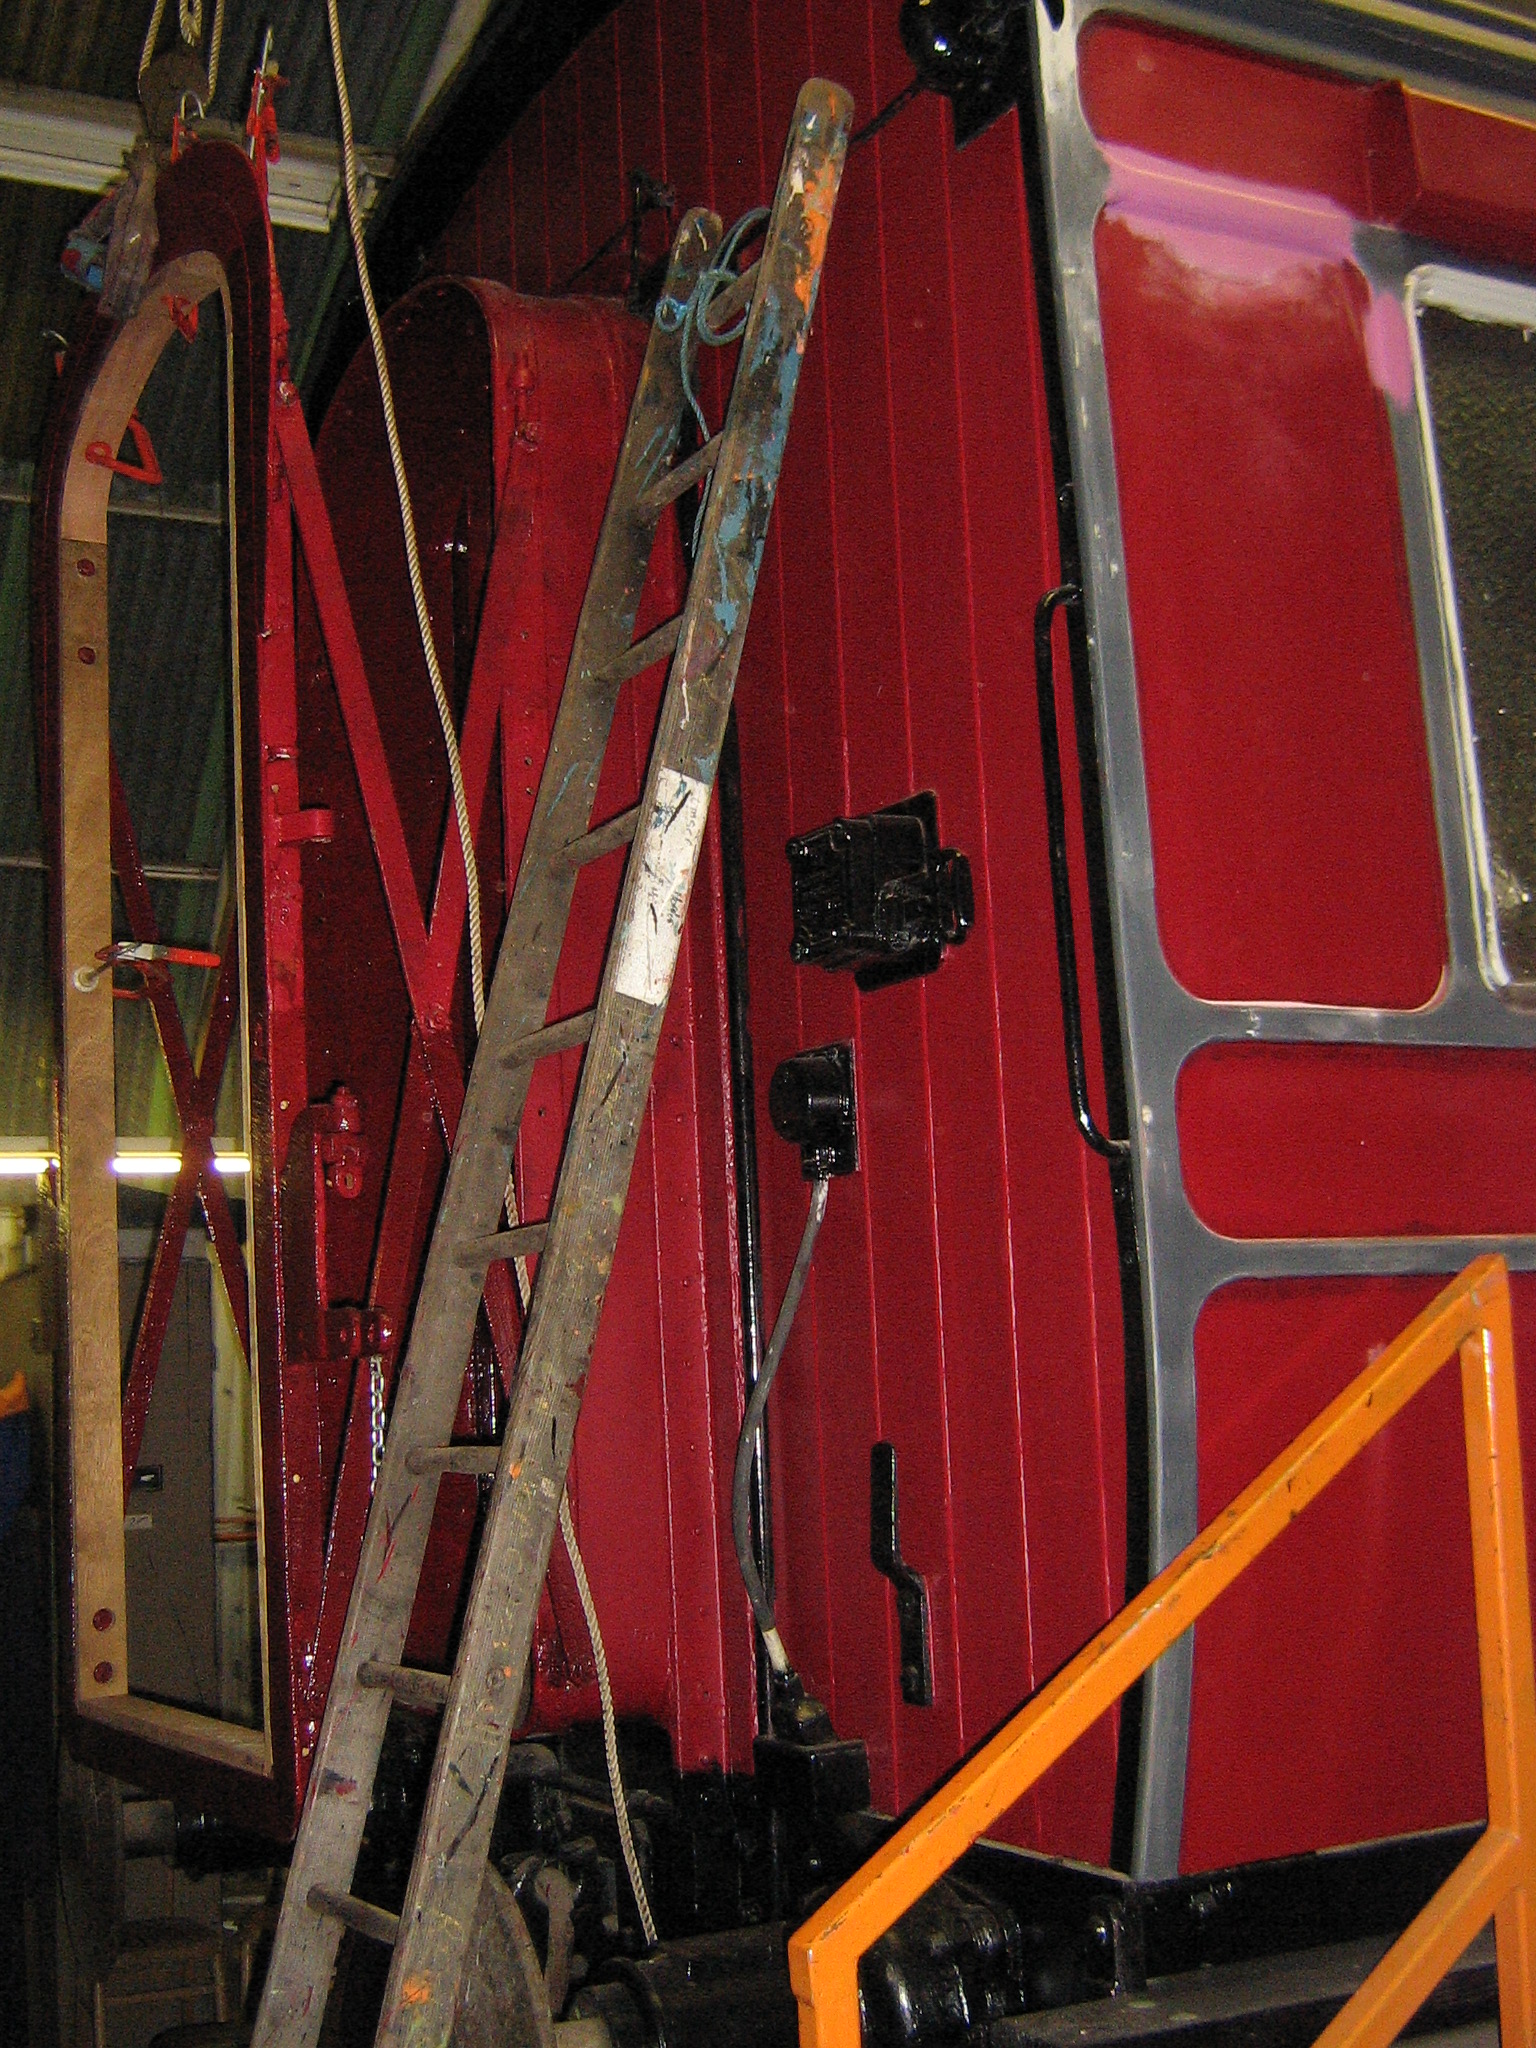
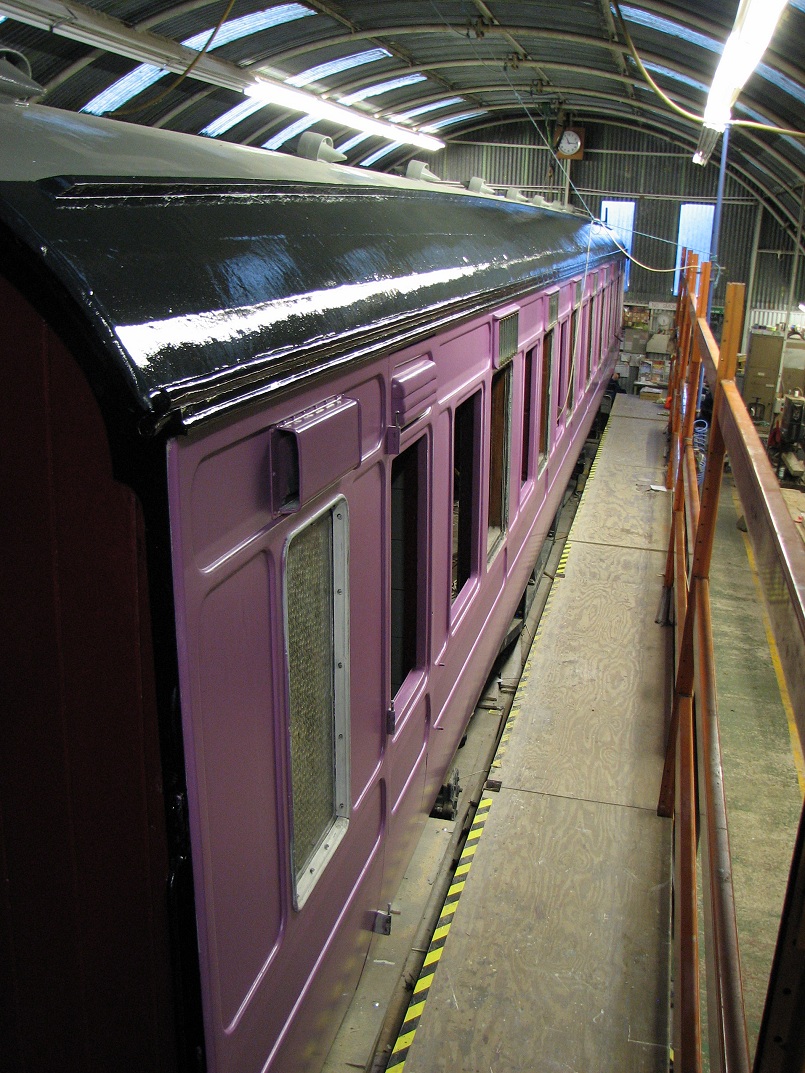
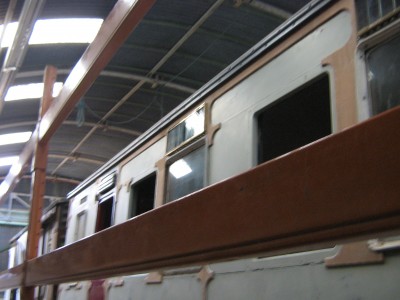
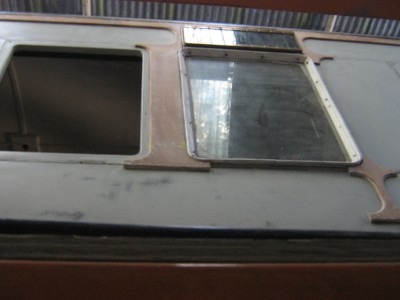
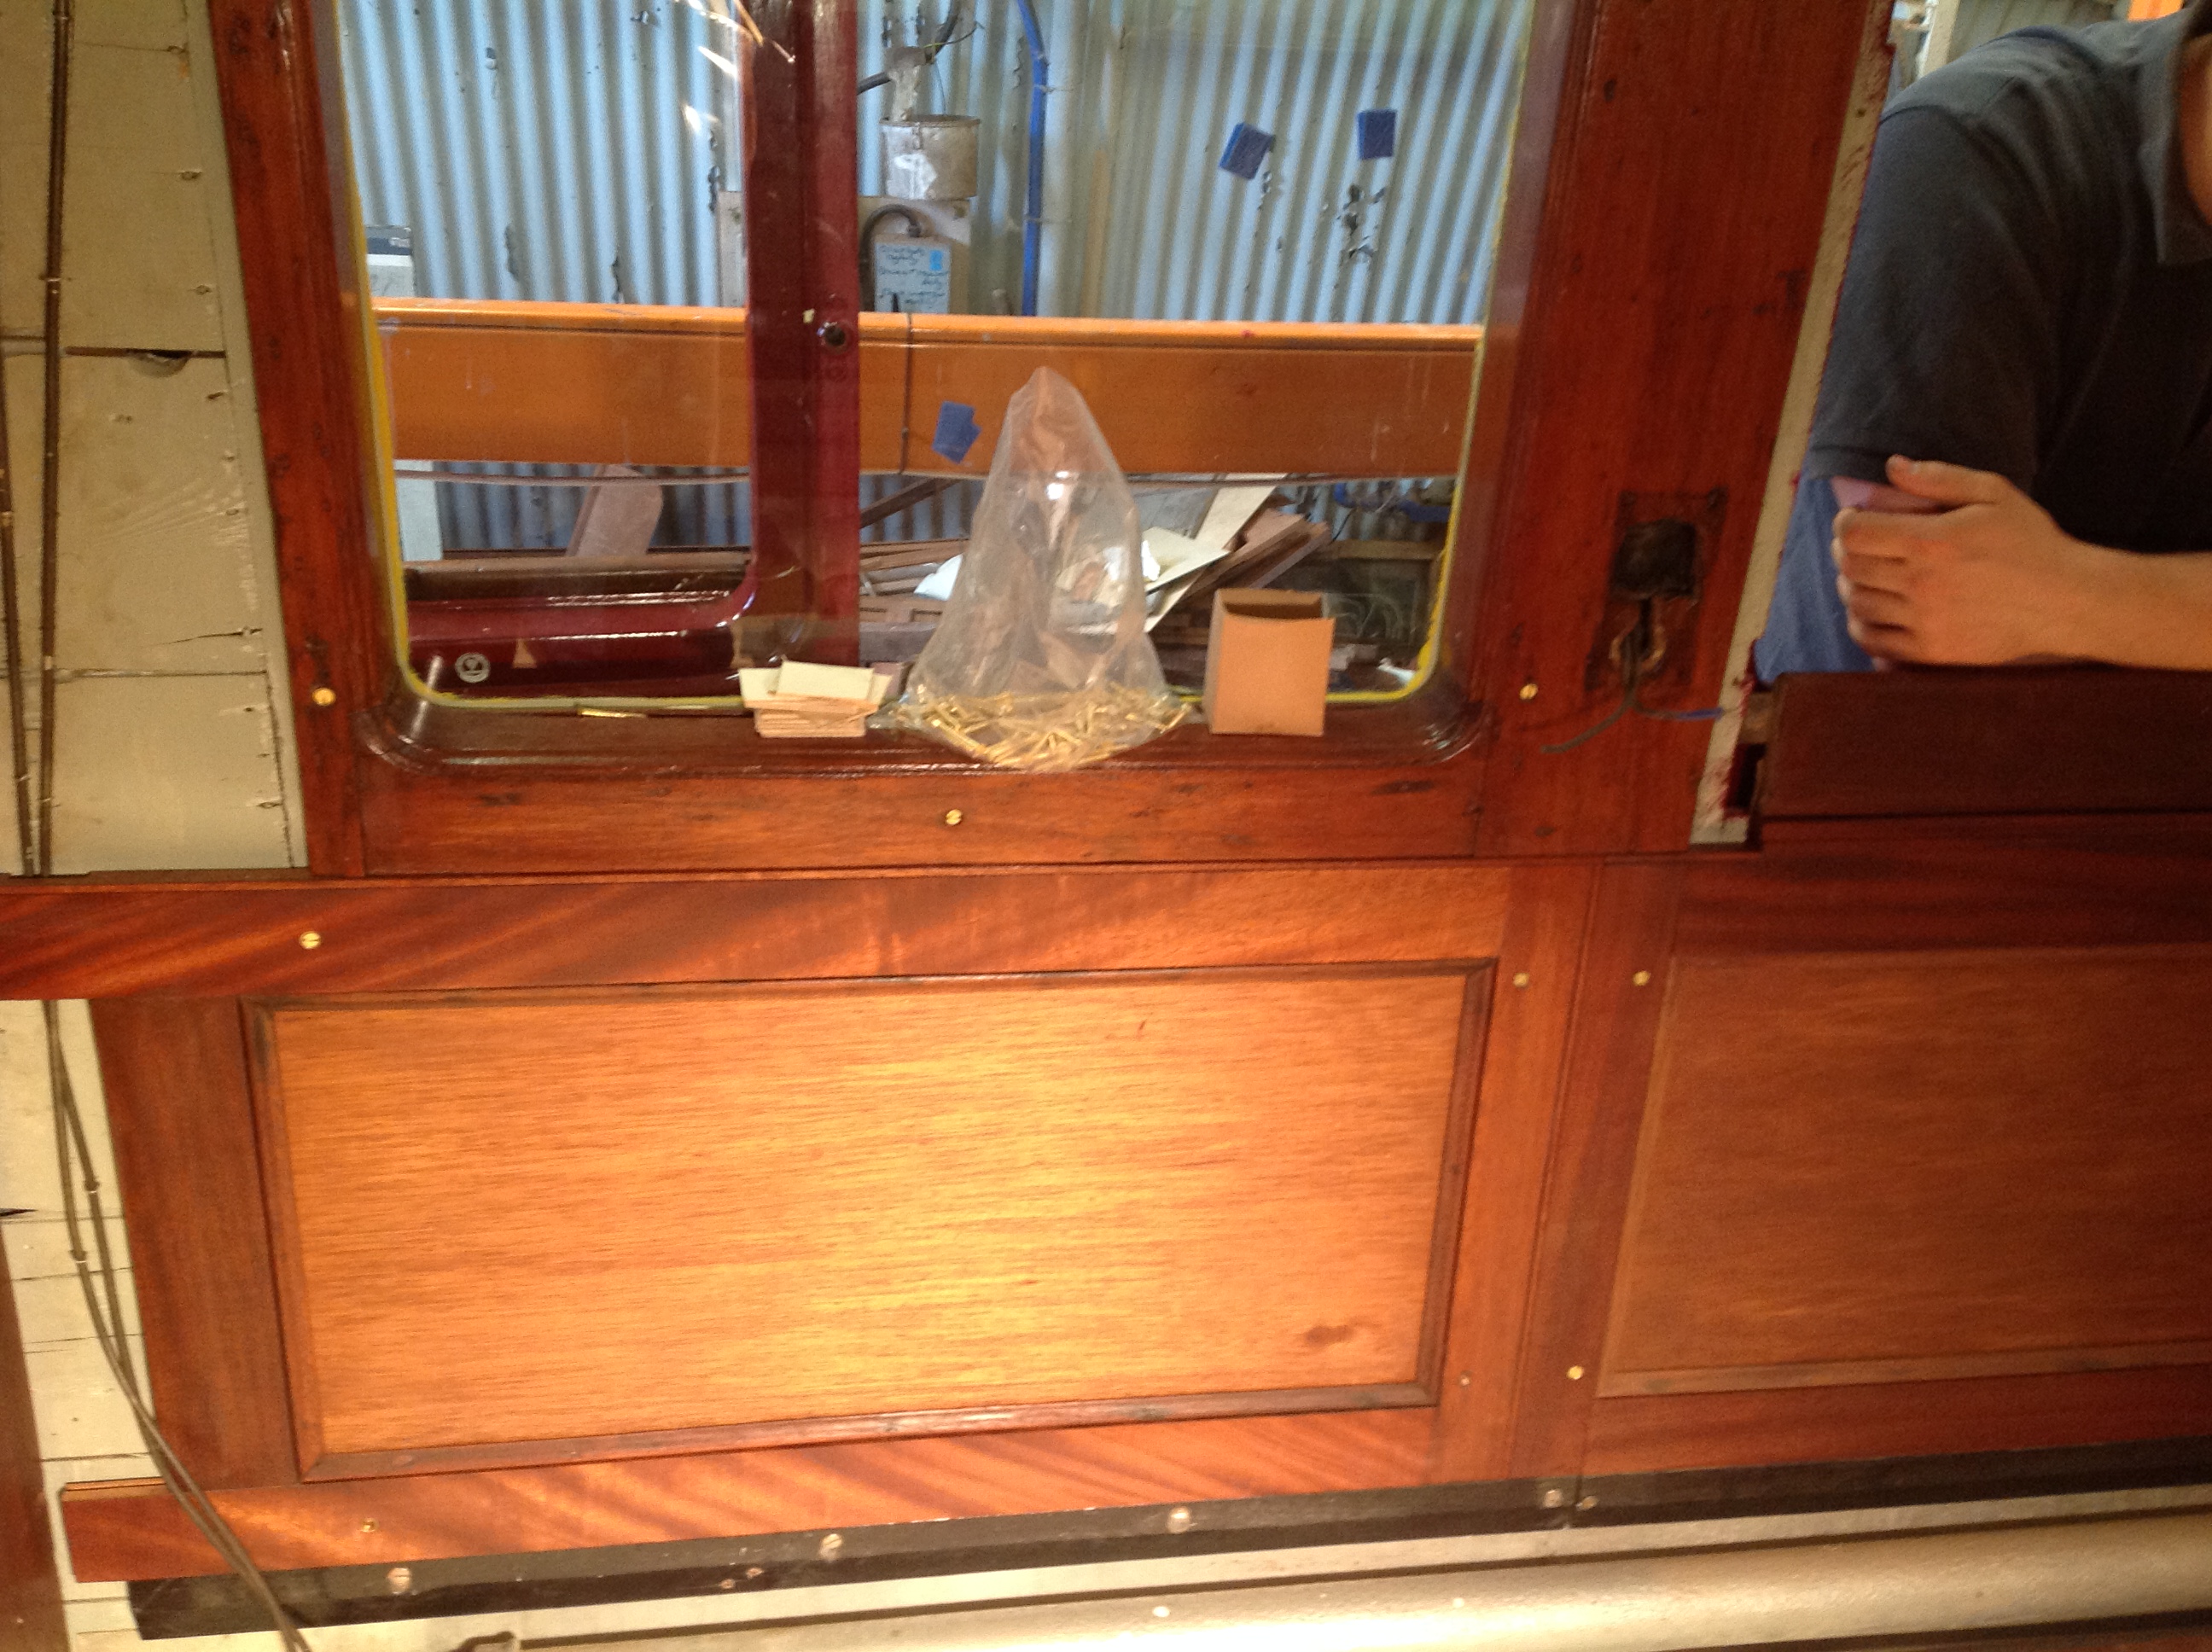
The exterior beading has been painted black ready for lining, and the end and gangways have finally received Midland Maroon gloss. The fixed light windows have been fitted with the reproduced bolections and sealed in. The best of the old bolections have been put aside as spares for 7828- when refitting windows we needed the best seal we could, to help extend the interval until the next overhaul.

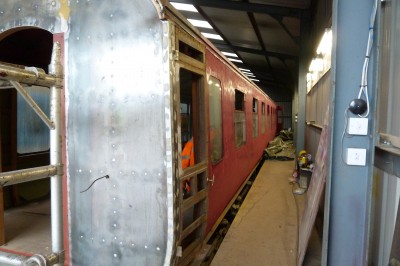
Whilst the exterior looks very different after a few pieces of glass and some paint have been thrown at it, it’s inside that the real work has been taking place.

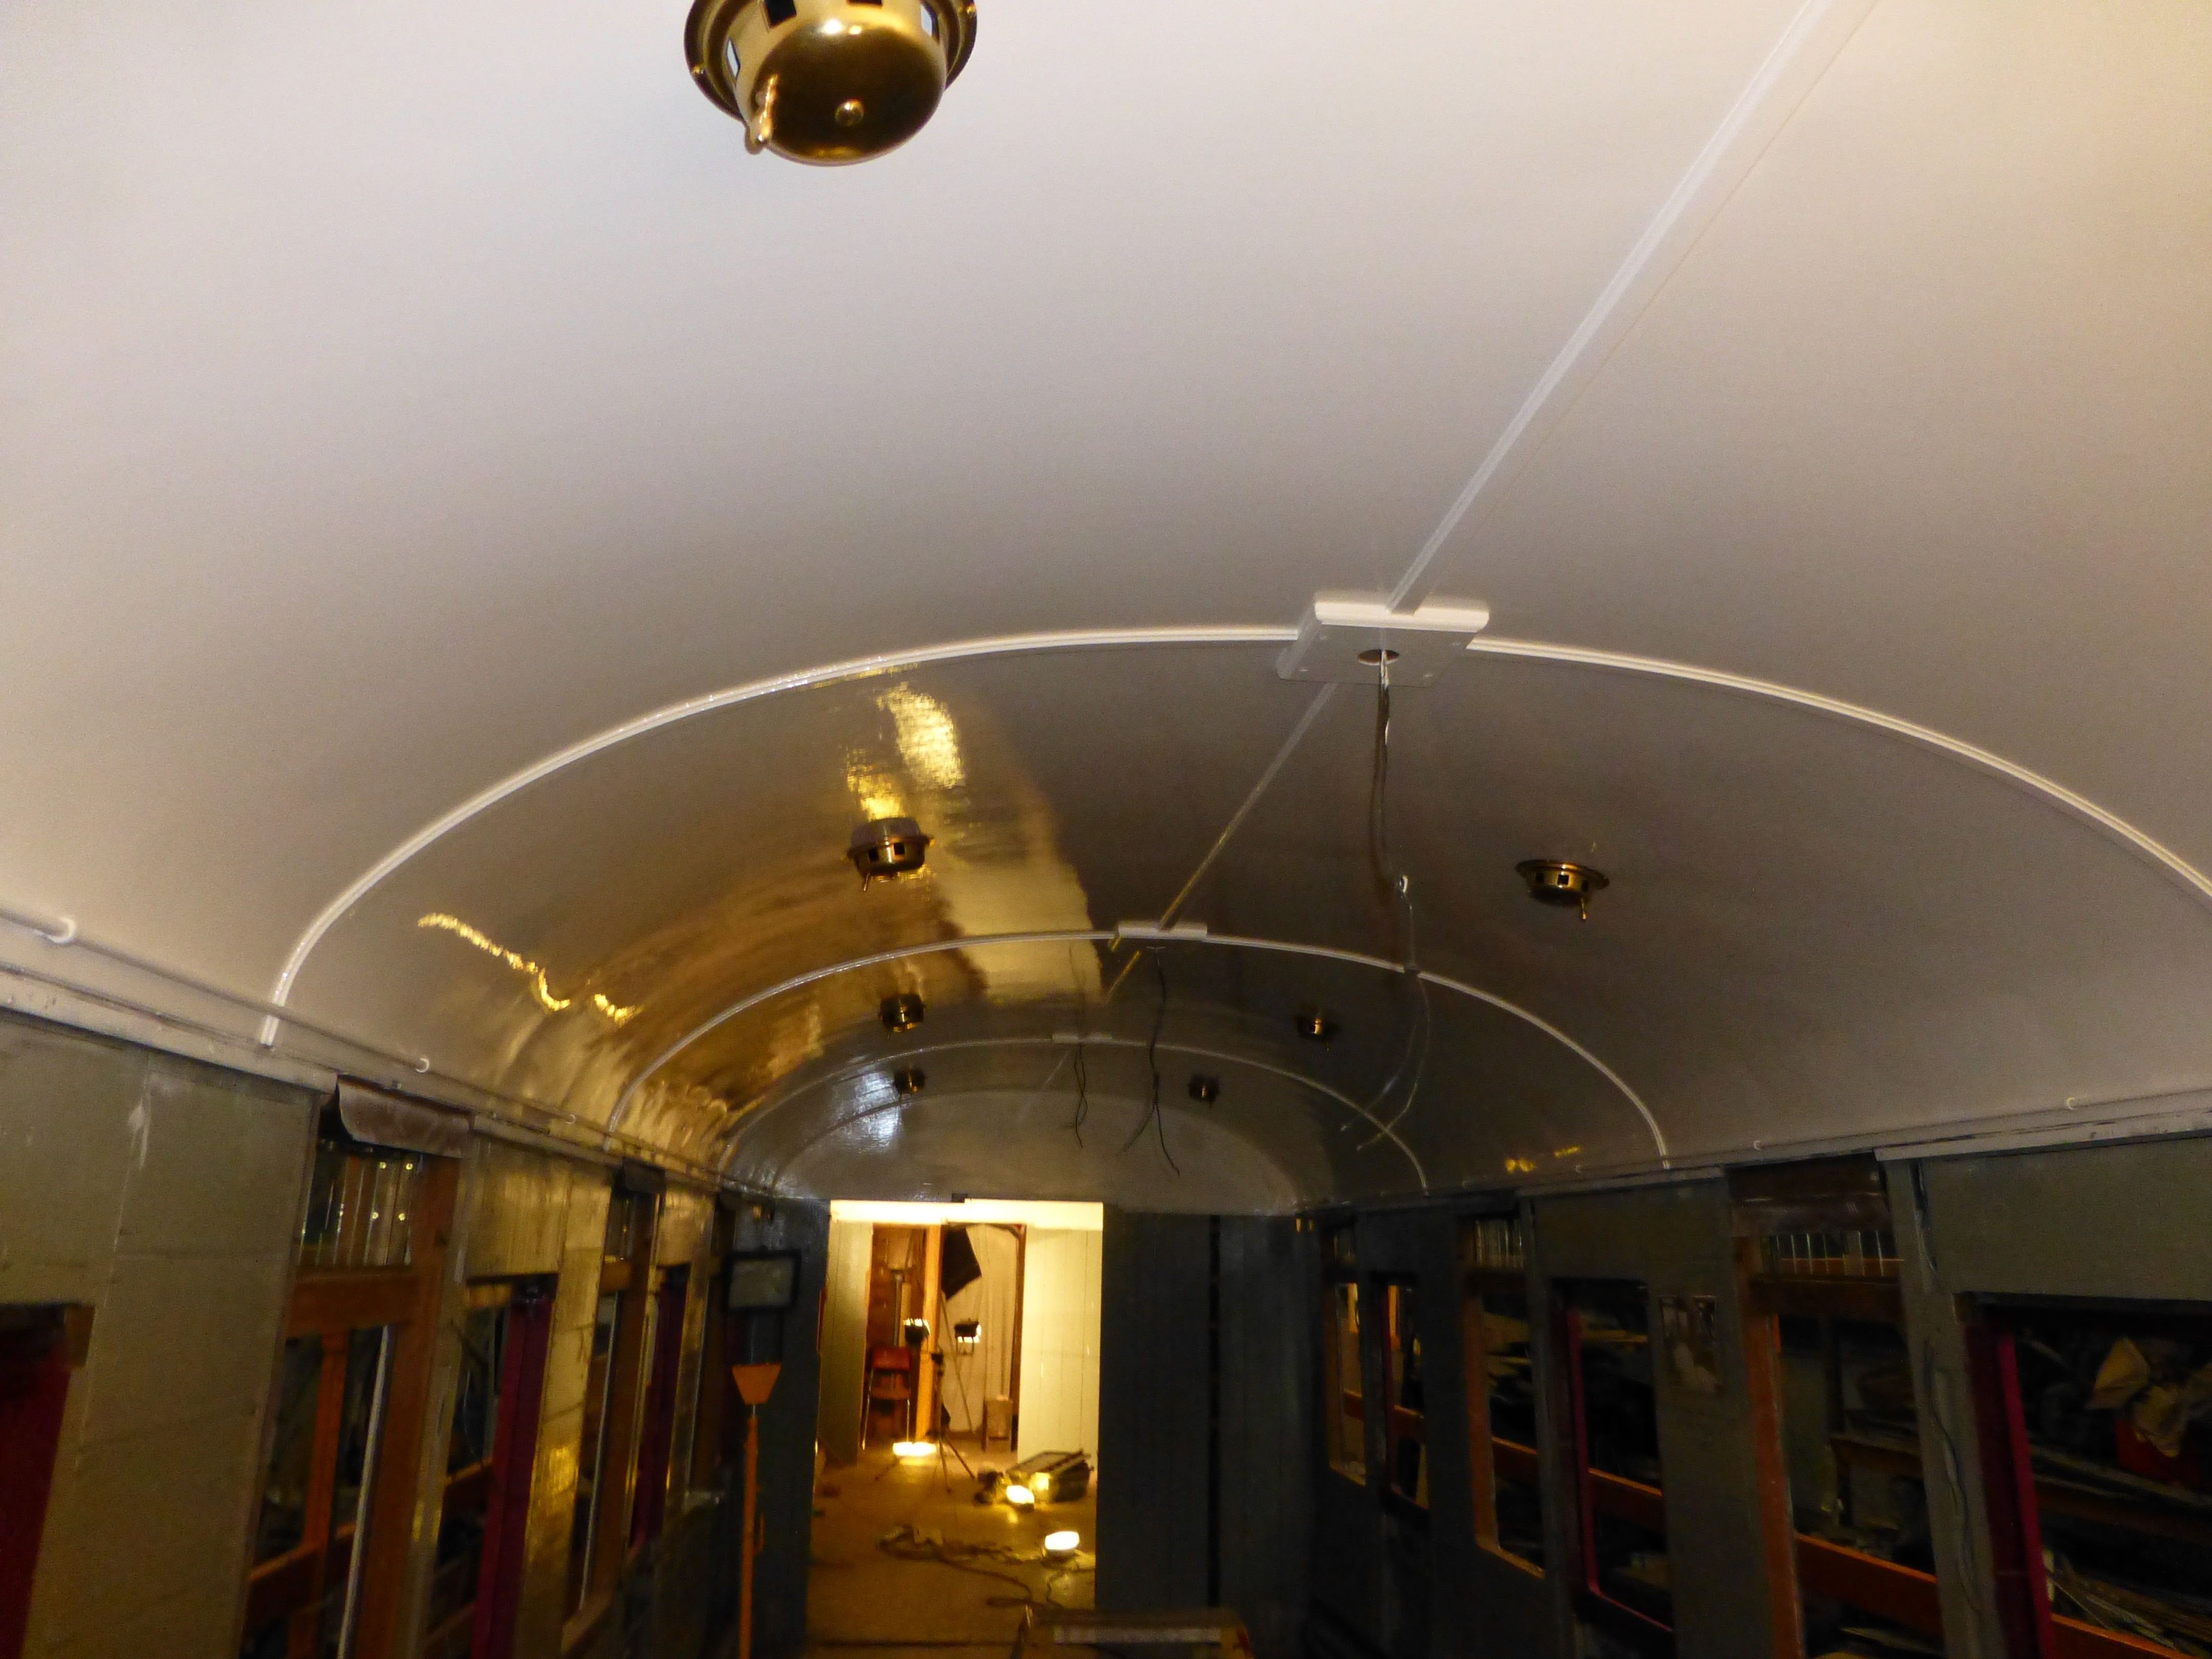
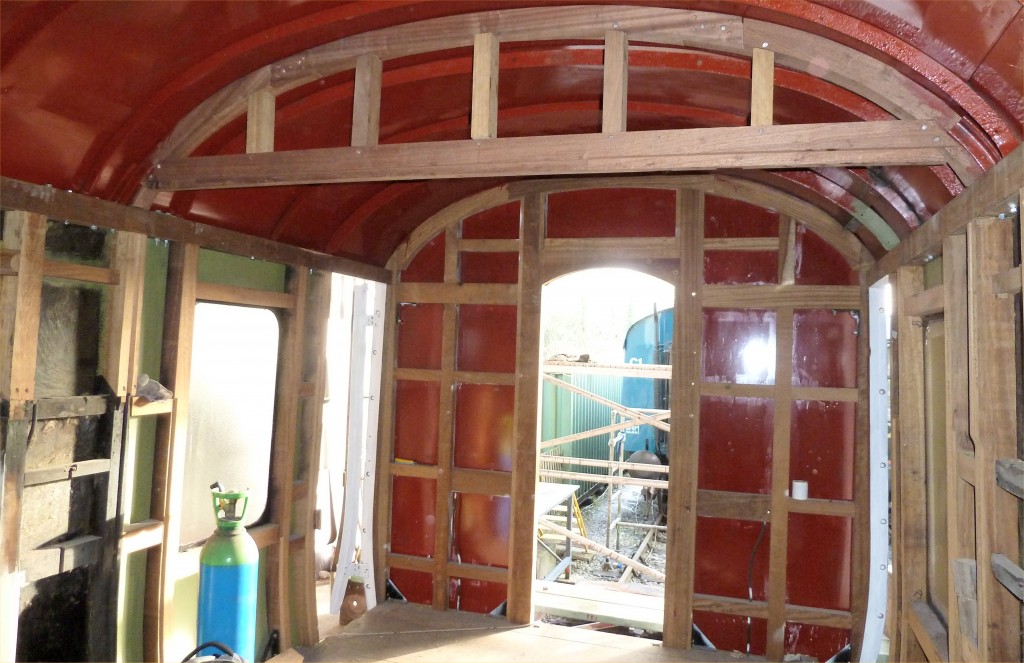
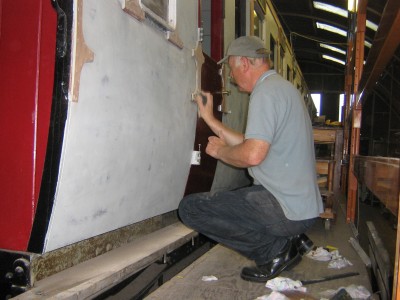
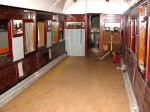
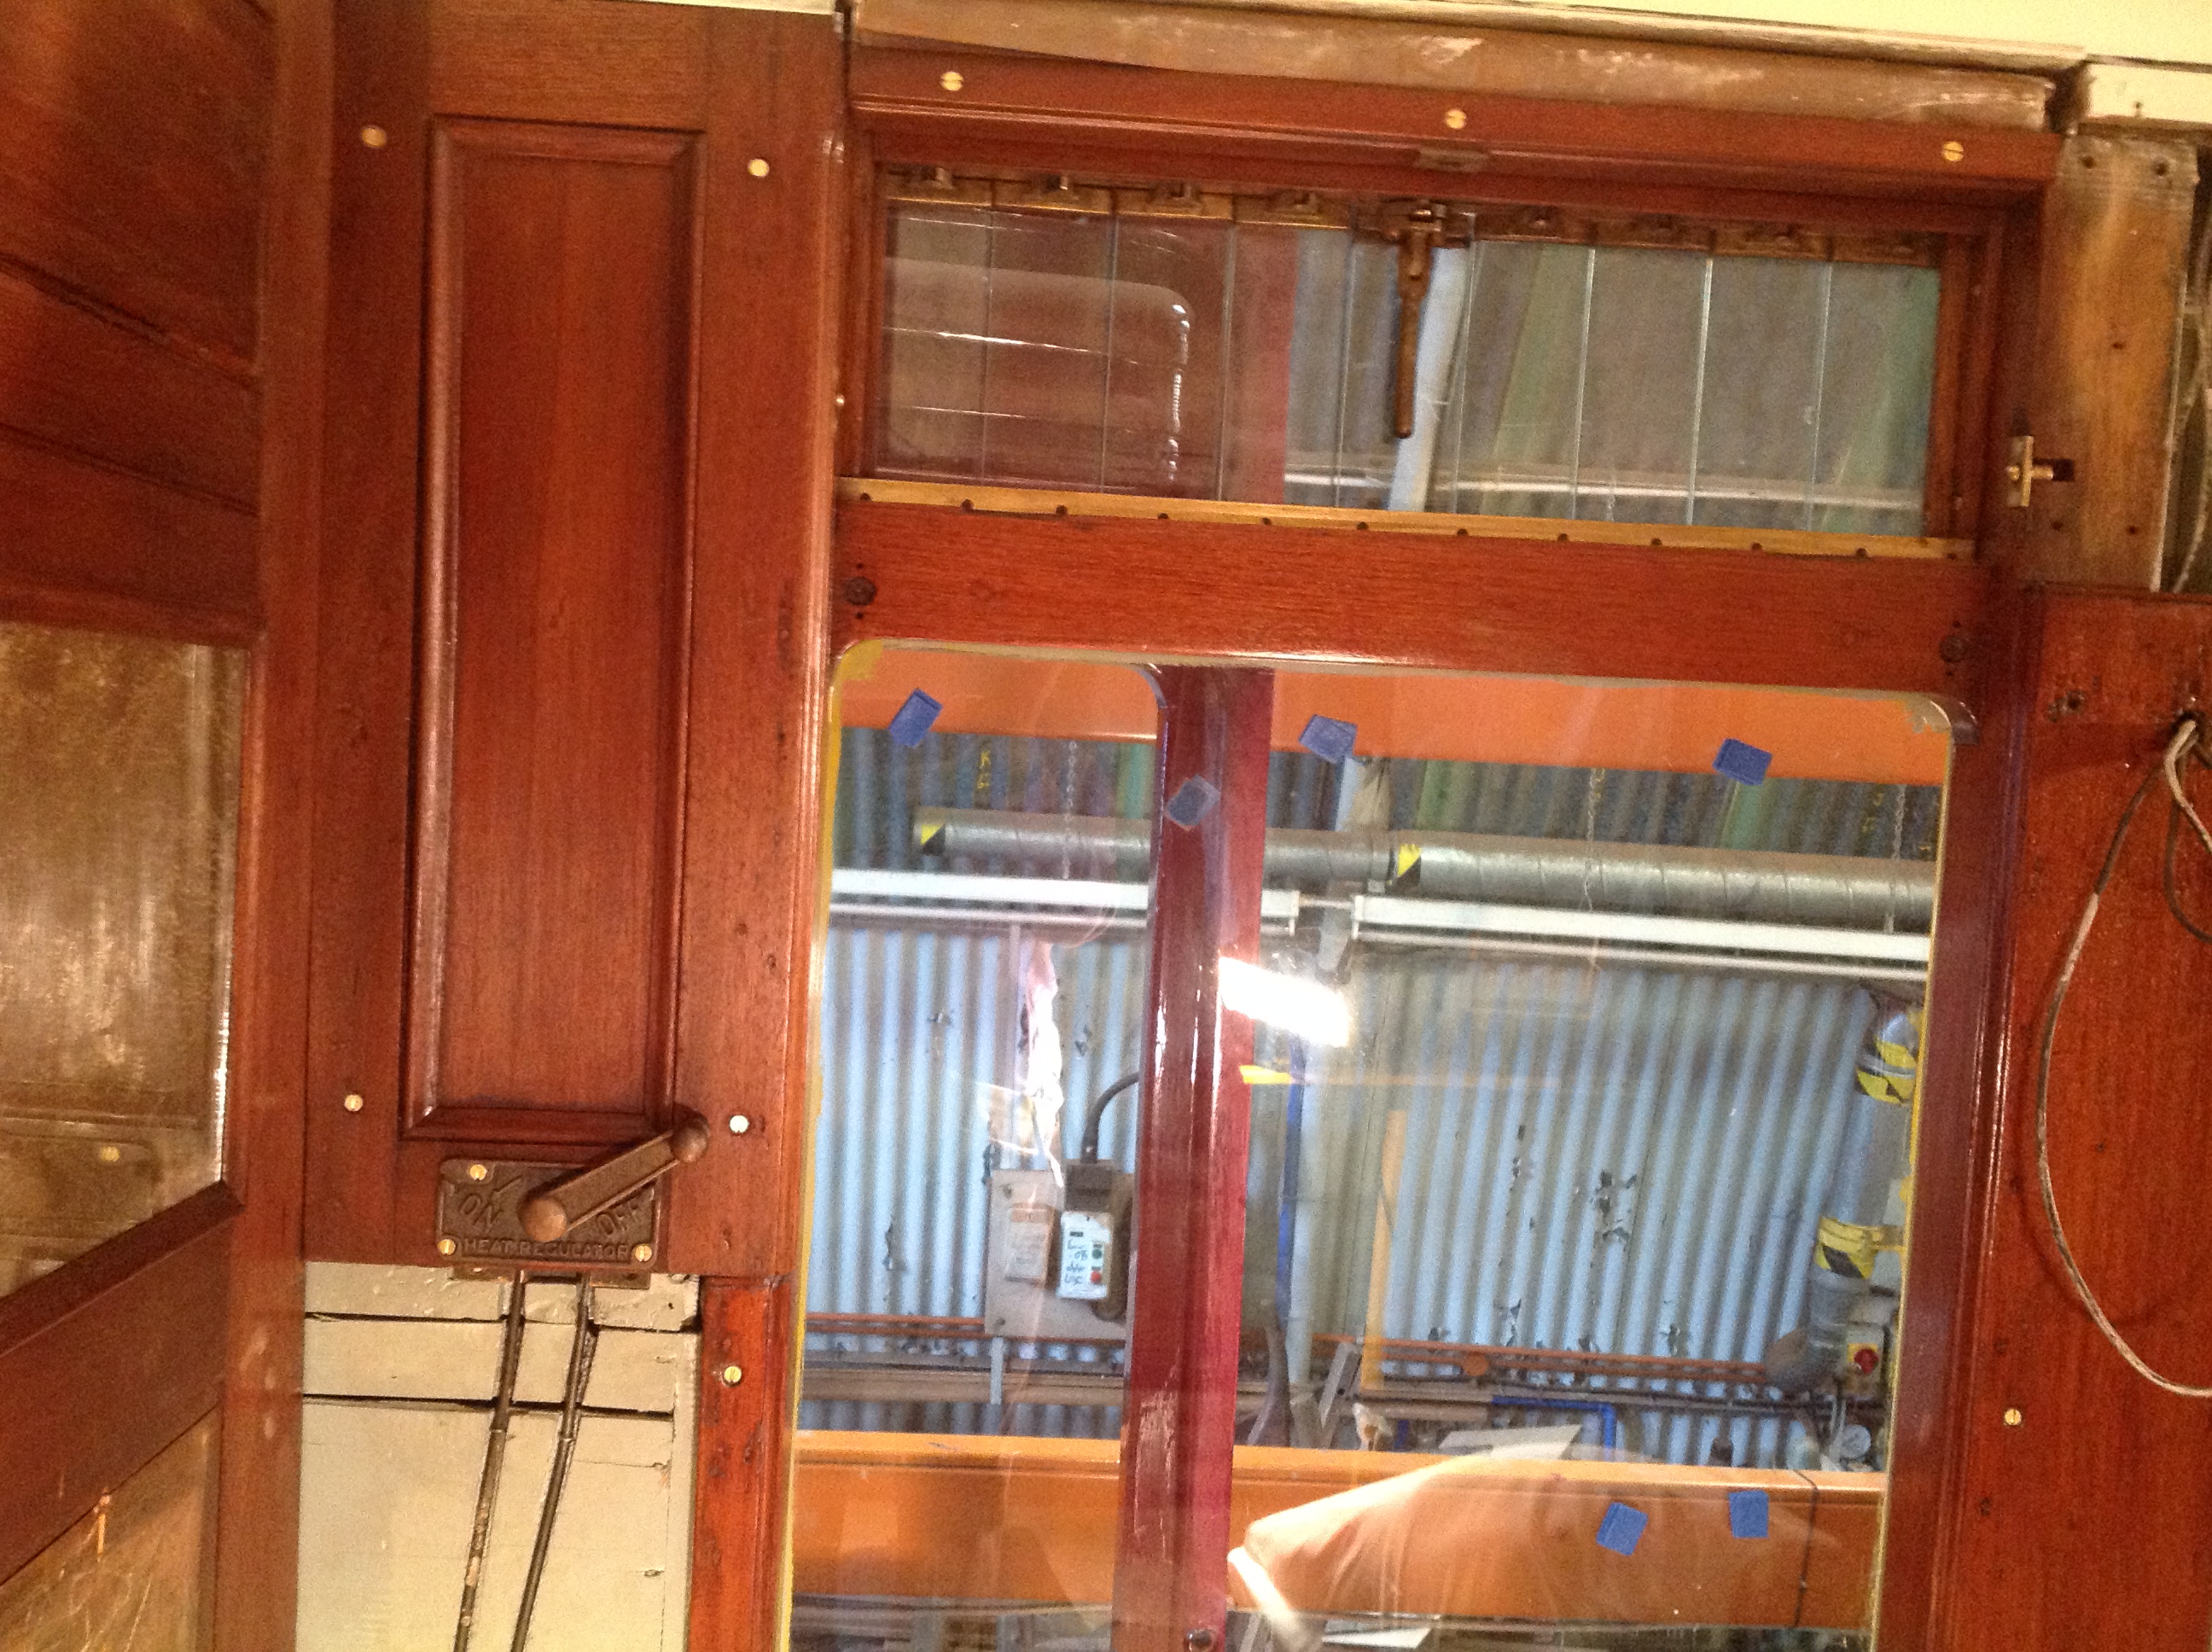
The whole original floor was mechanically sanded and has been covered with a layer of 3mm ply, ready for the new marmoleum (‘marbled- linoleum’, if the term is alien), which will either be fitted now or about to be, depending on when I remember to send this update to Mike. Working upwards, the rest of the partition covers and panels are in and varnished, sliding doors glazed and working, and the sliding mechanism covers are on and painted in. The rebuilt lower panels, which incorporate around 25% original framing components have been stained to match the other woodwork, varnished and fitted with the old garnish rails. Middle panels are on and varnished with the window framing, and the brass blind hooks that Dave spent days finding, cleaning and sorting are on. The upper panels have eventually made their way back from Sheffield where the old varnish was being stripped, and are now hung, varnished, and most satisfyingly, have had new pictures fitted and glazed to replace the old, water damaged set. These include some elegant replica labels produced by a firm call Soabar in Whetstone, Leics. The LMS seemed to have embossed some images with a black panels and stamped letters into them and others have a little black fabric label with foil blocked letters in gold, and it’s this version we have had produced. After months of head scratching and some truly massive quotes for dissimilar products, following a chance email this firm rapidly came up with just what we wanted, at just the right price, so I’m plugging them for anyone having the same problem. Thanks Jon! Some of the pictures off the partitions survived, so have been skilfully refurbished with a duster and refitted.

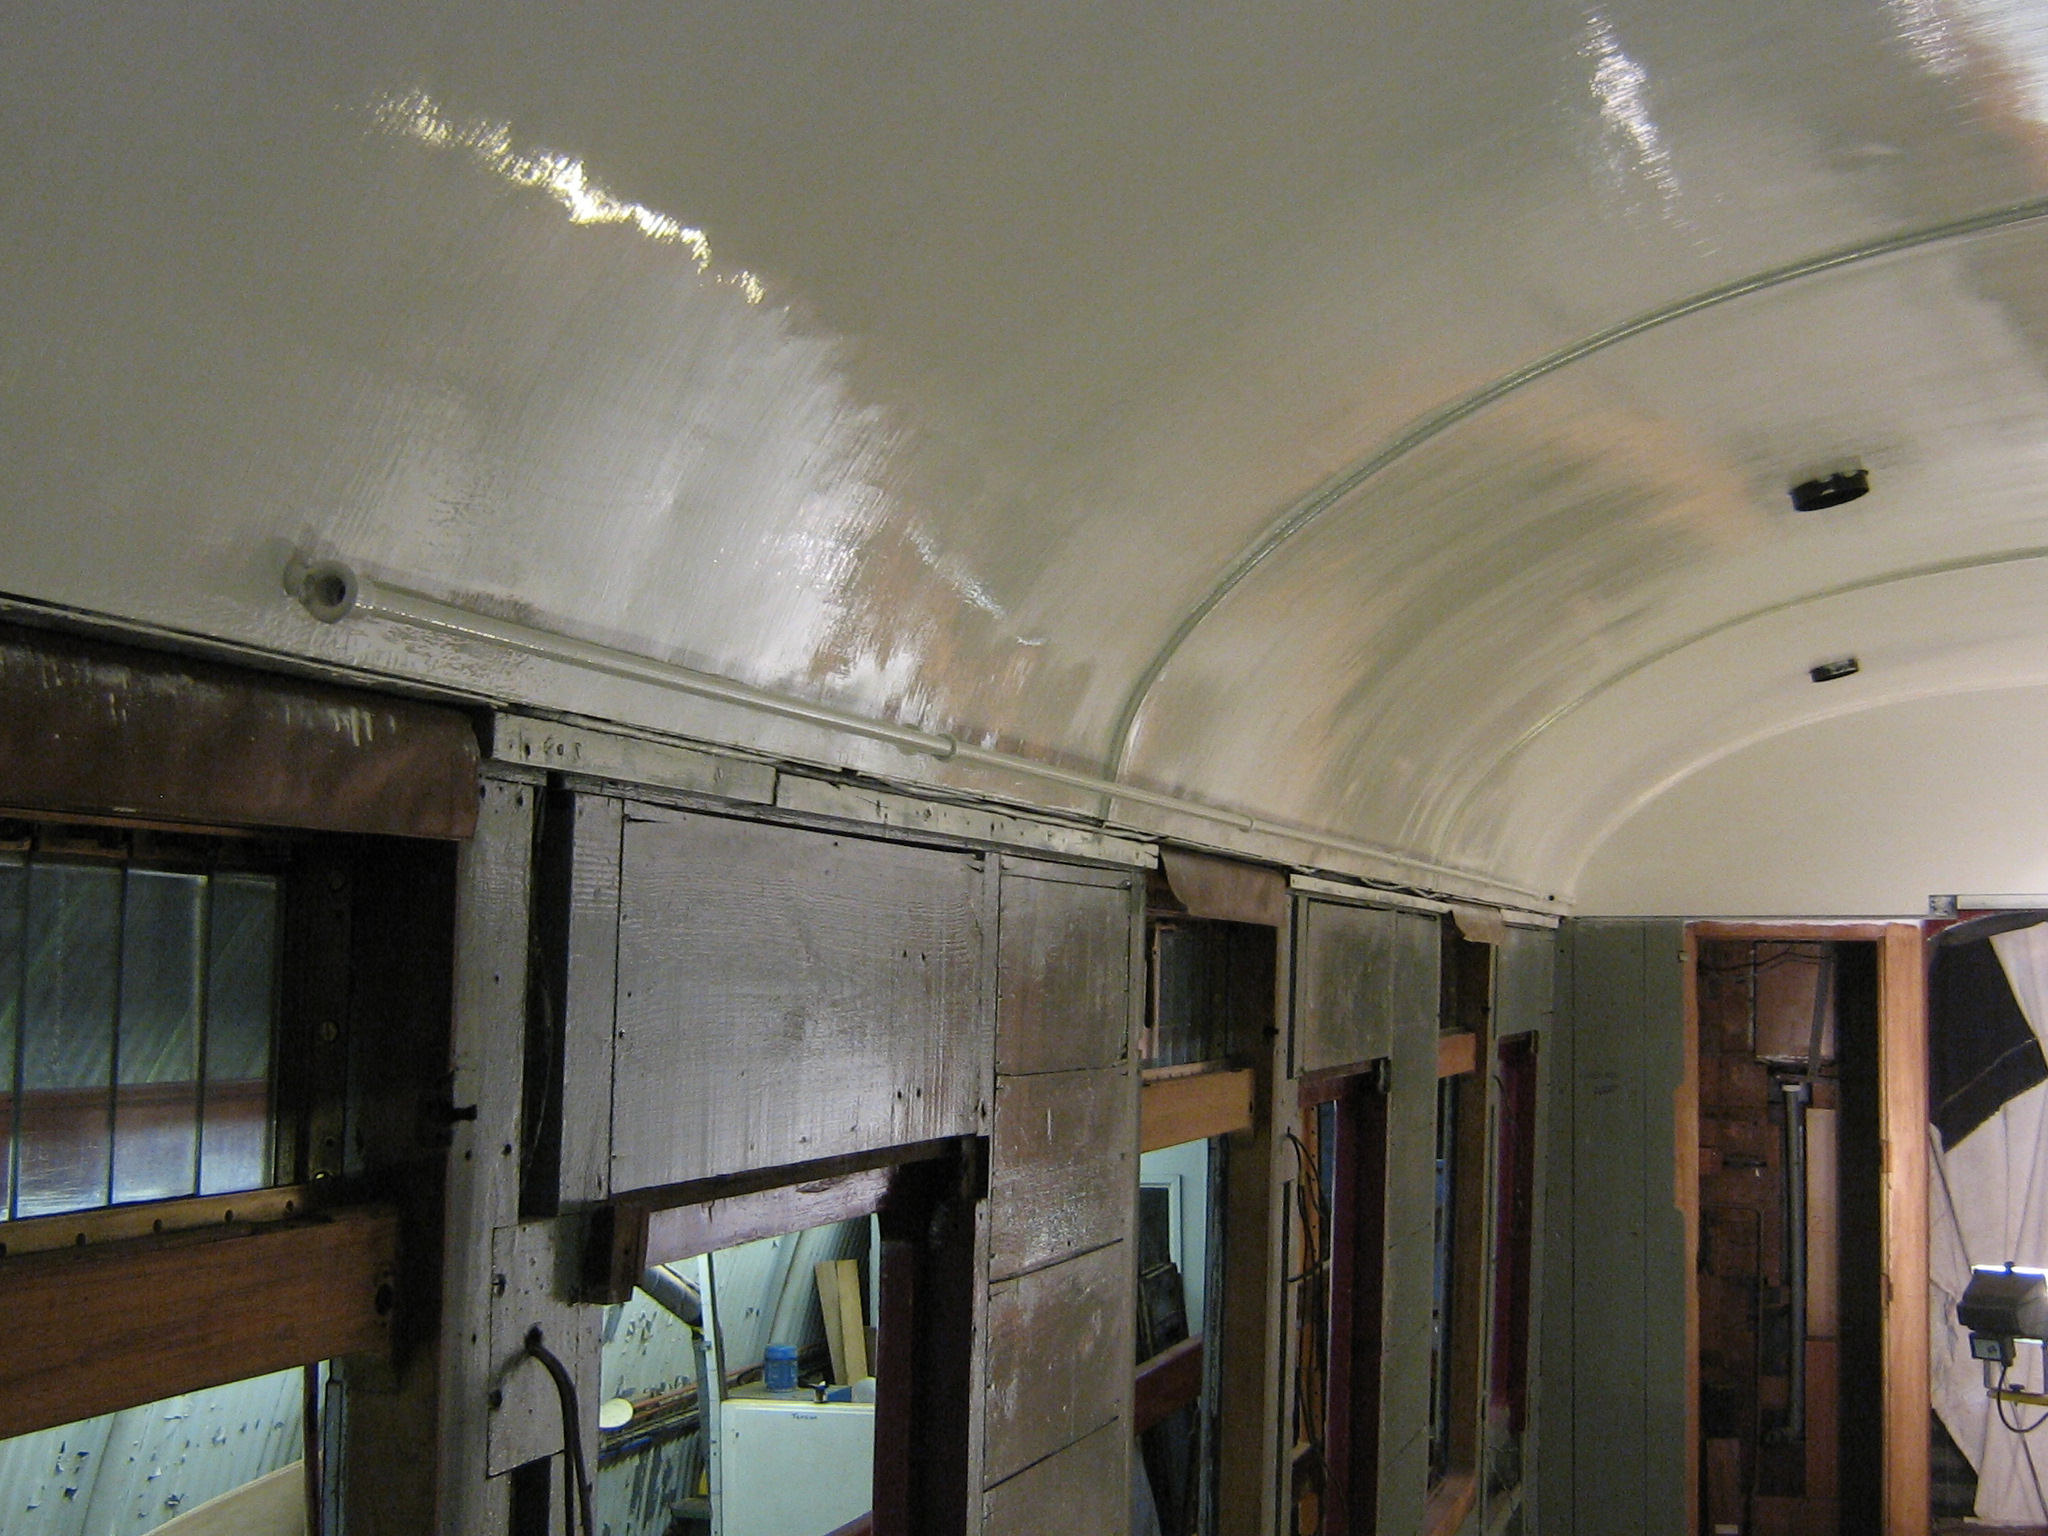
There are acres of cornice rail, which has now been collected, stripped, varnished and refitted. The saloon door architraves are back in place, and work has started on the fiddly bits of moulding over the doorway tops.

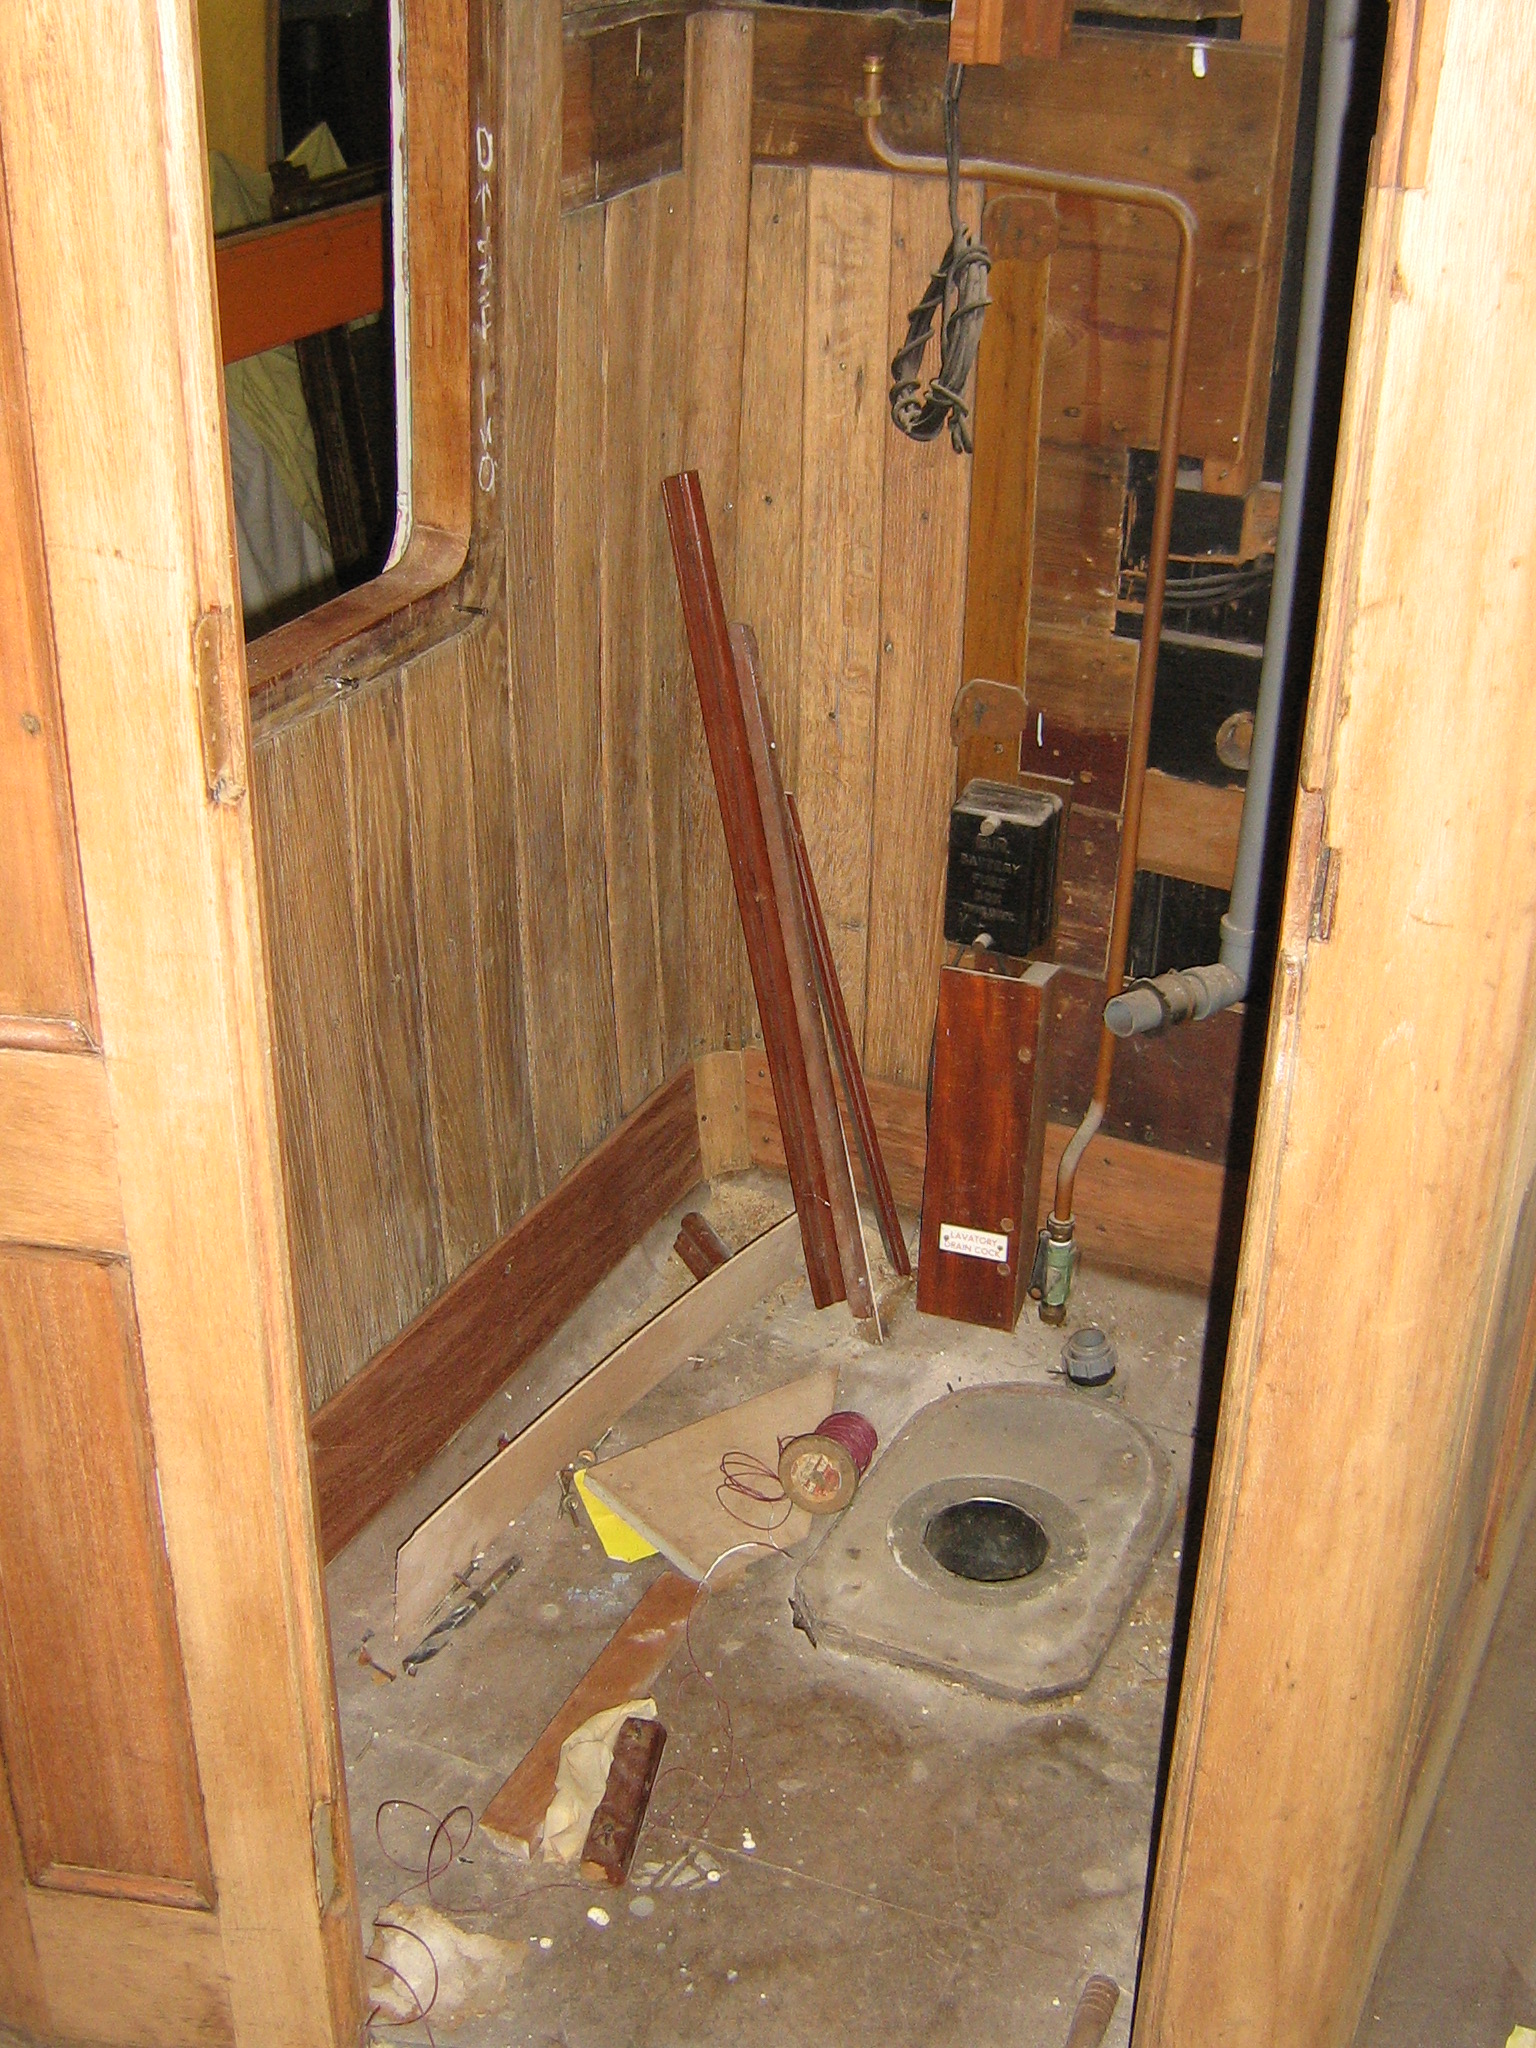
In the vestibules the luggage rack area, toilets and partitions have been stripped and varnished. The removable ceiling panels which act as inspection covers for the water tank have been glossed and fitted. The luggage rack window bars need repainting before fitting. The lavatory cabinets can’t be rebuilt until the floor is down, but we’re getting ahead by stripping them ready to reassemble when that is done. Bit of plumbing to do as well.

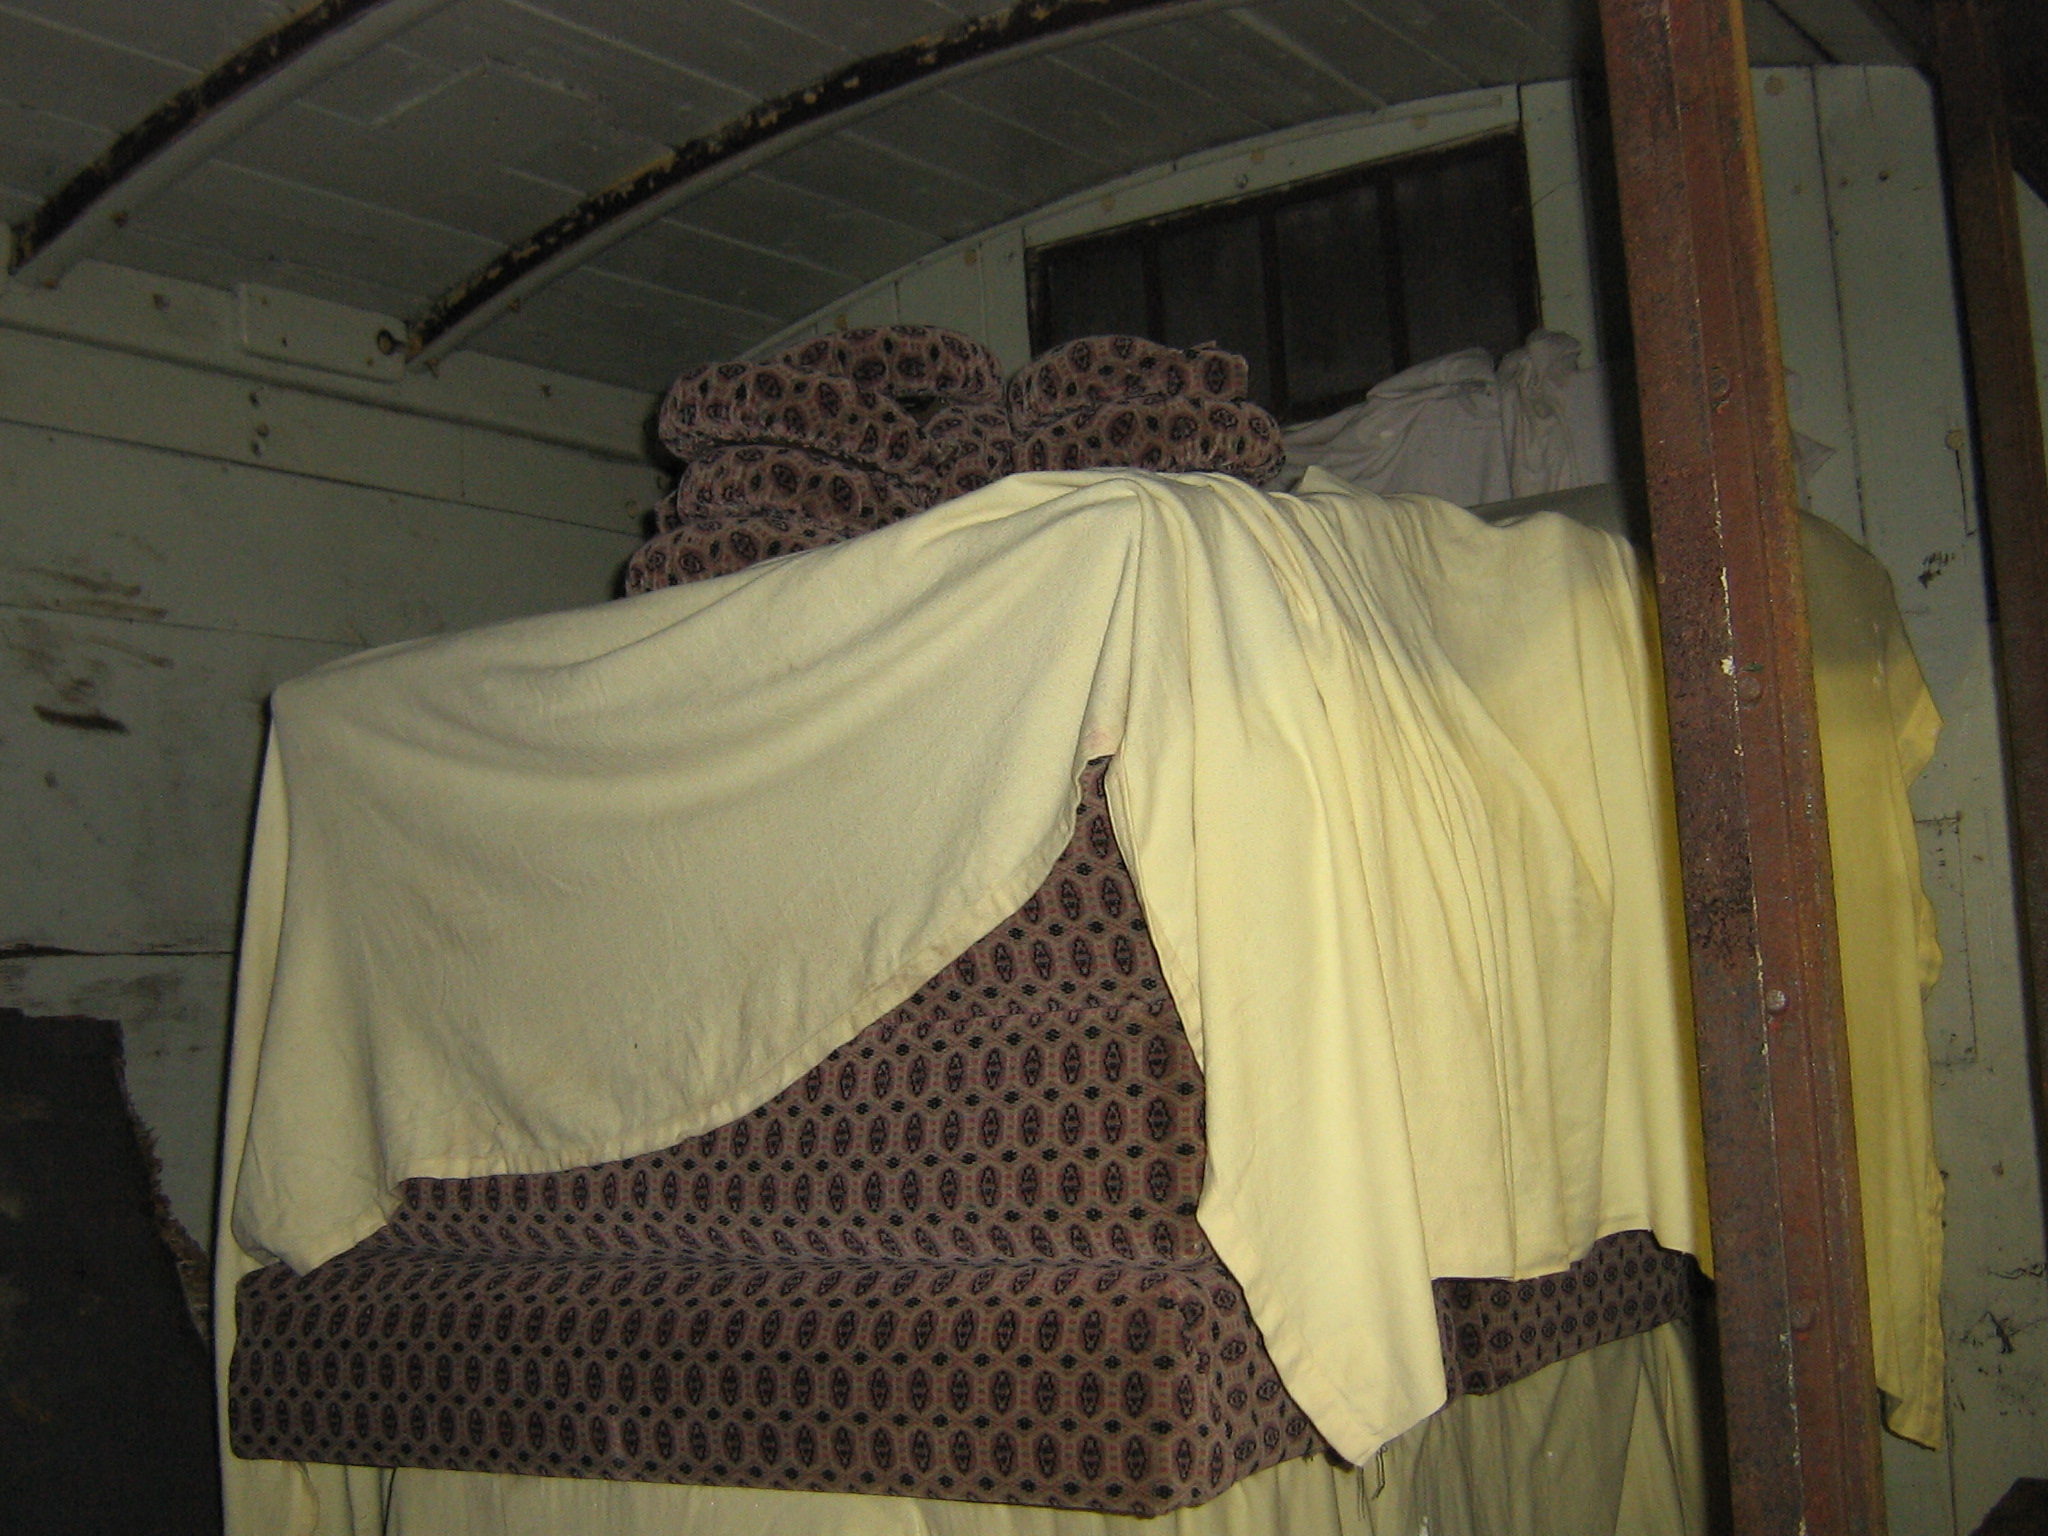
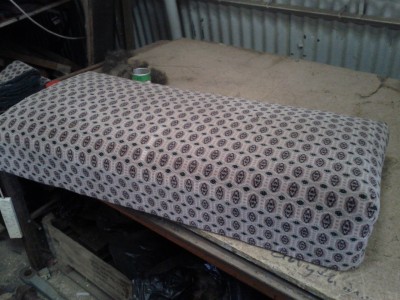
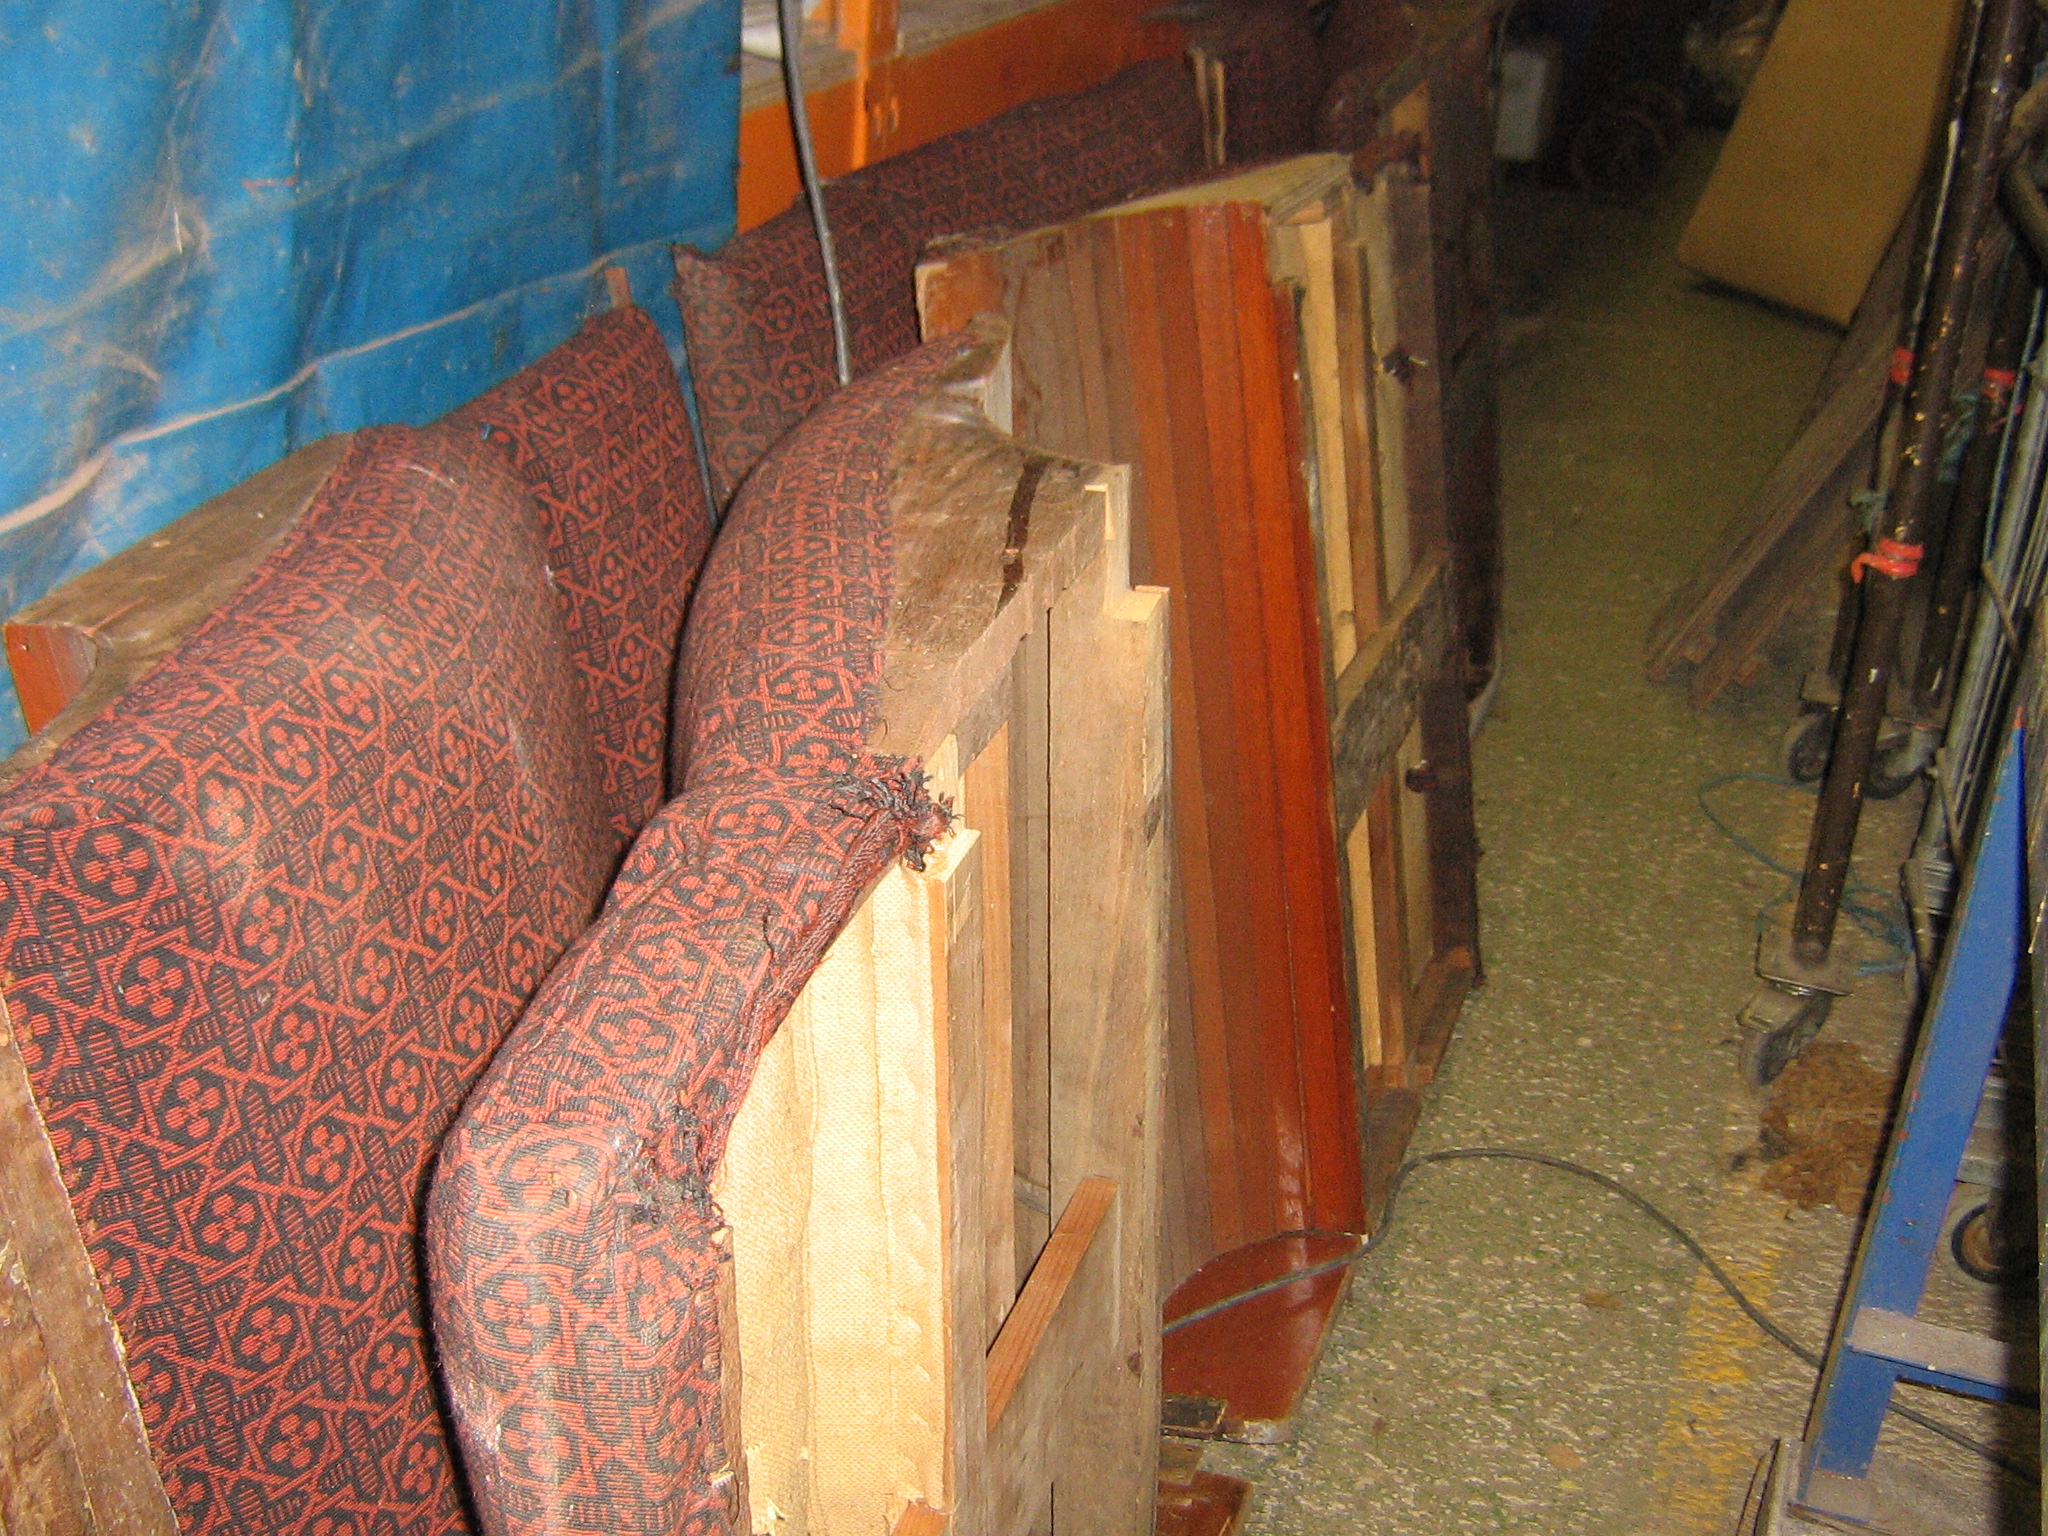
The seat trimming is going well, having reached the last few bases which were so damaged after years of storage before they came here that the spring mesh has to be replaced. The final batch of materials has arrived to allow the piping to be prepared, along with the vinyl for the armrests. Looking at improving the accommodation for seat trimming, Ian is finding the open bench doesn’t give the best environment and protection from dust, and we have been given an industrial sewing machine, which needs to be set up somewhere.

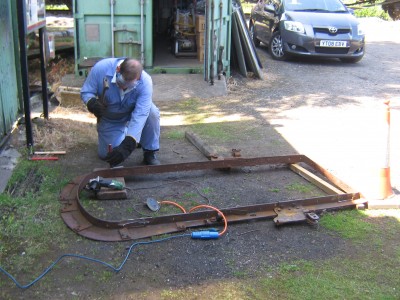
So what next? Seat ends to repair and varnish, and need to make a set of tables to the original pattern, though we have had all the necessary brass castings done already. We’re stuck with the lights until some components have arrived for the existing 12, and then until we have some more cash available for the other 6 sidelights, and the 5 ceiling electroliers. We’re reaching the point where the cavernous interior is about to get filled with stuff. Luggage racks could go up now, but we feel that fitting them after the seat backs go in will help reduce head injuries when fiddling with seats. The stones vent internal covers are made and glazed, but there hasn’t been a time when we’ve gotten around to refitting them yet. Need to get it shunted out to start the underframe tidying.

7828 – May 2014

IMG_3397IMG_3403IMG_3399P1000507IMG_3407


A month of careful finishing jobs- the pile of retrimmed seat sections is growing, both sides of the exterior have received 3 coats of Midland Maroon gloss, and the ceilings painted a final 2 coats of white enamel before the brass vent covers were applied.

The old floor covering has been removed ready for the new in a few weeks. A single new window bolection has appeared to check fit and decide on any final changes. Odd jobs continue on the rebuilt south gangway, with some of the smaller fittings remaining.

7828 – April 2014


IMG_3392 IMG_3391 IMG_3393


Overdue update. 2 new volunteers this month- welcome both.

Gangway now complete with bellows both footplates have been trial fitted and are now just off for painting. There are a few brass fittings to support the canvas curtain to put on, and the two stowage hooks for securing the gangway when running at the end of a set to fit, but otherwise this end is complete.

The whole exterior has been rubbed down again prior to first coat of gloss. All commode handles have been sealed on and the bolts trimmed, filed and painted. The missing destination board brackets have been screwed onto the west side, and that means all the exterior bits are on, save for the window bolections.

Inside, both toilet interiors have been dismantled, and the timber sections removed, cleaned and sanded, and replaced ready for varnish. Work on the saloon interior panels continues off site, with most bits now ready to refit once we have stopped throwing paint around overhead. With a view to this, the ceiling has had another coat of gloss to blend in the recently fitted passenger communication cord tubing. One more coat of enamel to go, and the chain can be threaded in, and we have some Alarm Signal transfers courtesy of the NRM.

Most of the interior is now cleared ready to strip out the old cracked and lumpy floor covering, but this won’t be fitted until after we are happy with the ceiling paintjob.

Seat trimming is accelerating, we need to purchase some of the less obvious materials for this job now- vinyl for the undersides of the armrests, fabric for piping, covered buttons, tacks, pins, plywood for quarter panels. Some good news on the light fitting project as well, but as progress on supply of fittings is usually accompanied by an invoice, we’re having to pace ourselves to keep things moving without running out of cash. Some movement on further small castings as well, table leg bases and clips are now in stock, and attention has turned to light switches.

wpid-img_20140419_152205.jpg

Restoration of 27162 (6)

Since the last post in September the new steel panelling for the sides and roof at the south end has been completed. This includes the fixing of the panels to the wooden framework using stainless steel screws sealed in with an adhesive  The whole of the west side has been painted with primer and a first undercoat.

Internally the steel panelling has also been finished in primer and new wooden partition frames have been manufactured and installed.

Two external doors have been replaced having been refurbished and most of the sliding windows are now installed.

Much time and effort has been spent on refitting the guttering in order to be perfectly certain they do not leak and that there is no gap between the gutter and the body.  This was a problem following the first restoration.

The carriage will remain in the shed until the gangway is fitted, the roof vents fitted and the outside is completely painted.

It has not been possible to obtain a full side view recently due to another vehicle alongside 27162.


New body side and roof almost complete
Side panels fitted and the roof panels almost complete
P1010093m
Internal view showing new wooden framework and steel panelling


P1010074
New roof paneling and preparation for fitting gutters
P1010077
Guttering fitted showing stainless steel screws


P1010082
East side in undercoat showing replacement door
P1010094m
West side painted in undercoat


7828 – Nov 2013

IMG_3355 IMG_3356 IMG_3357 DW 7828


Steady progress over last month. Layers of undercoat- grey, pink and now red- on both sides of 7828. A final few coats on the roof with extra layers in strategic places has finished work above the cantrail. All four side doors have been adjusted and in the case of one, completely re-hung, to permit easy closing and improved fitting. The bump stops, locks, keeper plates, handles, budget locks, escutcheons and guide wedges have been painted and bedded on before being undercoated with the rest of the sides.

All of the frames for the fixed windows have been cleaned and old screws removed. The internal sections of window frame are being stripped prior to refinishing, taking advantage of the glass being out for the moment. All of which means, apart from window glass, the exterior is complete except for gloss painting and transfers now.

Work continues on the upgraded gangway. New clampwood has been made to support the bellows when they arrive, and the steelwork has been painted up to midland maroon gloss.

I’m informed the rewoven 1925 moquette – to replicate 7828’s original seat coverings – is ready for collection now, and to this end some of the seats have been tentatively removed from storage to allow assessment.

7828 Gangway Rebuild

IMG_3321IMG_3327

7828’s original south end gangway has been carefully dismantled, and the portal removed for storage along with the plastic curtain. The replacement from 8422, which is fitted with adaptor gear, had already been cleaned down, modifications removed, painted and had the normal pattern of top and bottom swivels fitted. With a pulley system fitted to the shed roof, the new portal was mounted on the old scissors, which have been overhauled and fettled to extend slightly more than previously, as on the vehicle we are copying. The new arrangement allows the gangway to couple to a Mk.1 ‘Pullman’ type gangway and extend further to do so, and incorporates improved swivel provision whilst retaining the ability to work with either type of standard LMS gangway.

The whole assembly is now being painted prior to installation of replacement bellows, then there are a number of clamps and fittings to refurbish as well as new floor plates to process.


IMG_3325

Restoration of 27162 (4)

P1000948m


P1000934

Work on the framework has continued and the east side frame and cantrail has been fitted. The west side is currently being prepared  in the workshop. The gangway end has been refurbished and fitted temporarily to determine the position of the bolt holes.

In the meantime much effort has been spent in reglazing the sliding windows. This required dismantling of the brass frame by drilling out the fixing screws at one end after which it was necessary to apply sufficient heat to melt the solder holding the corners together. New rubber seals were purchased and the glass fitted with the help of liberal quantities of detergent. Further work on the replacement of windows is continuing.


7828 Progess July 2013

Work continues on 7828. Despite the carriage shed becoming a sauna, the beading junctions have been fitted, sealed down, pins punched, filled and sanded. Half of the roof guttering has now been fitted, and the recently fitted roof ventilators have been glossed, along with the centre portion of the roof. Completion of the gutter allows final sealing and painting of the roof to take place, so the second half is a priority.

The strips of beading to connect the junctions are next on the machining list.

7828 was never modified to allow it’s gangways to be connected to a BR Mk.1/Pullman/LNER gangway. This is fine if we want to run it with just LMS/GWR carriages, but as at least initially 7828 must be compatible with Peak Rail’s Mk.1 stock, a gangway must have additional clamps and platework added. Rather than cut and weld the original part, the south end gangway has been selected to be fitted with a replacement gangway end portal. The donor gangway was sourced from LMS TO No.8422, the carriage which was a WWII ambulance, repatriated from Germany after the war, and one time resident at the Longmoor Military Railway. It has lost it’s original gangways, gaining some off something else instead. When it is restored at Rowsley, they will need to be dismantled and rebuilt anyway, so for the time being it has been possible for 7828 to ‘borrow’ a gangway portal – which happens to have full adaptor gear. This has been removed from 8422, stripped back of all fittings, cleaned down and painted. Some surplus outrigger brackets have been removed, and the portal is now ready to have swivels reattached, prior to fitting to 7828 with new bellows.

Work continues apace on the patterns for the light fittings, and the first step in the production of the replacement interior passenger communication cord fittings has been undertaken, with an order for the 3 patterns placed.

Samples of moquette have been received, and discussions continue on the production of the replica ‘fawn rep’ which the carriage will be trimmed with when completed.

Gutter takes shape at the north end of 7828

Beading around window bay

Bob Matkin sanding beading; all pins are to be punched in, filled and then sanded smooth
Derek Riley removing modifications to the replacement gangway portal
%d bloggers like this: